Lasercutter
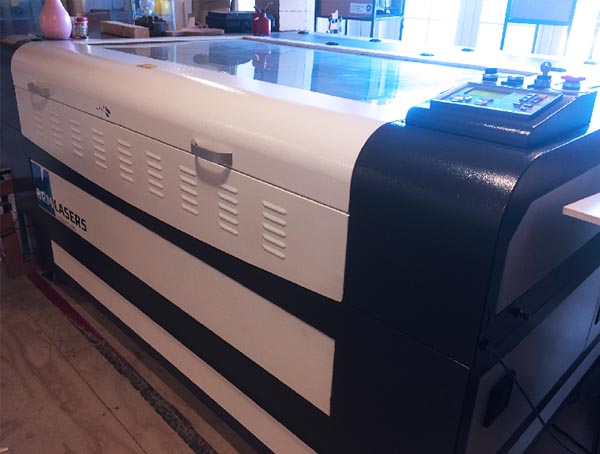
The lasercutter we have at Waag is a BRM Original Laser Machine with a height-adjustable work surface of about 110 cm by 150 cm. The fume extractor is a BOFA AD Oracle.
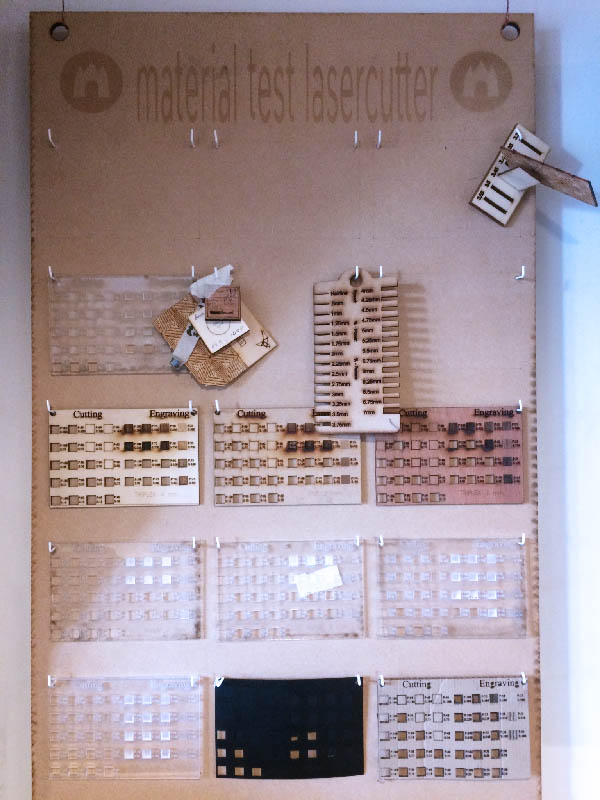
To test your material it’s easiest to have a material reference library and work from there, like the one we have here. I don’t have the template file that was used to create these examples, but this one is a good alternative. It is usually enough to do a few tests with some cubes, ellipses and/or lines (depending on what kind of job you want to do) in the corner of your material.
The software for this machine is lasercut5.3, and apart from its weird grammatical structures (originally Chinese software) it’s pretty straightforward in use.
| Settings | Power | Speed | Notes |
|---|---|---|---|
| Cut | 10-100 | 1-400 | You can set the power below 10 in the software, but there is no output |
| Engrave | 10-100 | 1-500 | If you want to engrave paths, use cut but set the speed high and/or power low |
Lightburn
As of the end of 2020, Henk has upgraded the laser’s board. We now use Lightburn as software to send files to the lasercutter. You can also directly control the laser from the computer which is pretty neat, and there are many more formats you can import into the program (previously only R13/R14 version DXF worked and SVG for engraving).
Materials
- No pvc based material (toxic)
- Don’t use vinyl either
- Put smelly materials in a bag or in a bucket of cold water
- No MDF because of the glue used
- Hardwood / plywood is fine, may be post-processed
- If you want to use a plywood mold for bioplastic casting, you can use vaseline spray to prevent the bioplastic from sticking to the wood. For alginate specifically it also helps if the material is lightly sprayed with the calcium chloride
Fabrics
- Natural fabrics: only with vlisofix in between (45 degrees direction of thread in two directions) because of fraying of the fabric
- Leather: vegetable tanned, otherwise do not use chrome 6 will be released if it is chemically tanned
- Felt: ask if it is lasercuttable (flame test: blue or green do not lasercut; if the smell is burned hair then it’s wool felt so it’s fine)
- Scubaknit is lasercuttable, neoprene not really
- Spacerfabric: do not use
- No vinyls, nothing that contains chlorine
- Organza is nice (synthetic)
- Use wet paper on fabric so it won’t move as much (you can also spray the fabric itself but when lasercutting large files this may dry up in the middle of your job)
- Cutting fabric using engraving for BMP’s: 500 speed, 80 power (I used this setting for most medium weight/thickness fabrics like a cotton twill and a polyester jersey)
Acrylic
- Cutting 10mm thick perspex: 5 speed, 100 power
- Cutting of 3 layers of 3mm glued together: 6 speed, 100 power
Soft stop error troubleshooting
- Check if your file is placed outside of the laser bed in the software
- Restart machine, software, computer or all of them
- Check if your anchor point doesn’t make the design fall out of the work surface
Troubleshooting wobbly lines
- Check if lens is loose
- Check belt tension
After troubleshooting testing multiple settings and sometimes getting straight lines and sometimes wobbly lines I realized what caused my wobbly lines: it was only happening when the laser had a kerf offset specified. I noticed it before but I didn’t think that would be the cause since it hadn’t produced this result before. I’m suspecting it’s an update gone wrong. I’ve created a topic on this issue on the Lightburn forum here.