Working with an Elegoo resin printer
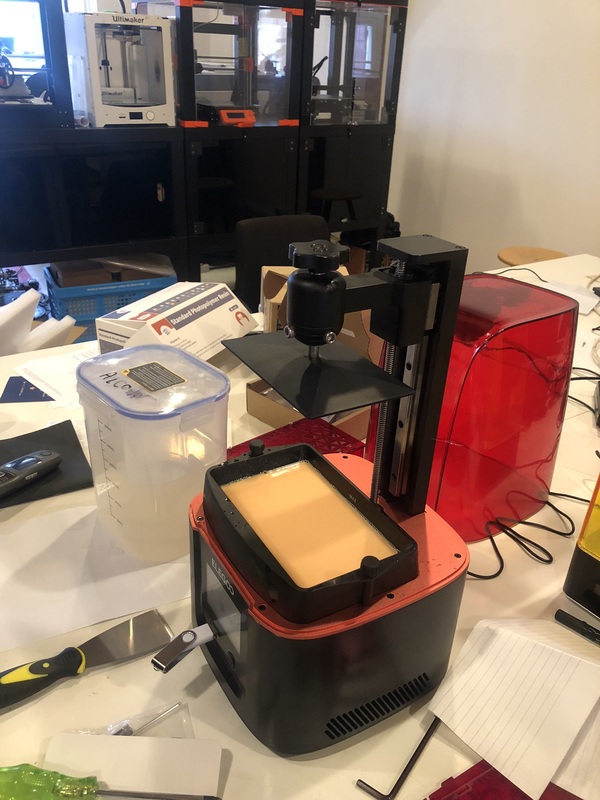
We have the Elegoo Mars 3 Ultra 4K mono LCD printer and the Elegoo Mercury Plus 2 in 1 washing and curing station 2.0. It has a 6.6-inch ultra-4K high-resolution monochrome LCD, an upgraded COB UV light source structure, and a new release film 2.0 for printing. For slicing we use Chitubox Free.
How to set up the machine:
-
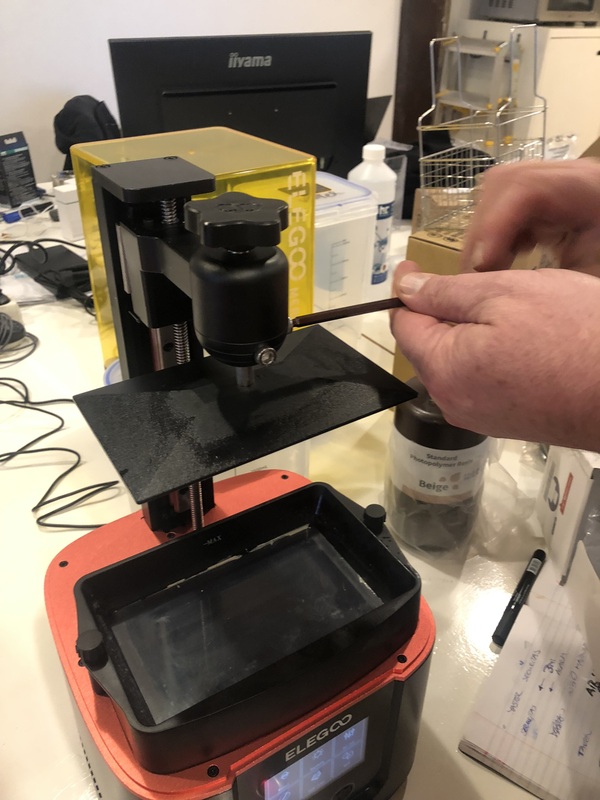
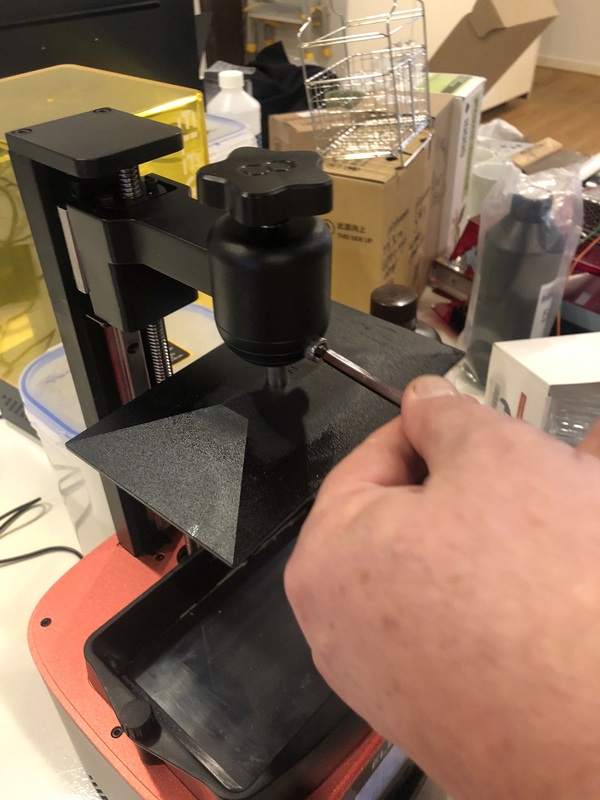
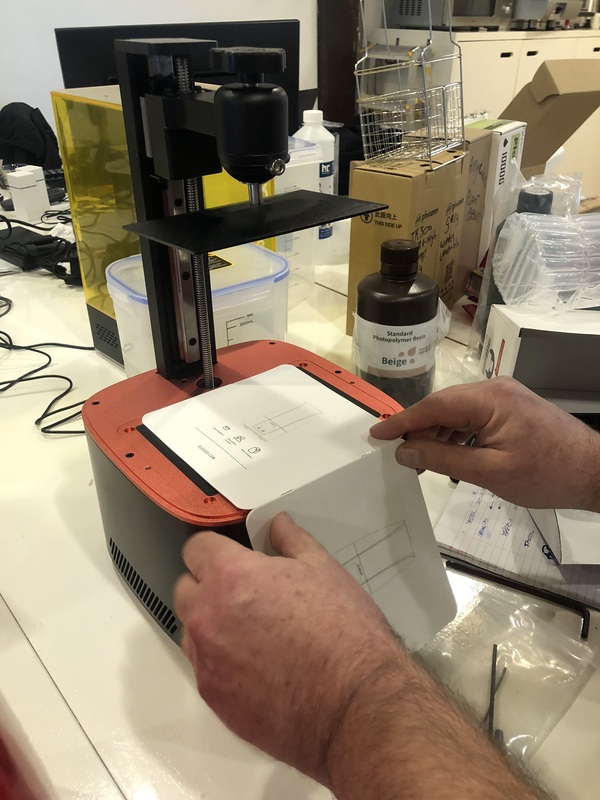
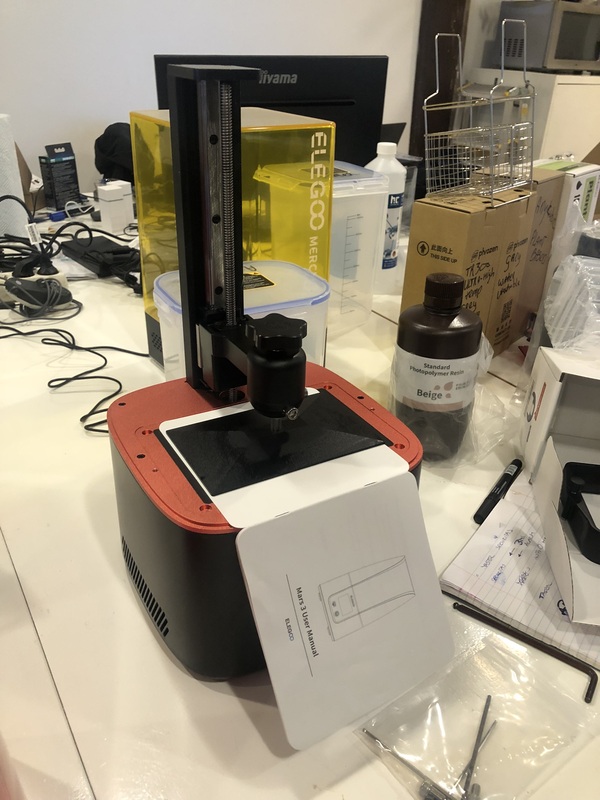
Leveling the build plate: unscrew the two bolts holding the build platform. Turn on the machine and use two sheets of paper (2 pages from the information booklet) to level the bed (source). Press “Tool” > “Manual” > “Home” and wait for the Z axis to go down and stop. Adjust Z axis if there is too much or too little resistance. When tightening the bolts, make sure to first tighten the front bolt and then the right side bolt. You don’t have to do this every time, once it’s set it should be fine for a while. After leveling is complete, set the current Z axis as the first layer for printing.
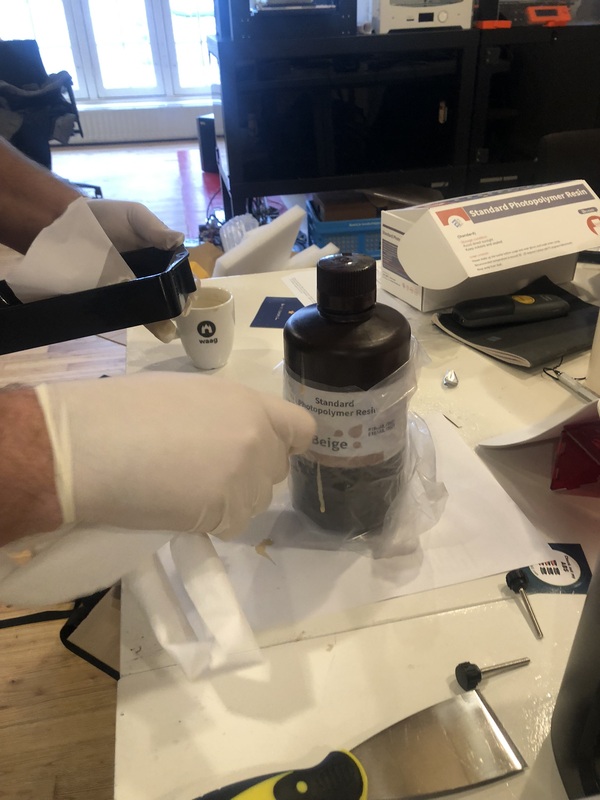
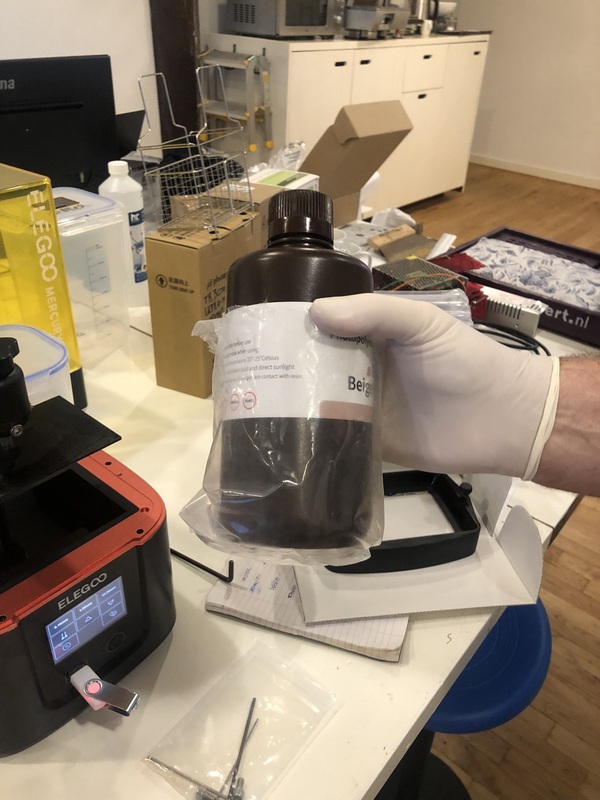
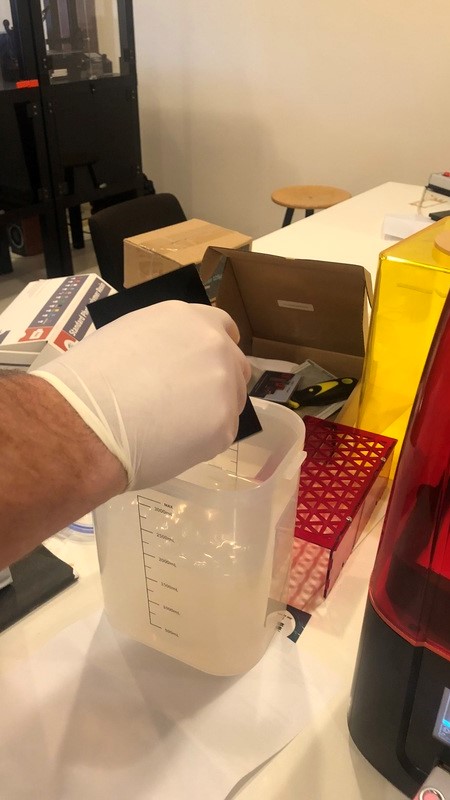
- Put on gloves and a mask!
- Pour resin in the tray:
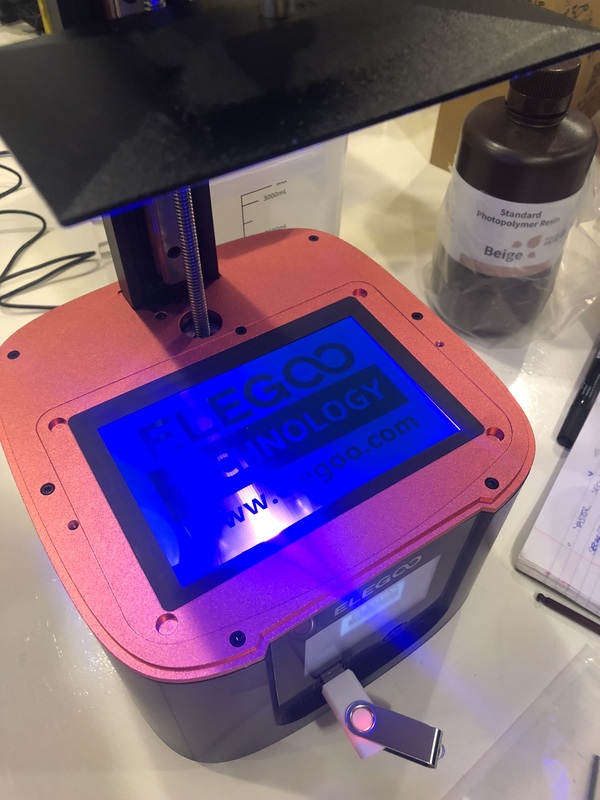
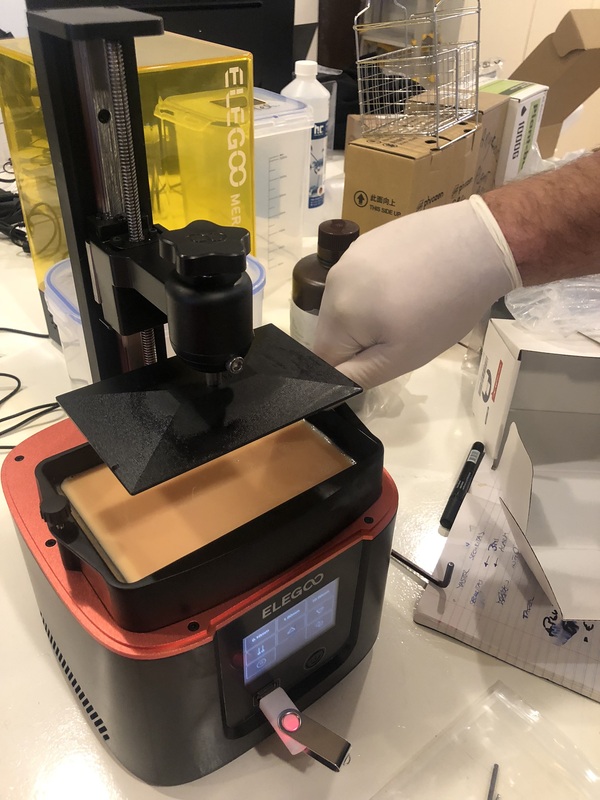
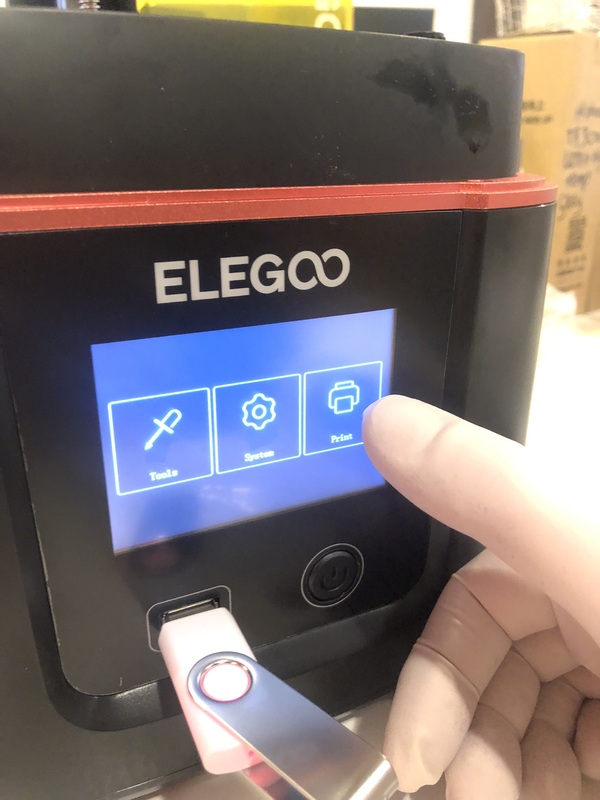
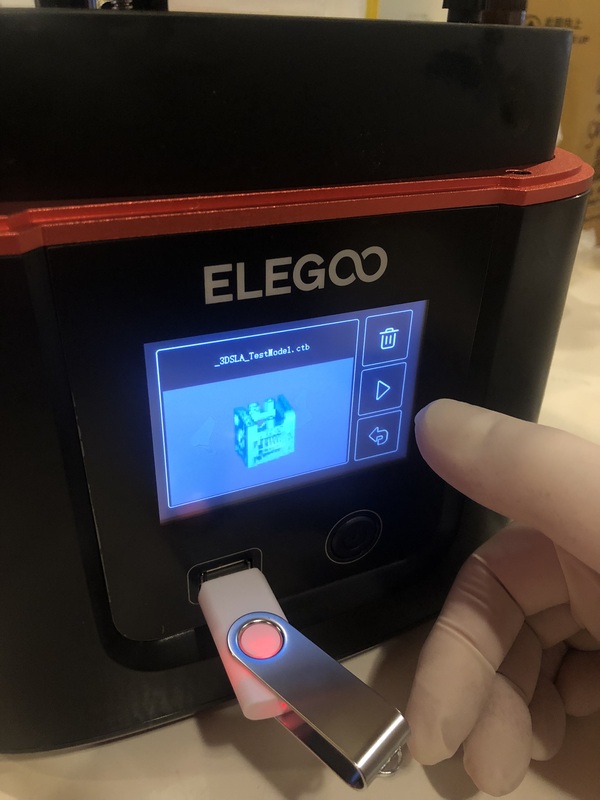
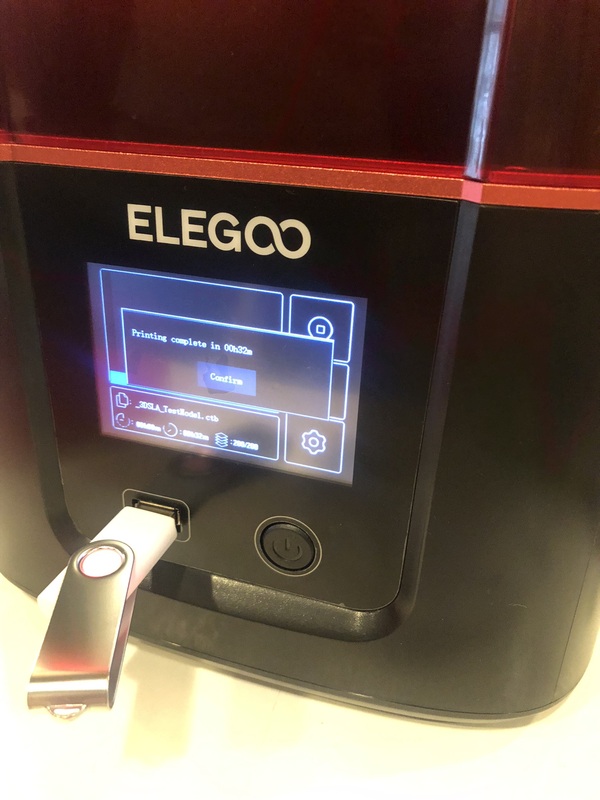
- Insert USB with your sliced model, press print then the play button:
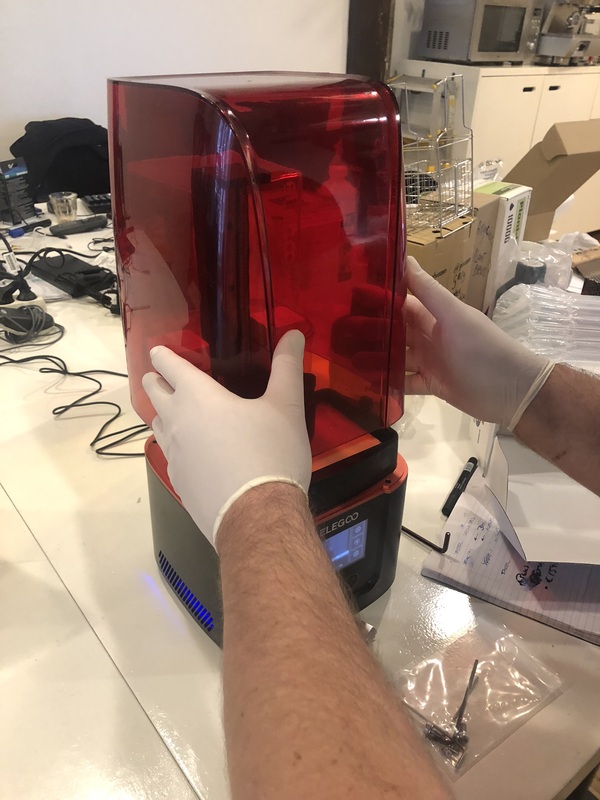
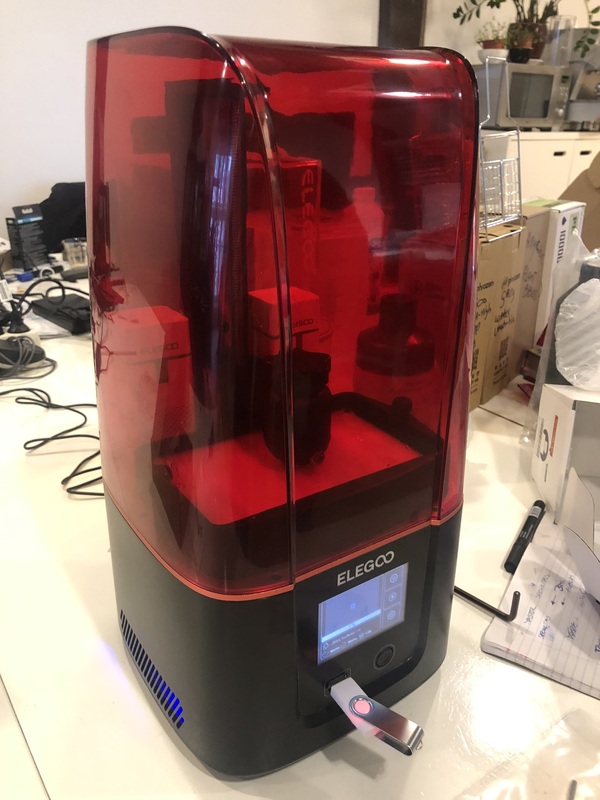
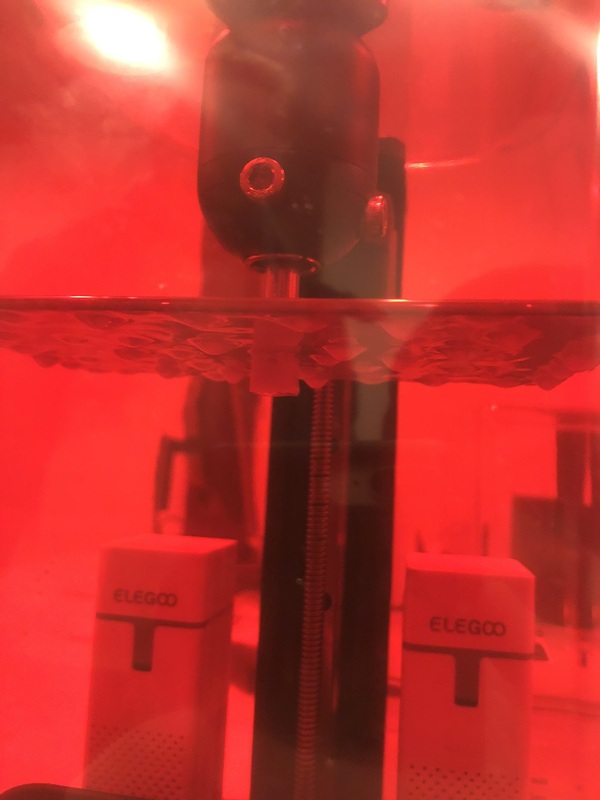
- Place the mini air purifiers (we have these) on both sides next to the Z axis; don’t forget to turn them on. Then put the lid on the machine.
- For the first couple of layers you can’t see anything since the print is still submerged in the resin. You can see on the screen what layer is being printed. If you want to check on your model you can pause the print, which will lift the build plate so you can see what’s been printed so far.
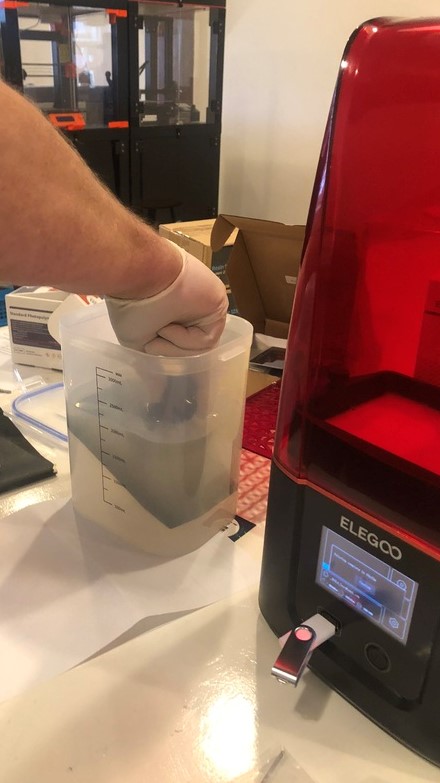
- Once the print is done, you can take off the entire build plate including your print and submerge it in alcohol isopropyl in a container for the Mercury Plus. This is to wash everything; the tutorial I’m following says to take off the model before doing this to wash it separately, but submerging everything is the way Henk showed me. With bigger models it’s probably best to take the model off first. Place the entire container on the plate of the Mercury, set mode to water rotation (the icon with the two rotating droplets) and set the time to 5 minutes.
Removing the print:
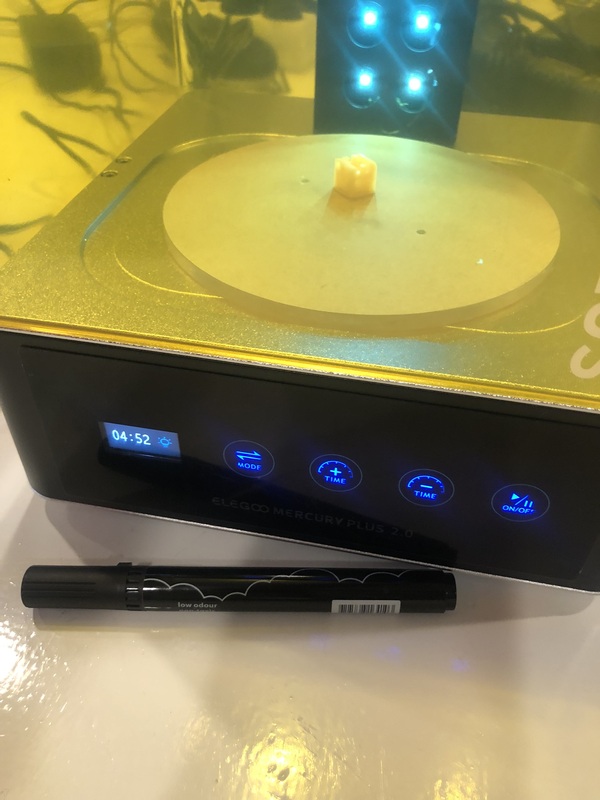
- After the model has dried it’s time to cure the model. For this we also use the Mercury. Set mode to UV (light symbol) and time to 5 minutes.
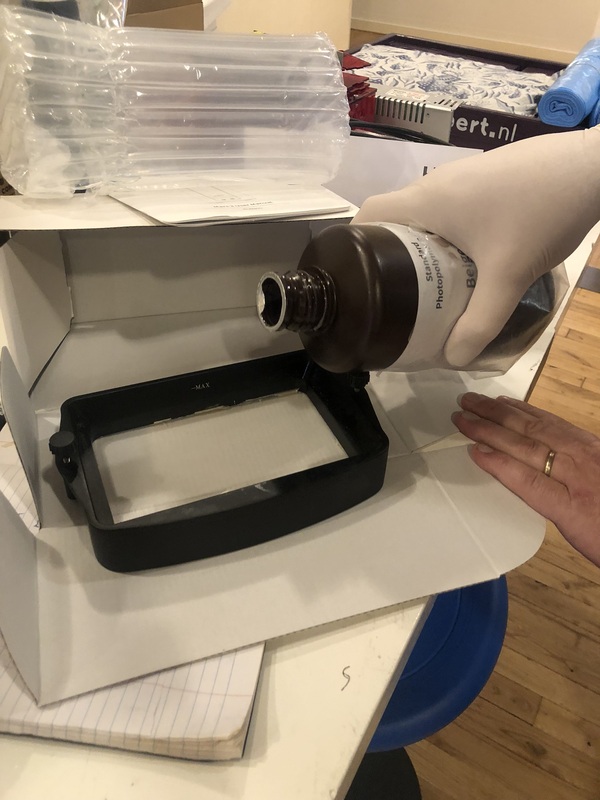
- Pour leftover resin back into the bottle. For pouring the resin you have to use a filter. It’s probably going to get messy so put some paper on your working area.
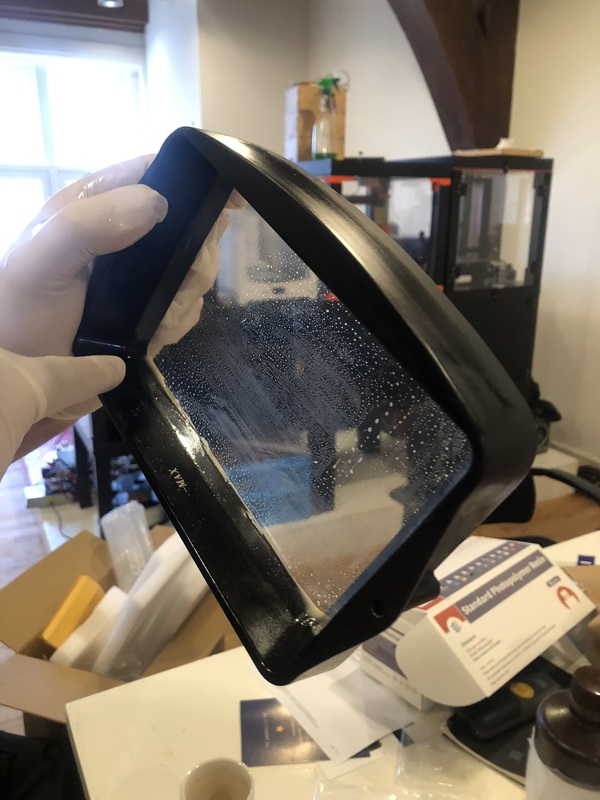
- Clean the tray with alcohol (wipes work pretty well). You can also cure the material and then peel it off but this is not really recommended I think.