Experimental 3d printing
STL to Gcode to STL
I’ve been working on 3d printable wearables for a while, and I wanted to texturize them. Since I’m not the best 3d modeler out there (especially Blender; I still have to work through many tutorials) I was looking for simple tools to do this for me. The newest update for IdeaMaker has the magical functionality to texturize models with grayscale images. It’s very easy to work with; the only drawback is that I personally find the IdeaMaker slicer garbage. I cannot seem to get a spiral vase to print like a spiral vase, there are so many unnecessary travels between layers and it messes up my print every time. Since I do really want to use the texturize option though, I started looking into ways of exporting the texturized model. This wasn’t as easy as I had hoped since the texture is only applied to the model after slicing, and when you export the model it just exports the plain model without the texture (it works kind of like a displacement map).
IdeaMaker & Voxelize
So I started looking for ways to convert the gcode back to an STL that I could then slice in my preferred slicer (PrusaSlicer is best). Luckily All3DP wrote an article about just this. I did have a different workflow that I’ll summarize here (including all dead ends).
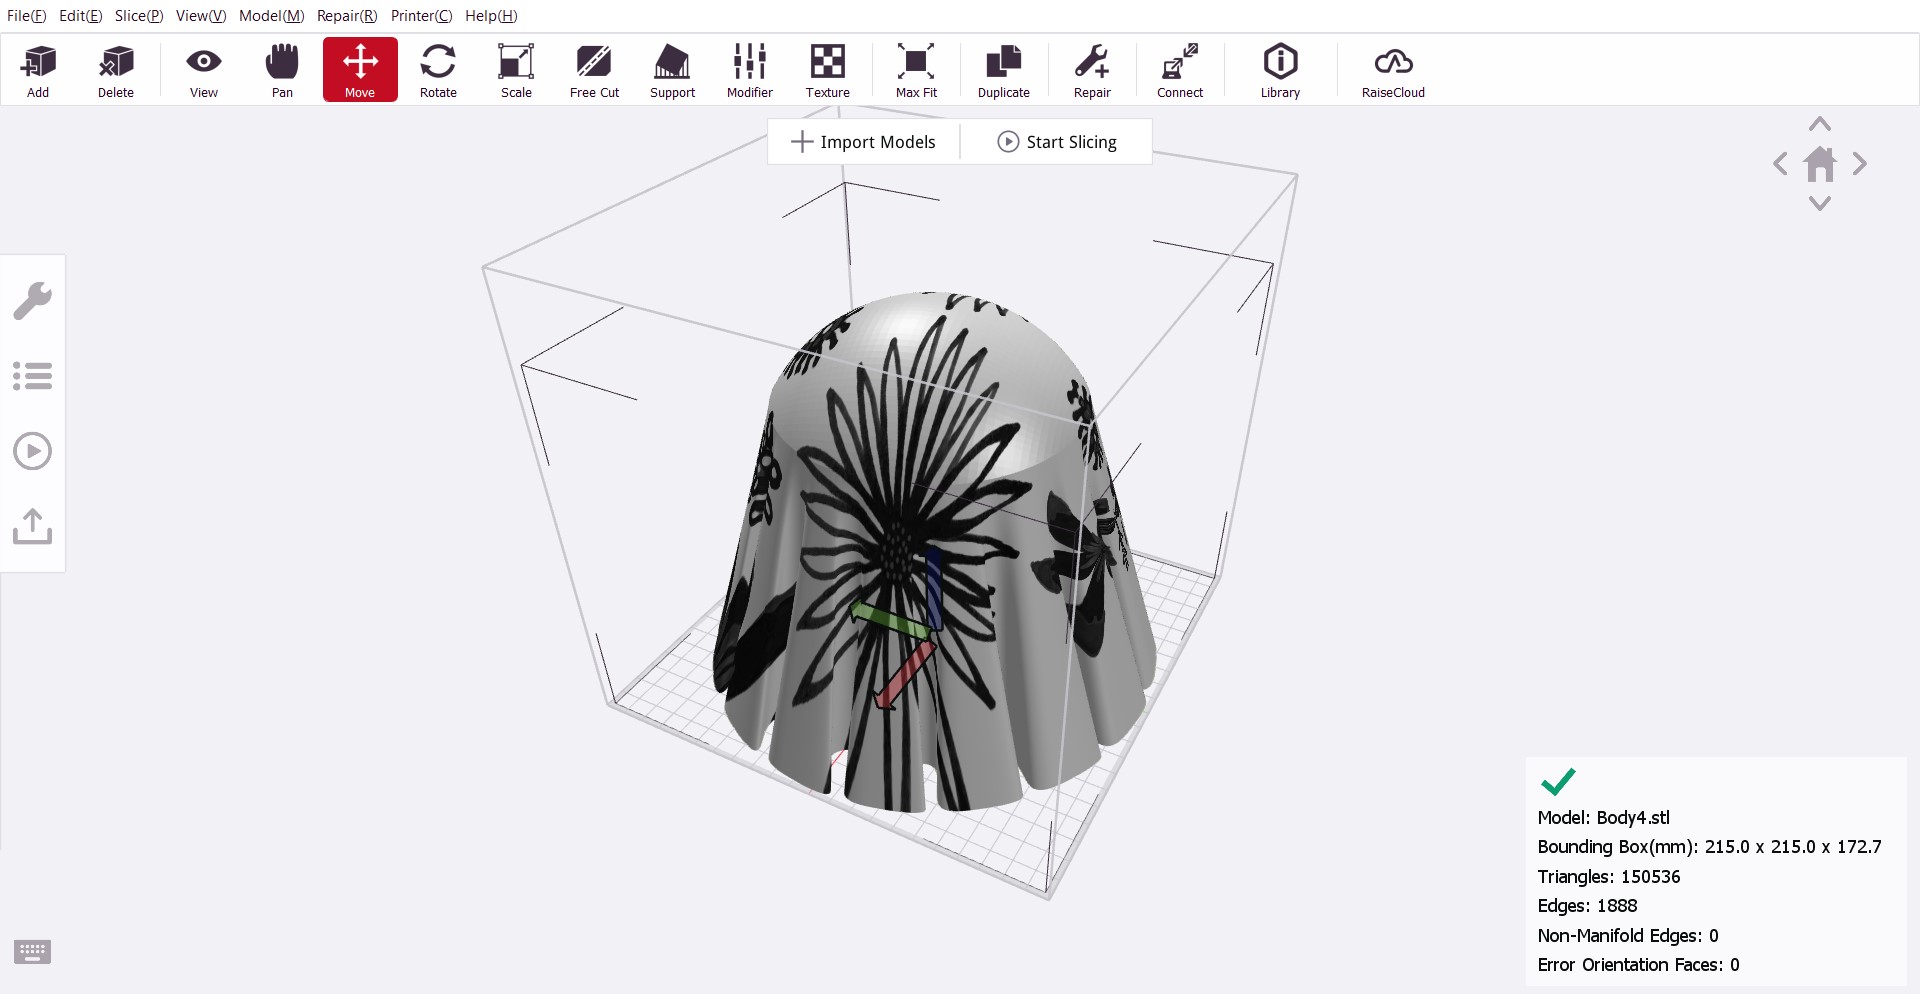
- Import model into IdeaMaker
- Apply texture (in the middle of the toolbar)
- Start slicing
- Export gcode
- Import gcode in Voxelizer (I didn’t have any of the compatible printers so I just clicked some settings, I didn’t need them anyway)
- File > Voxelize (Following their own tutorial) Now a voxel object should appear in the settings tab, however for all gcode files that I’ve tried it just doesn’t work. No object appears, and looking at the gcode preview it looks pretty bad. Can’t confirm whether this method actually works. Also the forums are pretty dead so I’m just gonna try something else.
Applying texture with displacement maps (UV mapping)
- Photoshop (spoiler alert: don’t do UV mapping in Photoshop)
- I found a great article on grabcad that I used to finally learn how to actually texturize my 3d models, since trying to work around my lack of 3d modeling knowledge is not really the way to go.


- This tutorial is great; however I couldn’t get high resolution results with this: https://grabcad.com/tutorials/how-to-3d-print-full-color-fully-textured-displacement-mapped-parts-using-photoshop
- Blender So with this tutorial I finally figured it out:
- Remeshing the Fusion generated STL first in a separate program since the saved mesh is pretty shit (very long triangles, terrible for UV mapping). It’s also possible in Blender (as explained here but my laptop does NOT like that). I’m using Instant Meshes for this.
- https://docs.blender.org/manual/en/2.80/modeling/meshes/editing/uv/unwrapping/mapping_types.html
- YOUR VIEWPOINT IS TAKEN INTO ACCOUNT WHEN MAPPING
- Make a vertex group if you only want to map a specific part and select that group in the Displace modifier
Workflow:
- Remesh OBJ with Instant Meshes (I used around 100k as target vertex count)
- Import OBJ into Blender
- Add Displace modifier
- New Texture
- Set coordinates to UV
- Go to texture properties and open the displacement map
- Go to UV Editing tab and select the displacement map
- In edit mode, go to the correct orthogonal view if needed, click ‘face select’ and press U for UV mapping options
- Scale and position the projected map as needed (for me it’s usually extremely stretched)
- Add subdivision surface to get the needed detail and place it above the Displace modifier (it’s even easier to do this before adding the Displace modifier but my laptop cannot really deal with that)