Blender notes
- Middle mouse button: orbit
- Shift + middle mouse button: pan
- Scroll: zoom
- 4 windows visible in standard view
- Use numbers (i.e. 01) in the file name while saving and Blender will recognize that with the plus and minus button after that
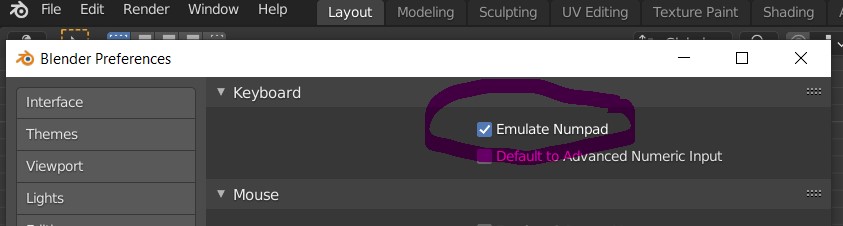
- Emulate numpad to control view with the numbers on a laptop without a numpad
- G: grab
- R: rotate
- S: scale
- Blender knows where your mouse is (in what window; so make sure you’re in the right window)
- Tab to switch between object and edit mode
- H to hide (first select), alt + H to show again
- F3 to search commands; for instance if you mess up the mesh select all vertices & look for ‘merge by distance’
- When starting with a plane and adding vertices, when you select 3 or more vertices and press f you turn it into a face
- O: proportional editing, select what you want and click O & you get a circle of influence (change with scroll wheel)
Modeling a cow workshop
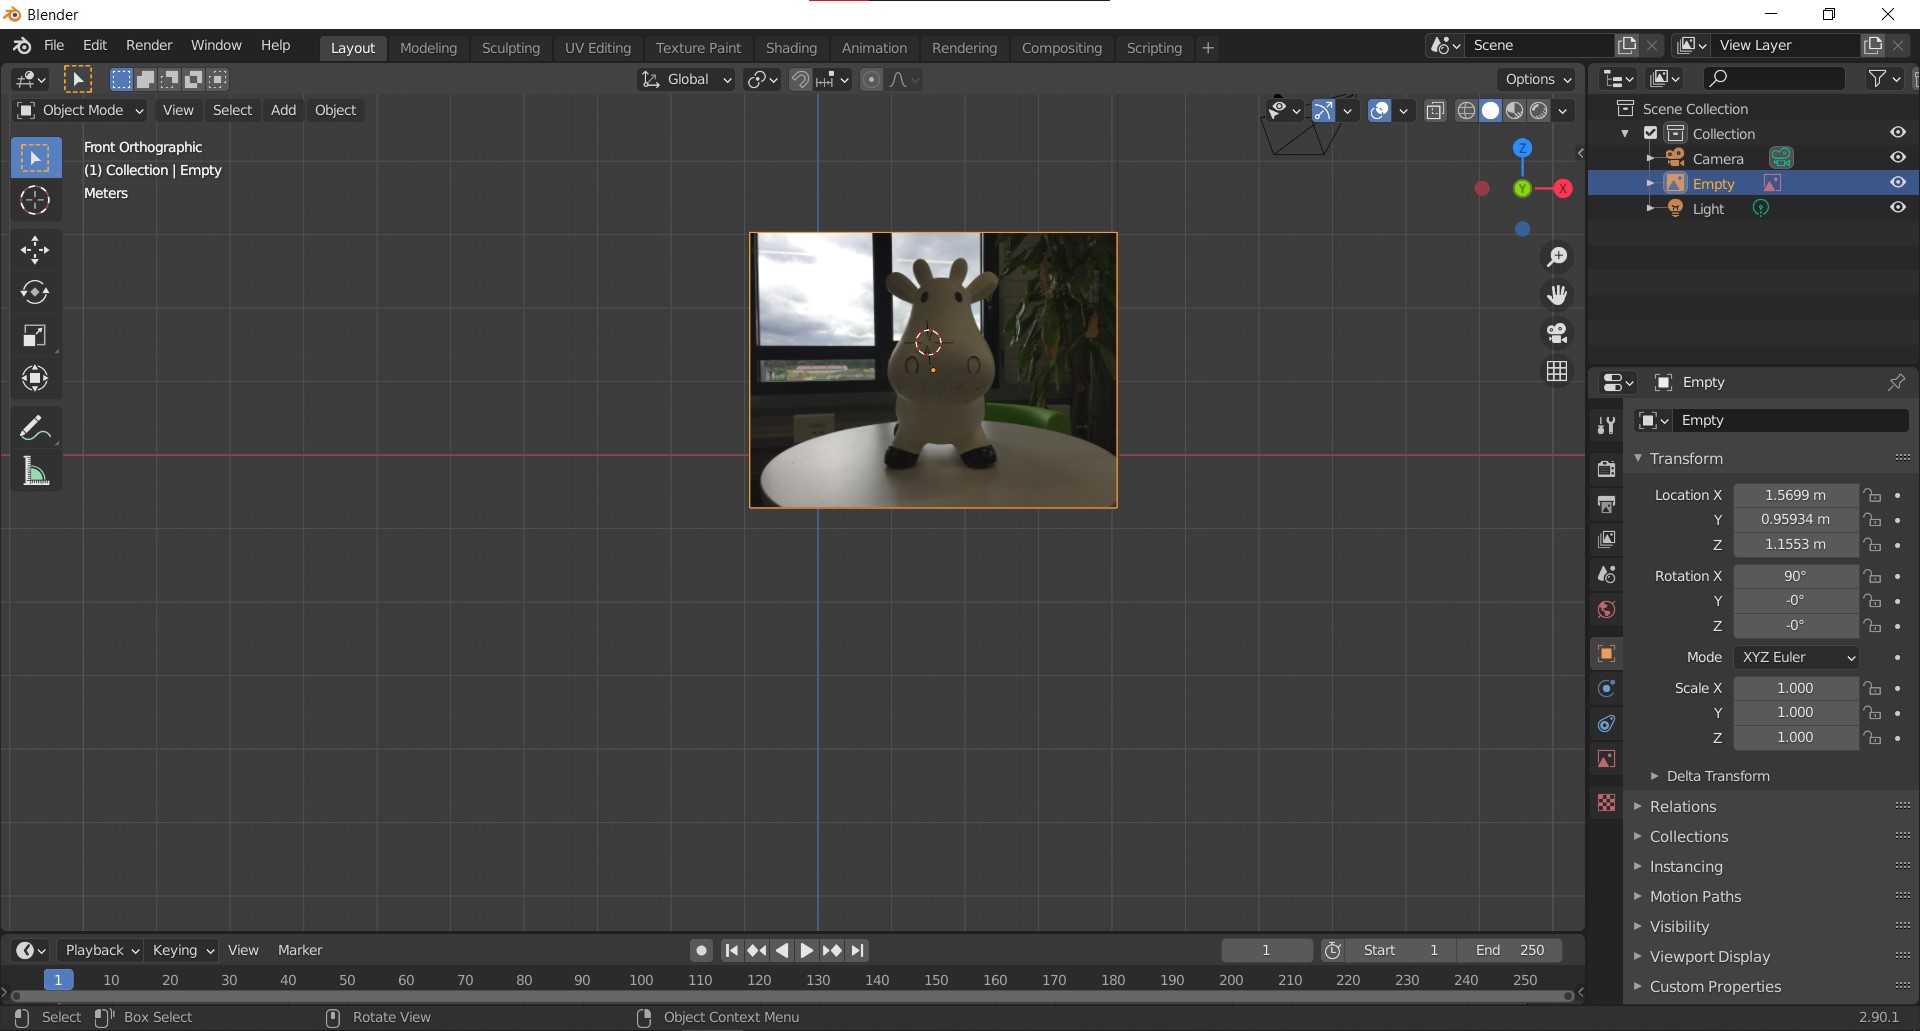
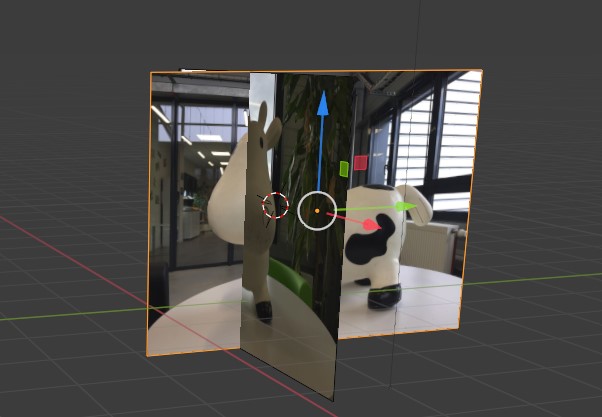
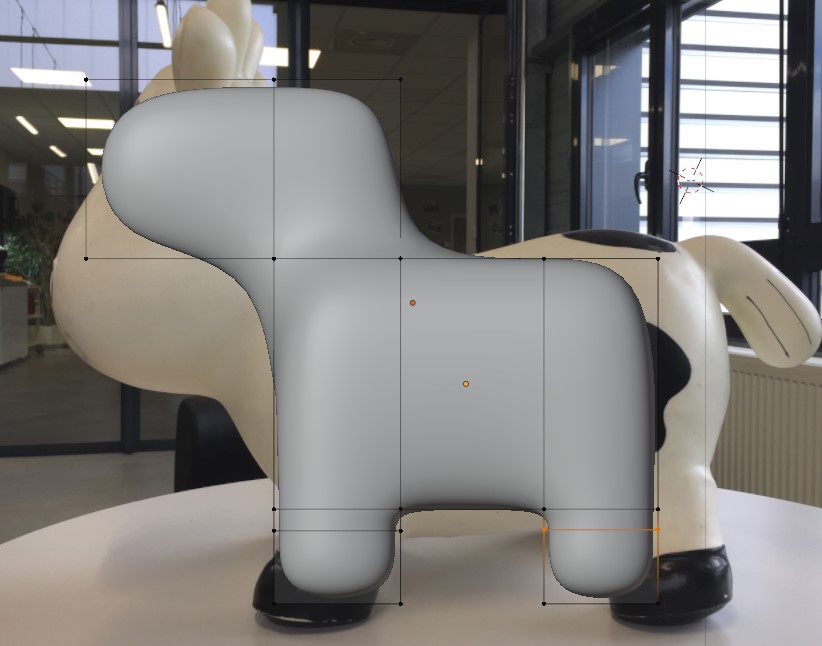
- Start with the image of the front, drag and drop on the correct view, so first press 1 to enter
- Same for right side image (3 for right side)
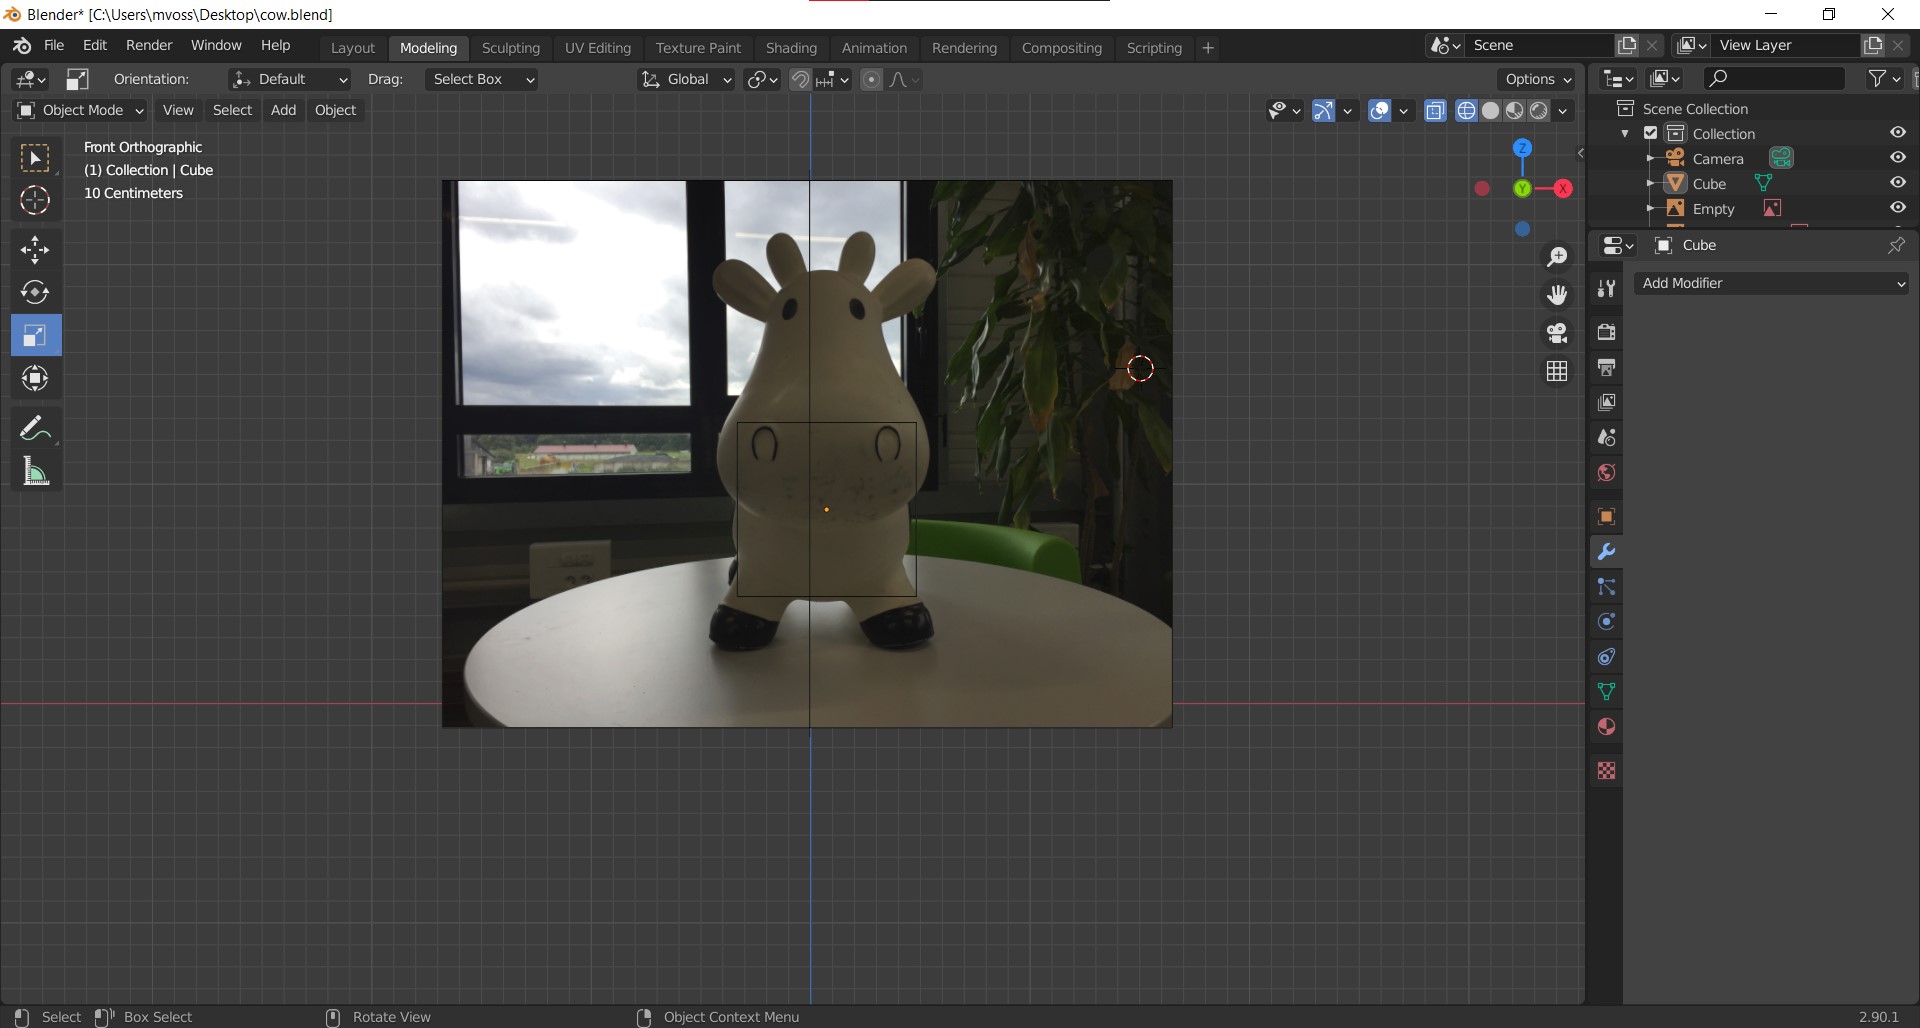
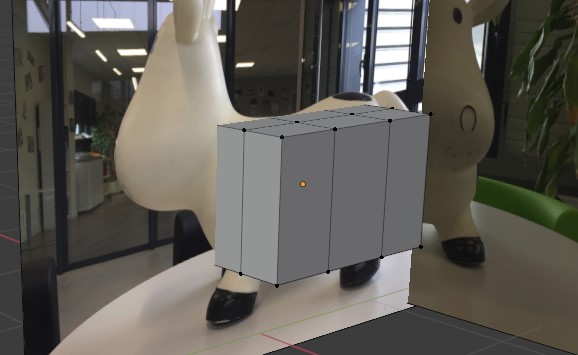
- Begin with rough shapes, then subdivide surfaces and add more and more details. We start with a cube for the body.
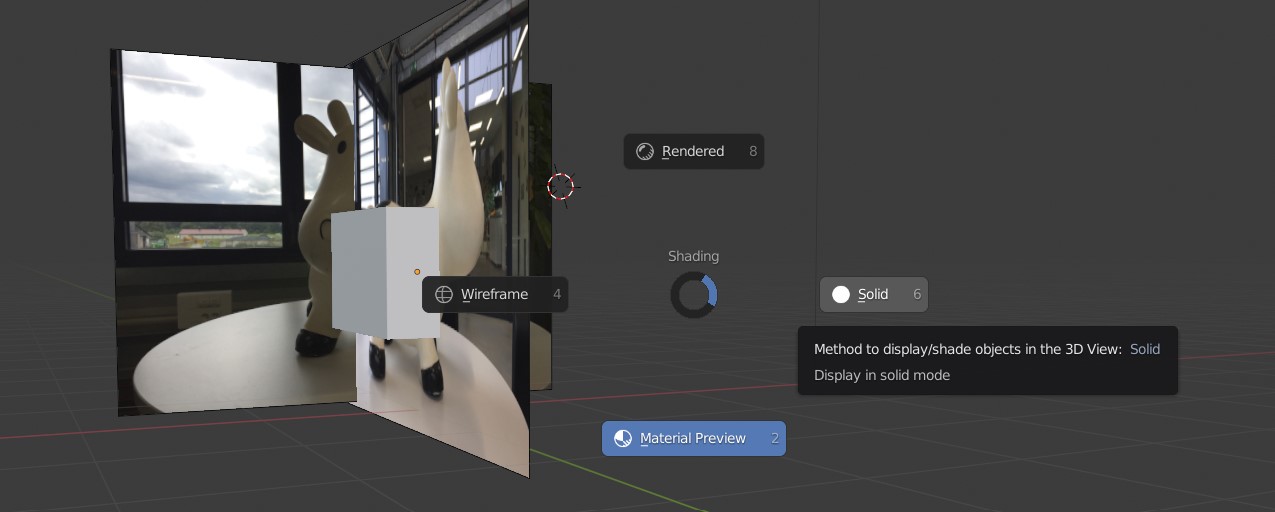
- Press Z then select the view you want
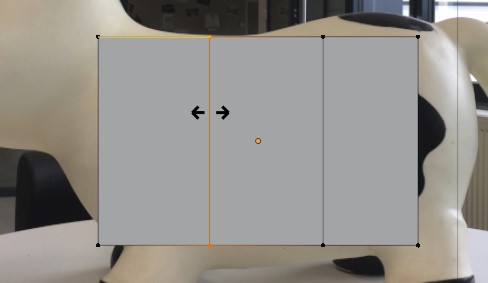
- Edit mode, press 3 then ctrl+r and hover over the edges of the body cube and divide the body in 3 parts. Then same for the front.
Select modes: vertex, edge, face.

Select four faces and then press E (extrude) to extrude the legs; continue with head.

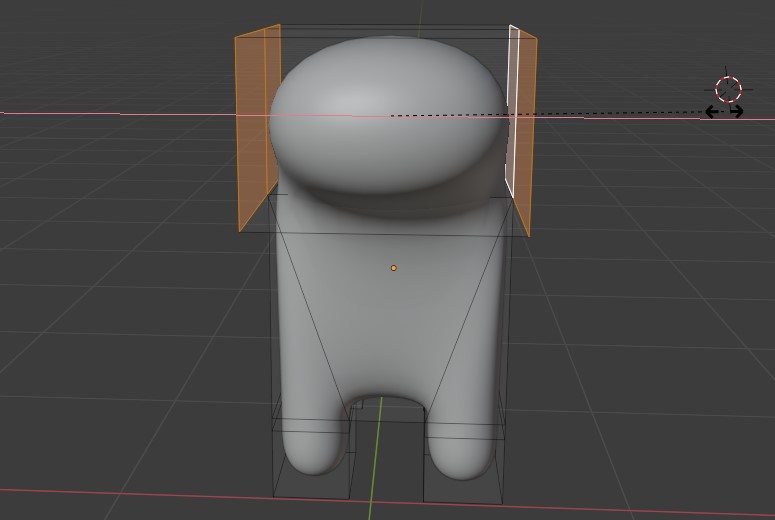
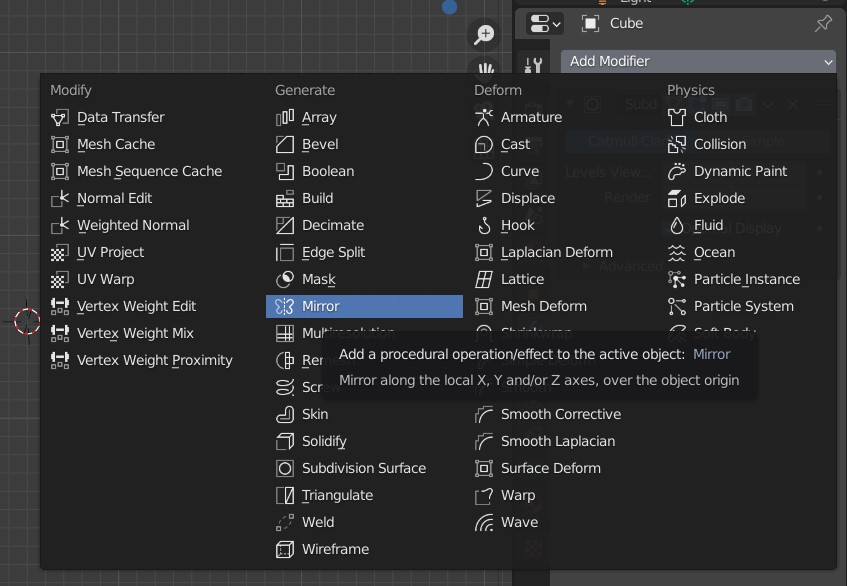
Then go to object mode, hide the images and add the modifier ‘Subdivision Surface’.
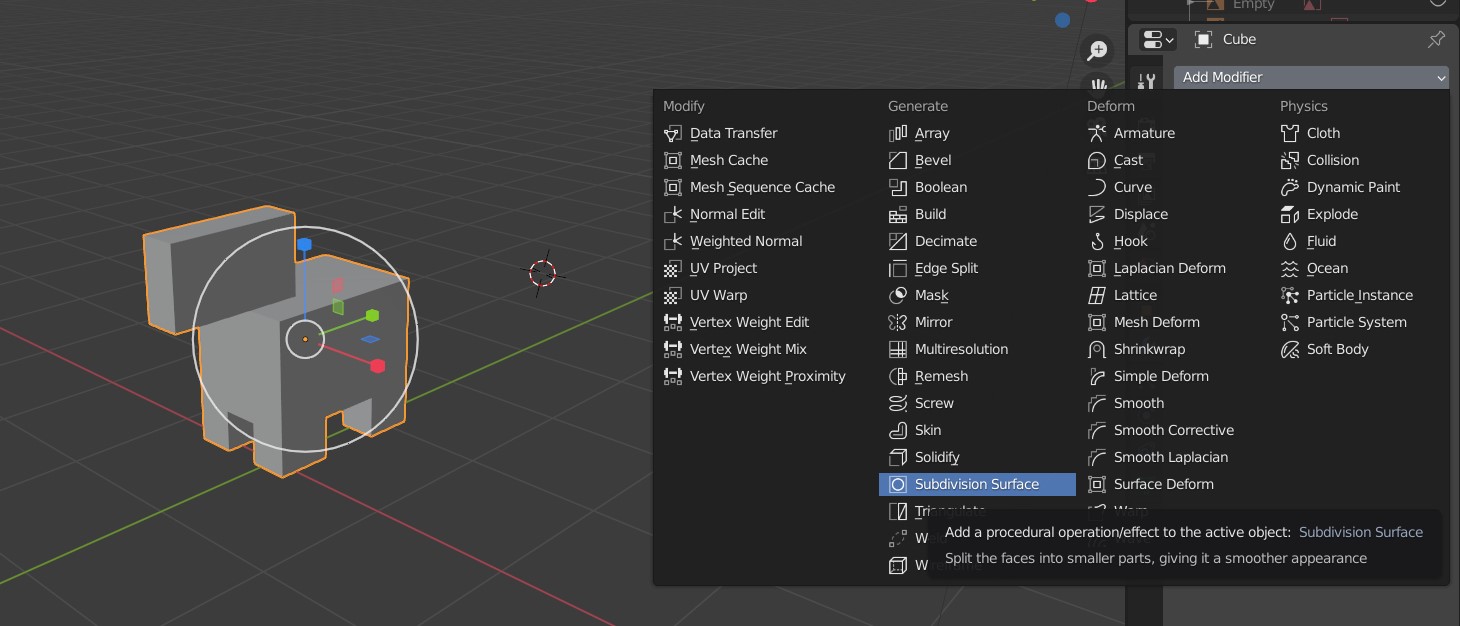
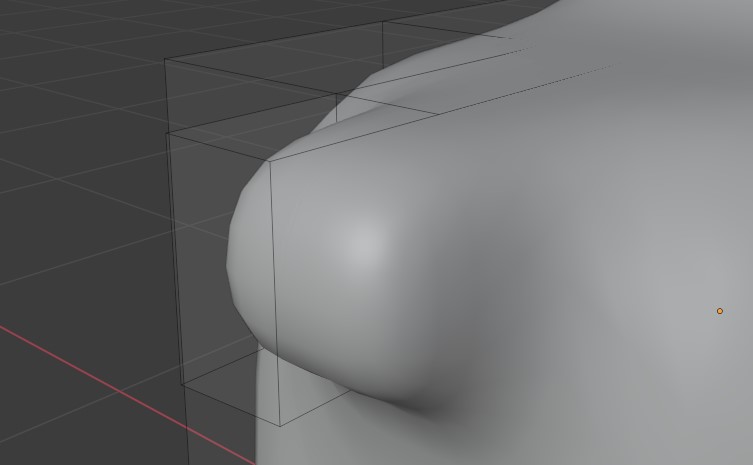
This is with 3 levels of subdivision:
Then right click and shade smooth:

Now, we’re gonna go back to edit mode and add more realism to the shape.
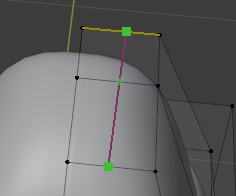
Alt + click on an edge for loop select. Then G > Z (to only move up and down) and move your mouse to move the looped edge (edge loops are very important! Especially in the face, google that). To put the edges on the same height: edit mode, 3, b (box select), select vertices (vertex mode), G > Z > 0 > enter. This is a scale in the Z direction of zero.
Box select + G + middle mouse button: snaps to direction you drag it in. Make the face wider with G > X.
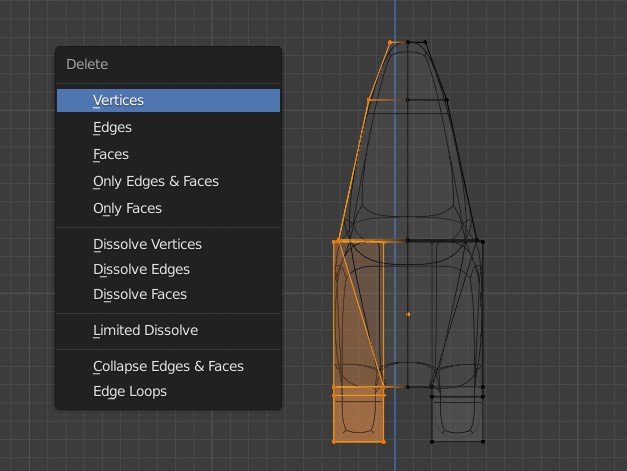
Ctrl + R and double click: right in the middle. So with these tools you can already get pretty close to the actual shape of the cow. Now, we’re gonna delete half of the cow for symmetrical editing. Then we’re adding a mirror modifier.
K: knife, click where you wanna cut, hit enter when you’re done.
Other select options: C + scroll: make selection brush smaller/larger Ctrl + right click and drag for lasso
Orbit options: Select vertex, hit the numpad . (I don’t have a numpad so I changed my shortcut to select vertex > ;) to zoom to selected frame.
Extrude/rotate/scale exact amount: E/R/S > type number
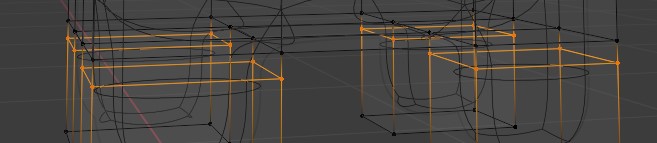
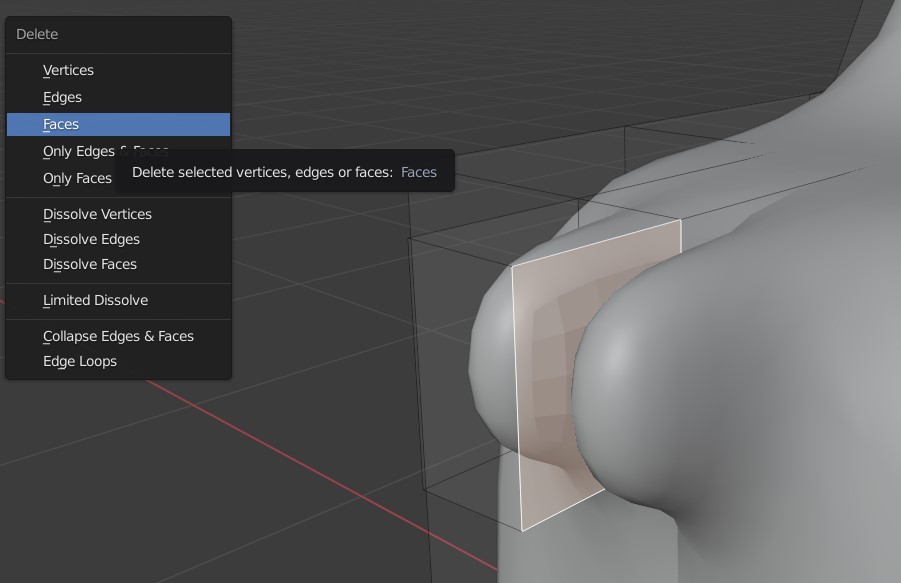
Remove unwanted faces:
Multiresolution: great for sculpting
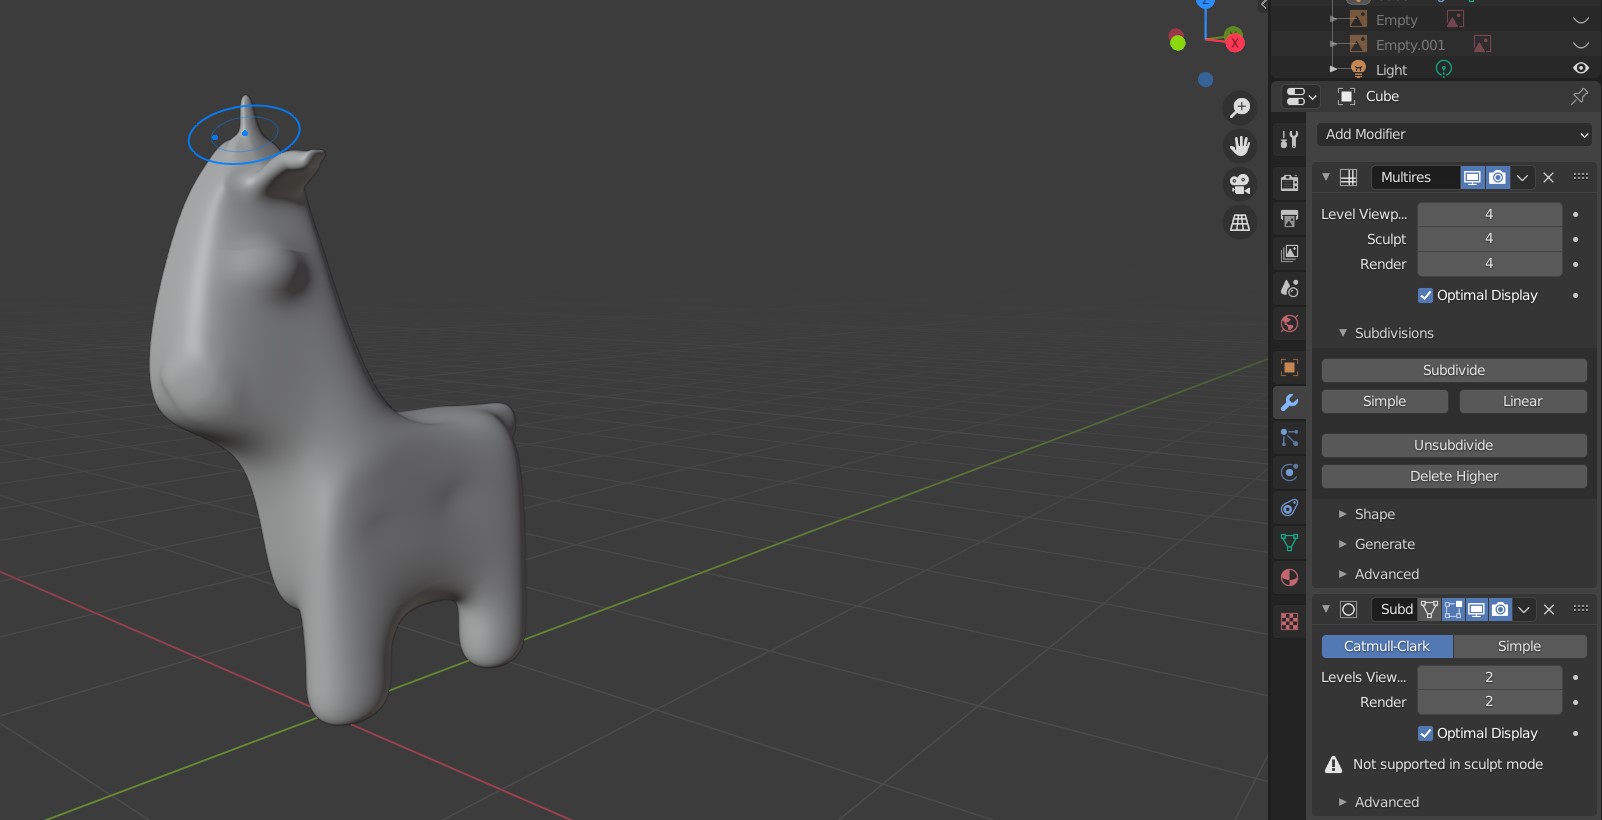
Sculpt: click and drag, remove: ctrl + click and drag. Smooth brush is a great one.
Extruding SVGs
- Import SVG
- Select all > CTRL + J (join) so separate curve objects become one
- Scale if necessary
- Convert to mesh
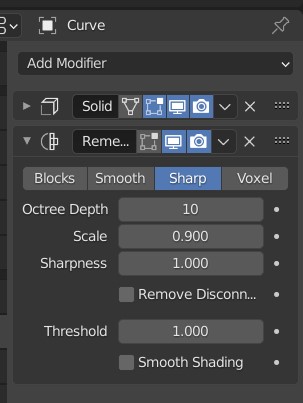
- Go to edit mode (tab) > modifiers and select solidify, then apply
- Then add remesh modifier, I used the following settings:
Links
- http://feadi.de/: Blender tutorial section
- https://www.youtube.com/watch?v=7ZDwMzjVBi0