Digital bodies
Anastasia Pistofidou
This class introduces new digital tools that complement hand tools in order to design, represent, make and modify the human figure that can then be used as a canvas for creation.
https://class.textile-academy.org/classes/week02/
Concept
I was inspired by exaggerated shapes of the body displayed in comics. Absurdly unrealistic body types are seen as normal. This reminded me of unrealistic ideals in the fashion industry, so I decided to keep this in mind while designing my human in Blender makeHuman.

“Character designers learn how to exaggerate a cartoon character’s proportions so they’re unbelievable enough to have visual appeal but believable enough that audiences will actually care about them.
This exaggerated anatomy has shaped the iconic look of cartoons to the point where we can’t imagine toons without noodly limbs, giant heads, ridiculously large shoulders, preposterously tiny waistlines and great big eyes.
But if these same proportions were applied to living people the results would be horrific, as the simple acts of looking, walking, lifting, standing and giving birth ravage bodies too imbalanced to function properly.
Their brains would struggle in vain to process all the information presented by their big eyes, their noodle arms and legs would make movement and muscular exertion of any kind excruciating, and don’t even get me started on giant toon heads and childbirth…” source
Click here for the link to the pinterest board I made as inspiration
Process
Step 1: MakeHuman
MakeHuman is a free and open source 3D modeling software specifically designed for the prototyping of humanoids. You start out with a ‘neutral’ genderless body, that you can modify using the menu on the left. With the sliders you can tone muscles, elongate limbs and more. You can also make a model by entering measurements. Using this you can get a pretty good approximation of your own body. You can then use this model in other programs such as Blender to animate, or in CLO3D to make a pattern.
The sections:
- Modelling: to shape the body
- Geometries: has clothes (and they are terrible)
- Materials: for skin colors, eyes, hair etc.
- Pose and expressions: speak for themselves (set options of poses, you can download poses)
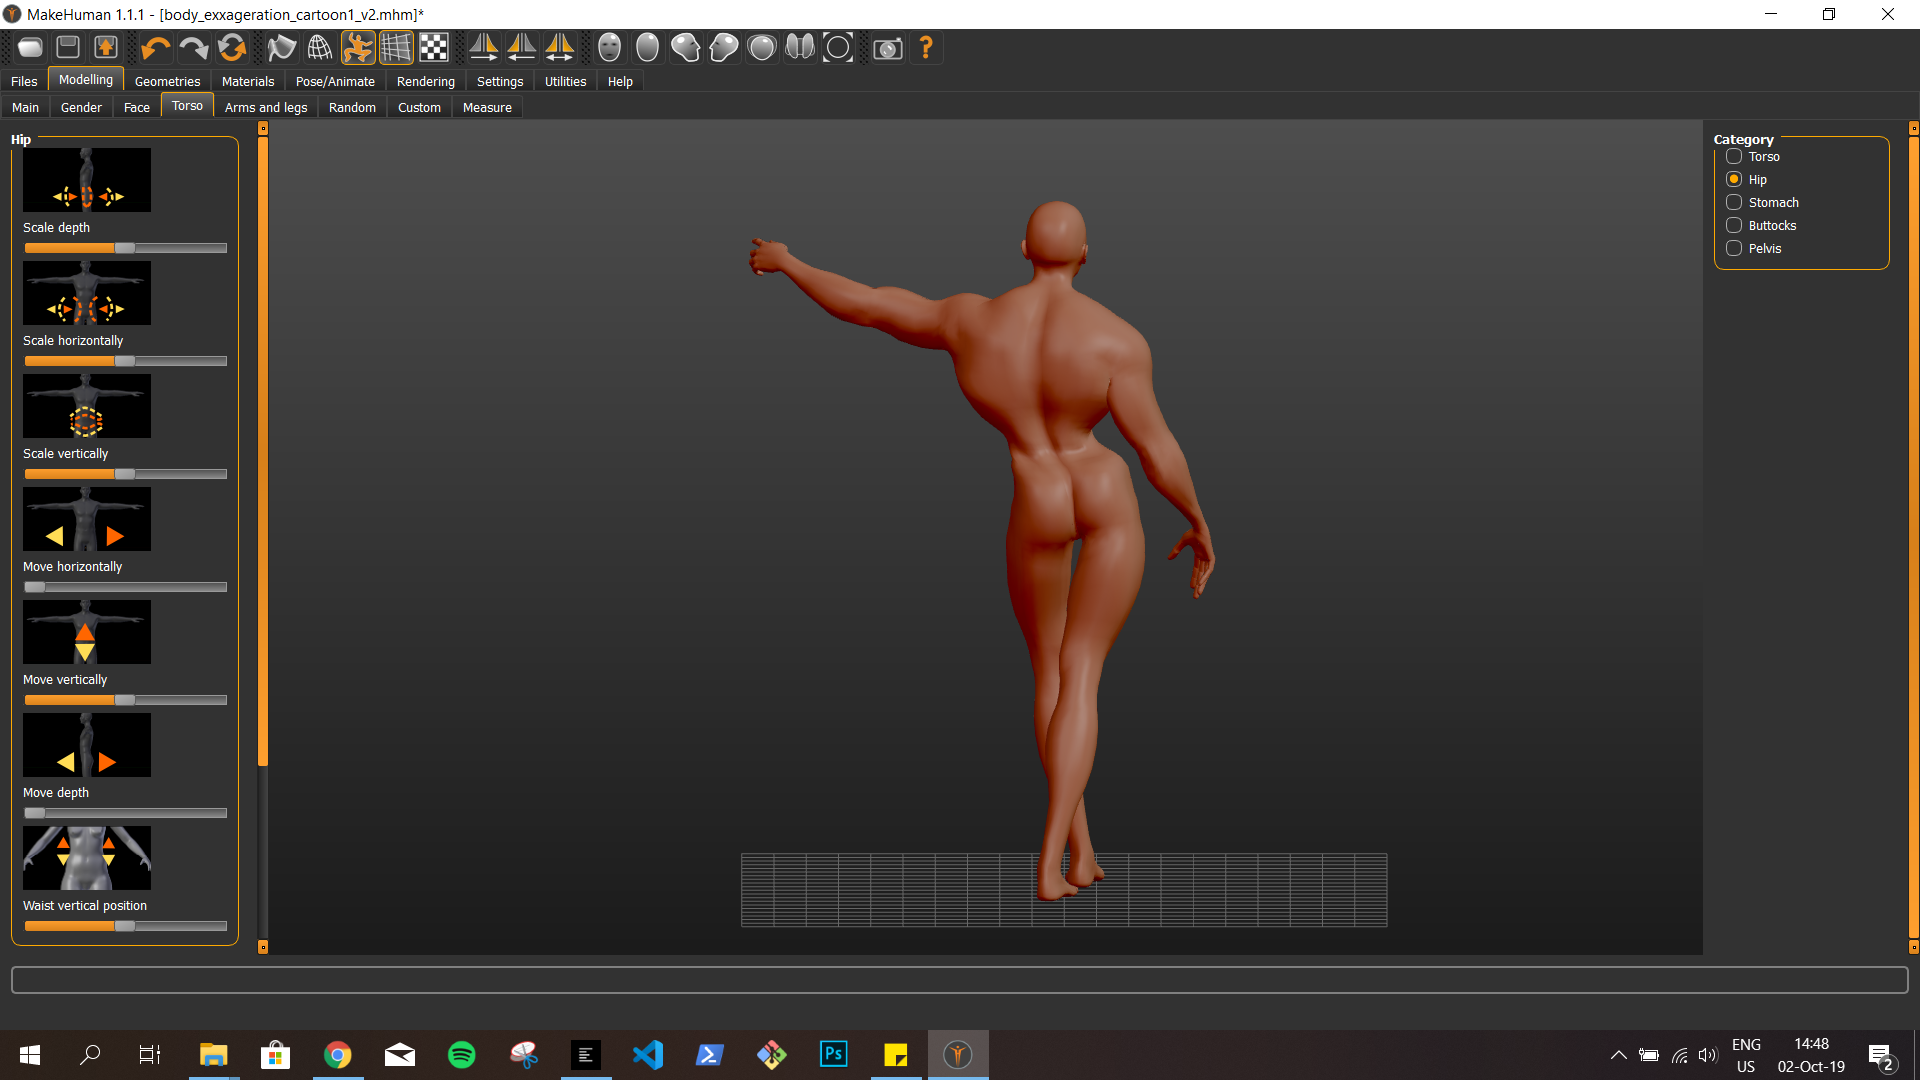
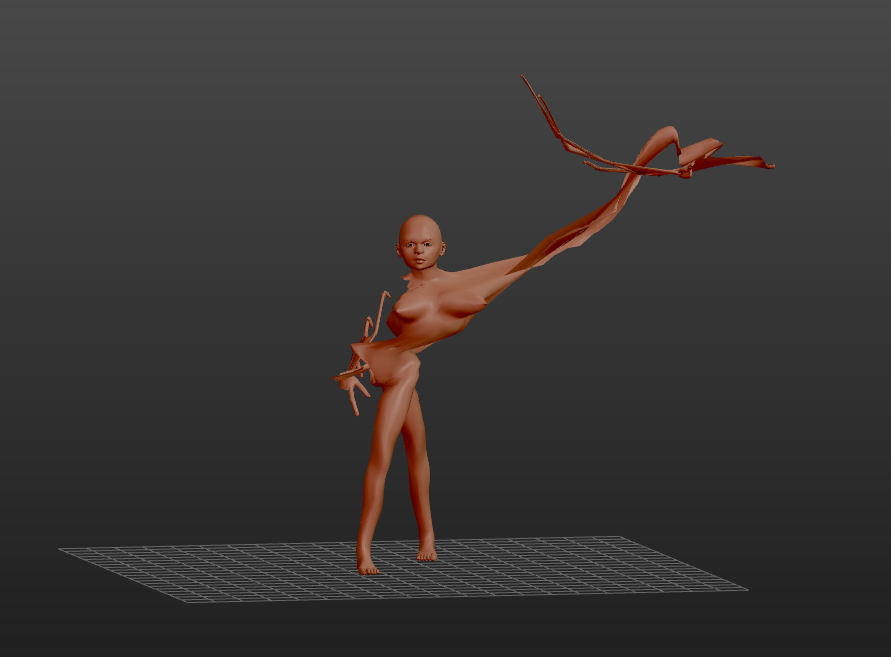
When playing around with the sliders, interesting things may happen (after releasing the slider the model returns to normal).
Step 2: Slicer
After creating and exporting the body I imported the .stl file into Slicer for Autodesk, but I noticed the shape was not fully closed near the shoulder which caused some glitches.
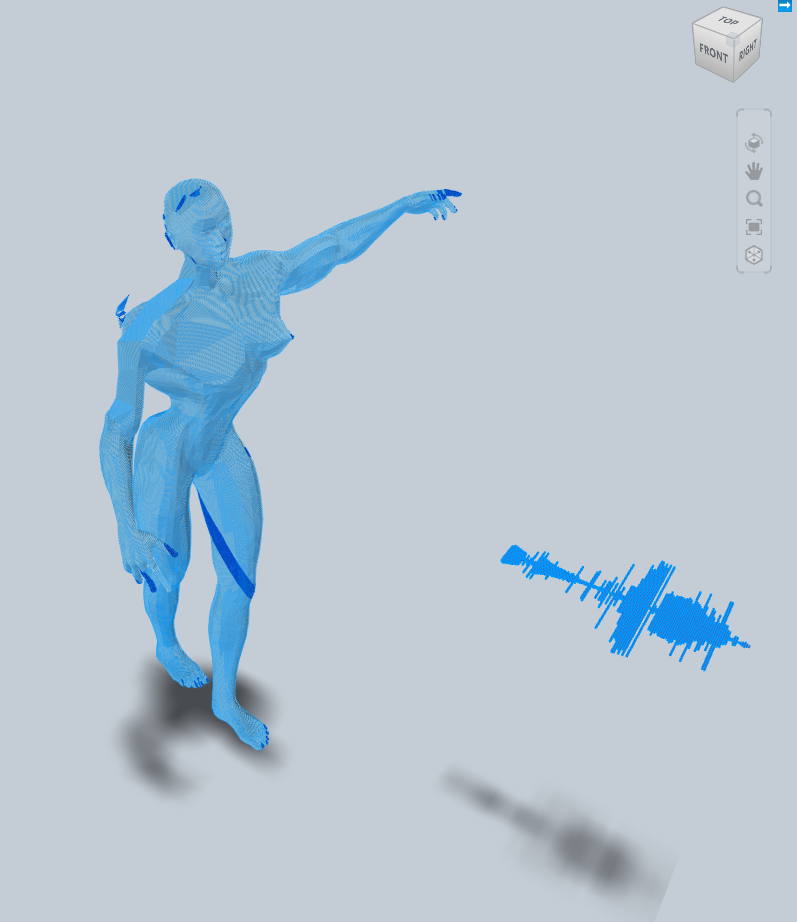
When using an .obj file the mesh was properly closed, so I continued with that. I tried some of the settings in Slicer to generate different kinds of mannequins (see below).
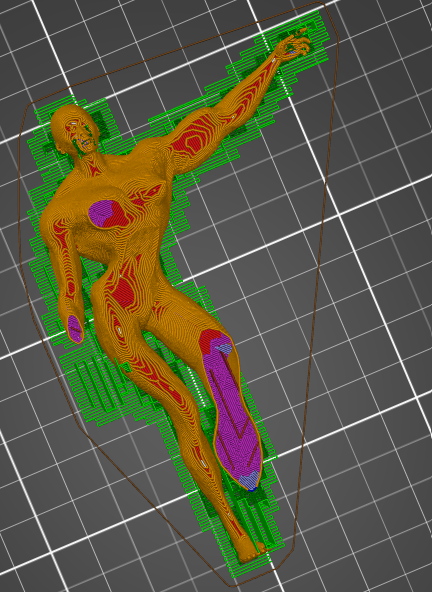
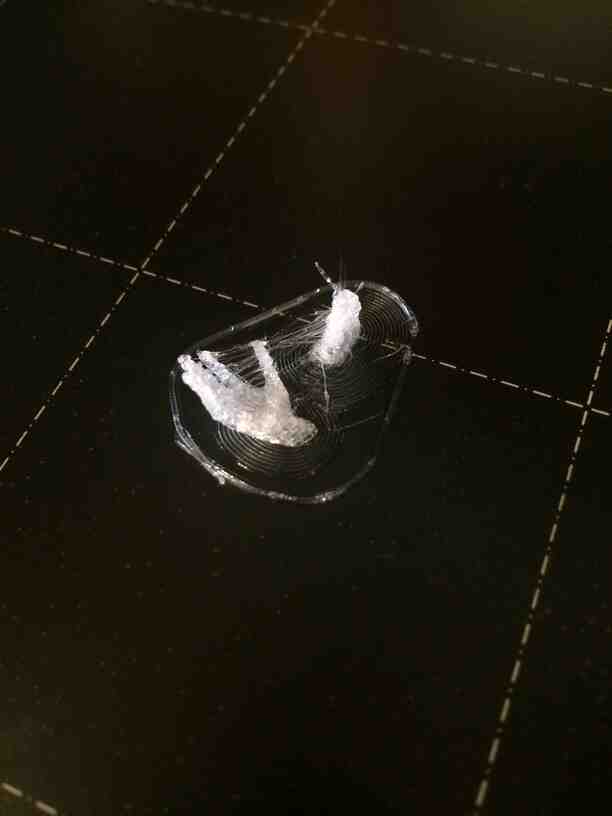
Step 3: PrusaSlicer
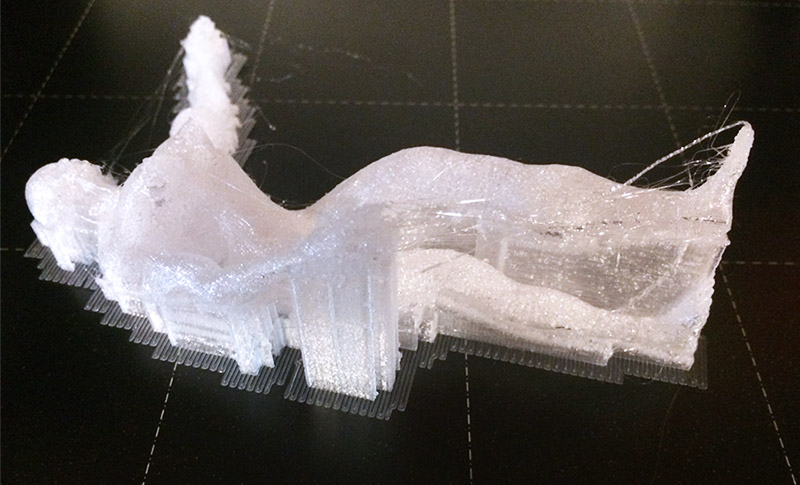
Since I had to learn how to use the 3D printers in the lab, I wanted to make a miniature 3D model of my mannequin as a test. I used PrusaSlicer to slice the model and printed with transparent CPE. Since it’s hands and feet were very small they were a bit fragile, so they broke off while I was removing the support material. Printing them separately made them more defined, and with a bit of glue the model was finished.
Step 4: Fusion360
I decided I wanted to go for a bust so I could go as detailed as I wanted it to be without needing hundreds of parts. I first had to cut off the legs before I could continue. For this I used Fusion360 as I want to learn using this software anyway and Meshmixer did not seem to work the way I wanted it to work. A simple plane cut would not suffice as I wanted to keep both hands, the plane cut would go through one of the hands (although there may be a solution that I am not aware of).
Step 5: Slicer (again)
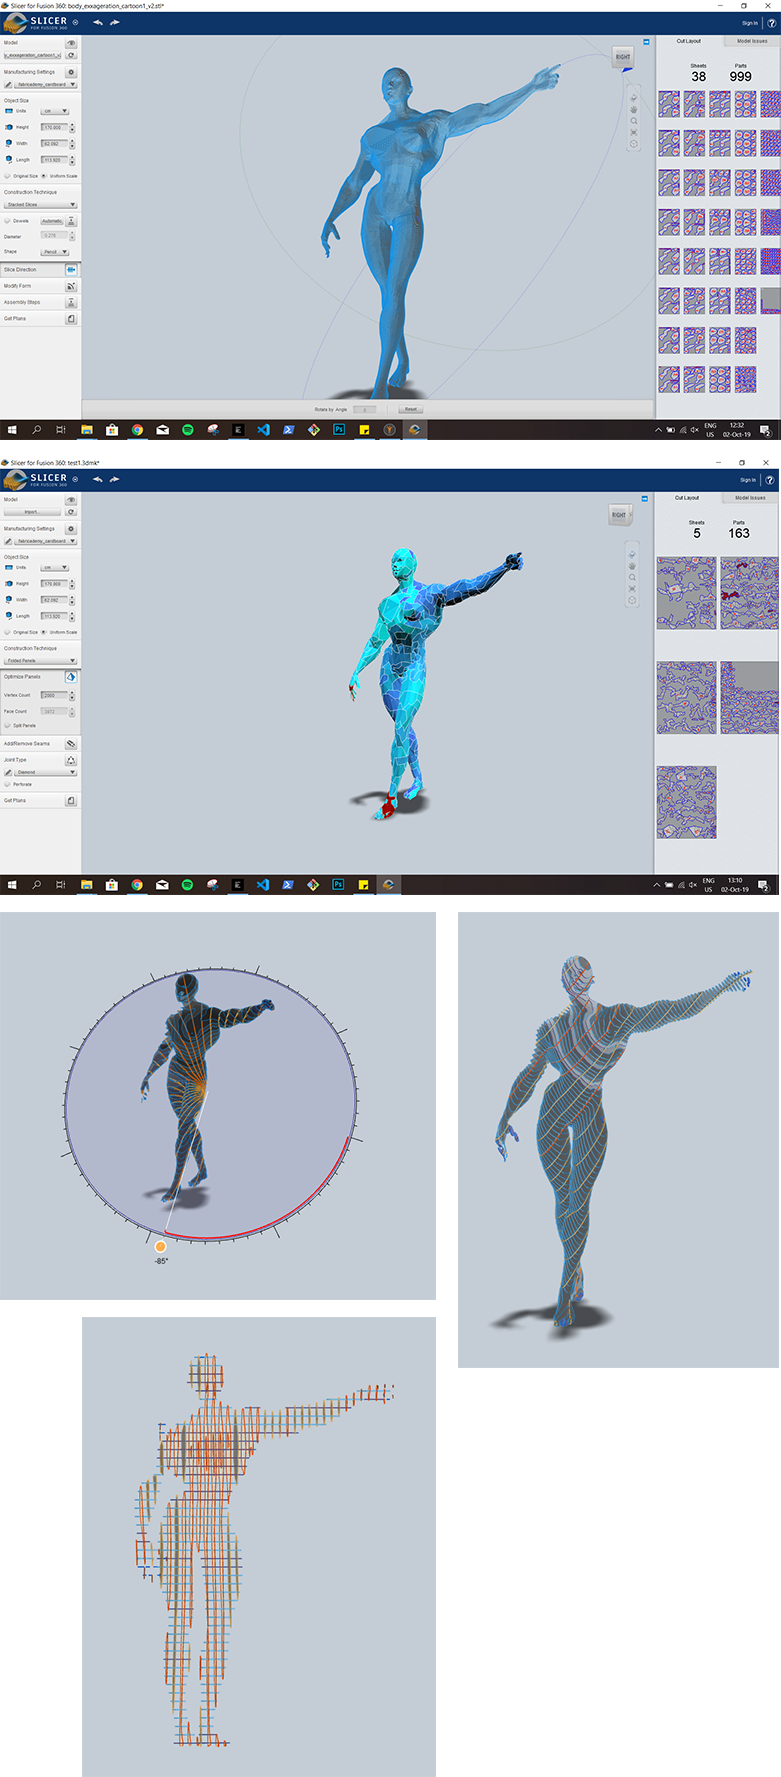
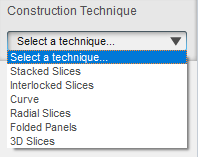
The construction technique options are show in the image below. With slice distribution you can change the number of slices or panels. Slice direction is used to change the angle of the slices (if applicable). Modify form is useful to make the model hollow, or to thicken or shrinkwrap it (both thicken it but differently).
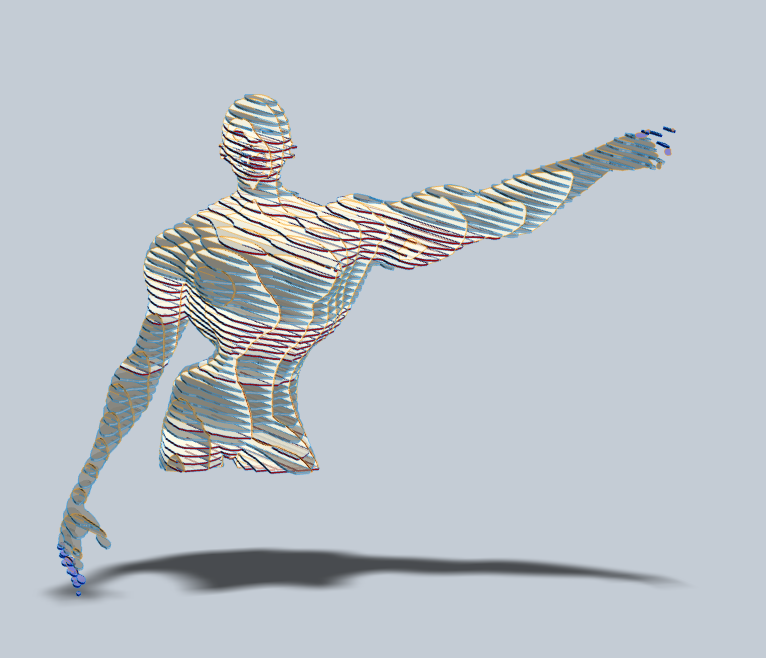
I went for a model using curves. With every setting I tried I would lose a few fingers or limbs, so I finally went for 37 layers on the 1st axis and 39 curve layers, as this gave me the most optimal shape and the hands would still be quite visible.
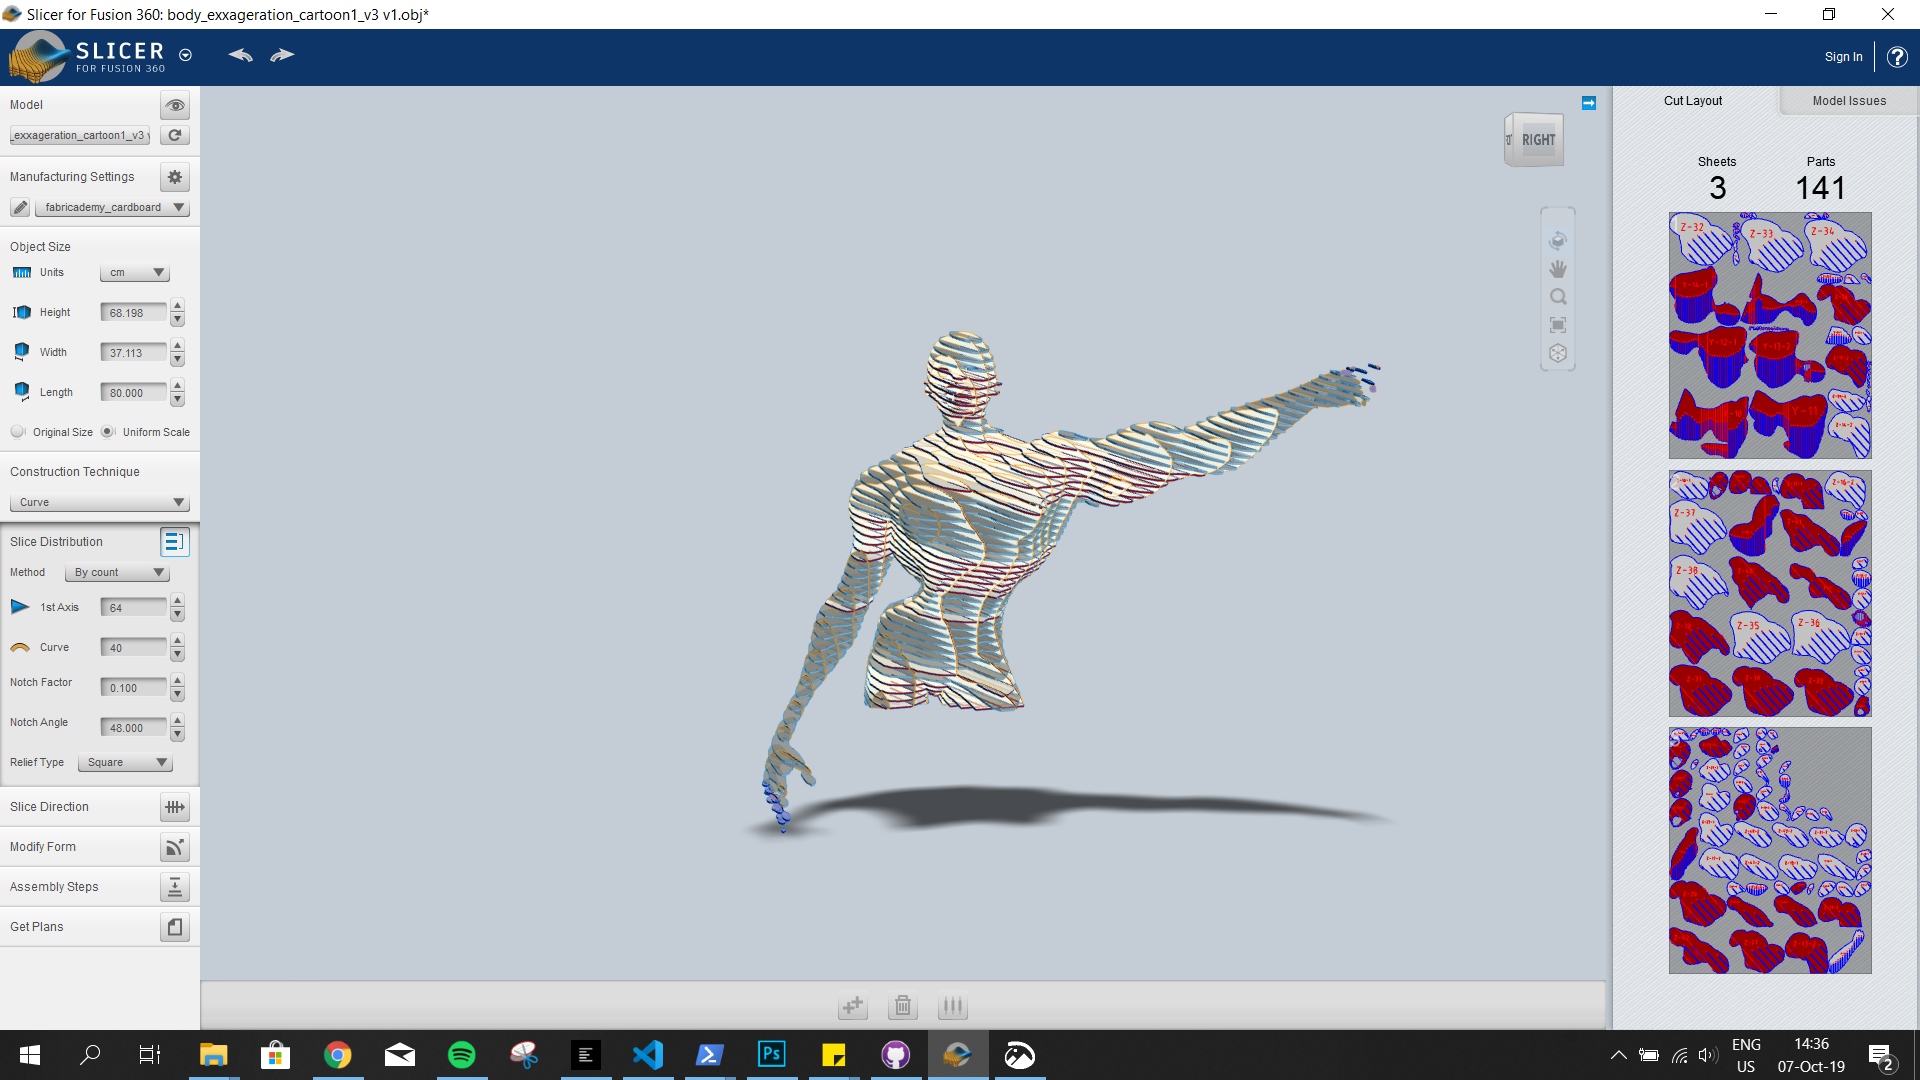
Assembly steps are available for the sliced models.
Step 6: Lasercutting
The settings I used for lasercutting were:
| Settings | Power | Speed | Corner power |
|---|---|---|---|
| Cut | 70 | 400 | 20 |
| Cut (used to engrave) | 25 | 400 | 20 |
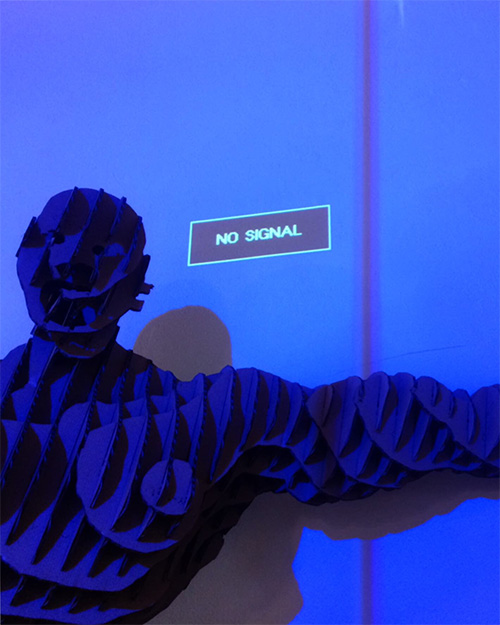
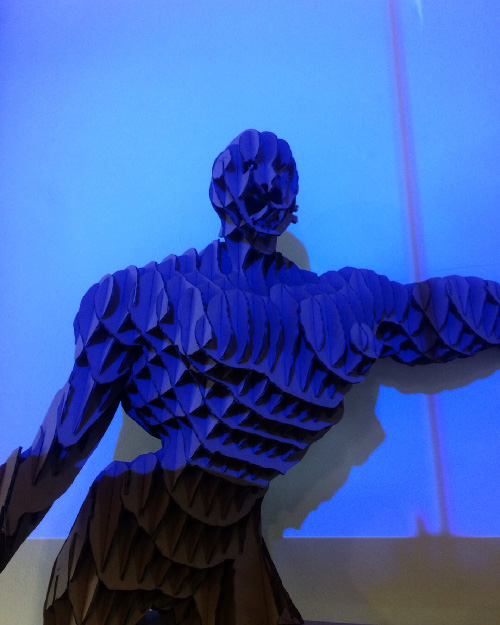
Below are some process pictures as well as the assembled model (assembled following the steps from the video above).
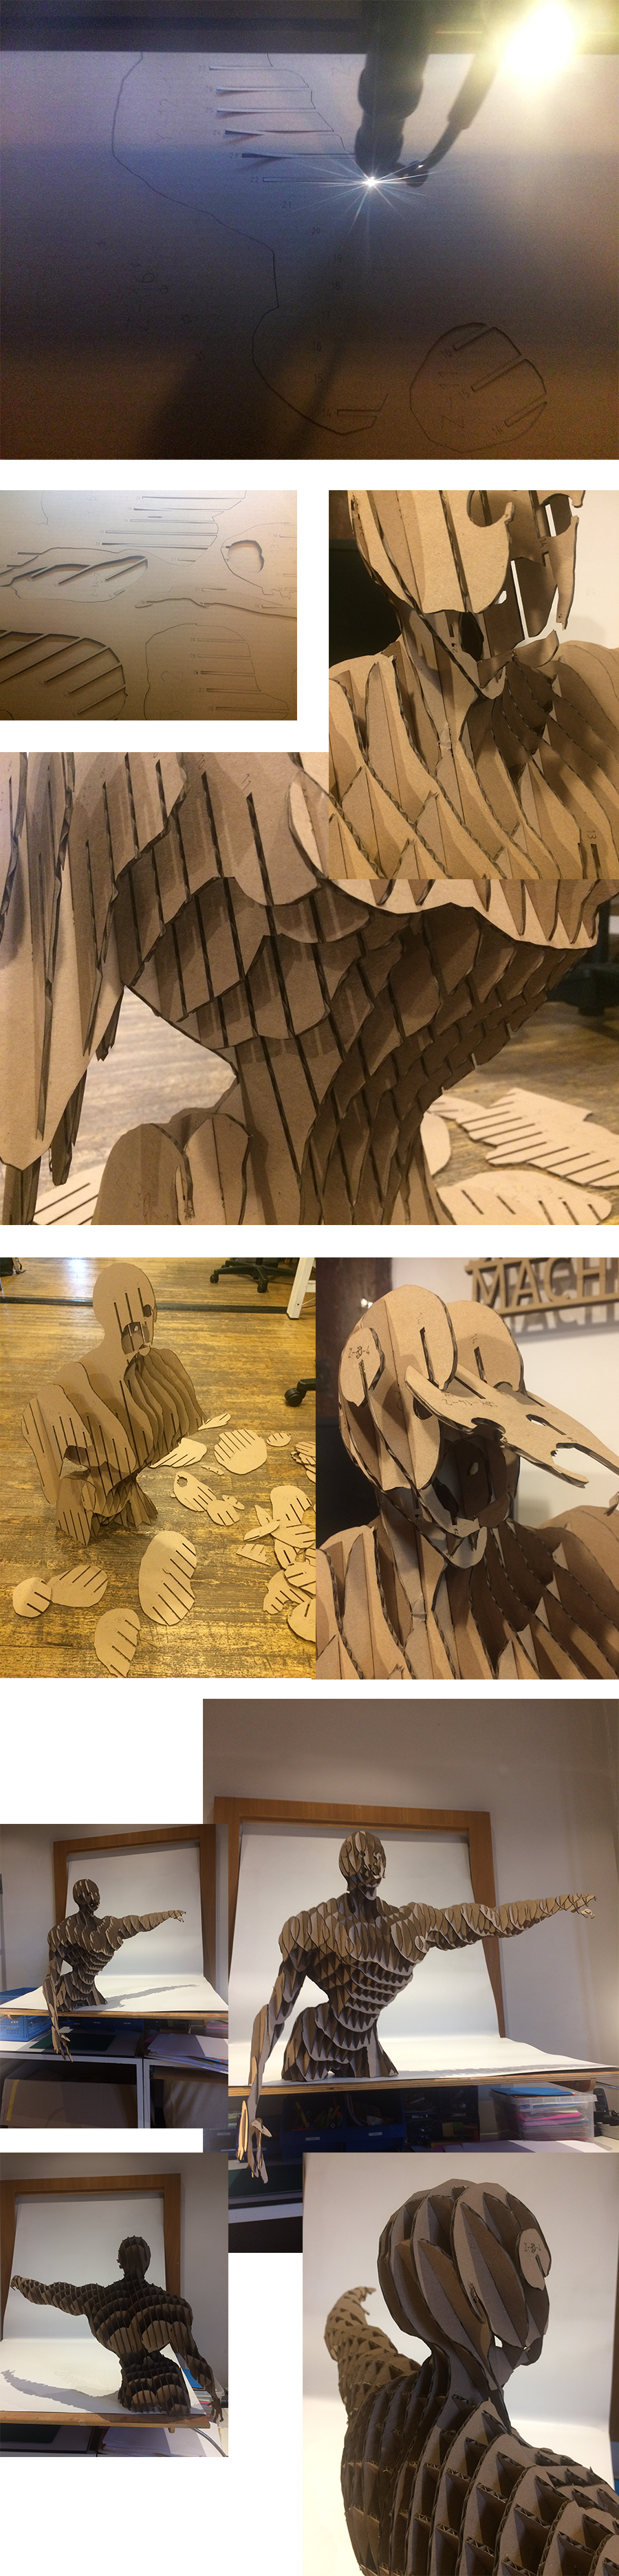
Final model