Laserengraving bioplastic
For laserengraving, you need a bitmap image. I did some tests with different possible settings in Photoshop.
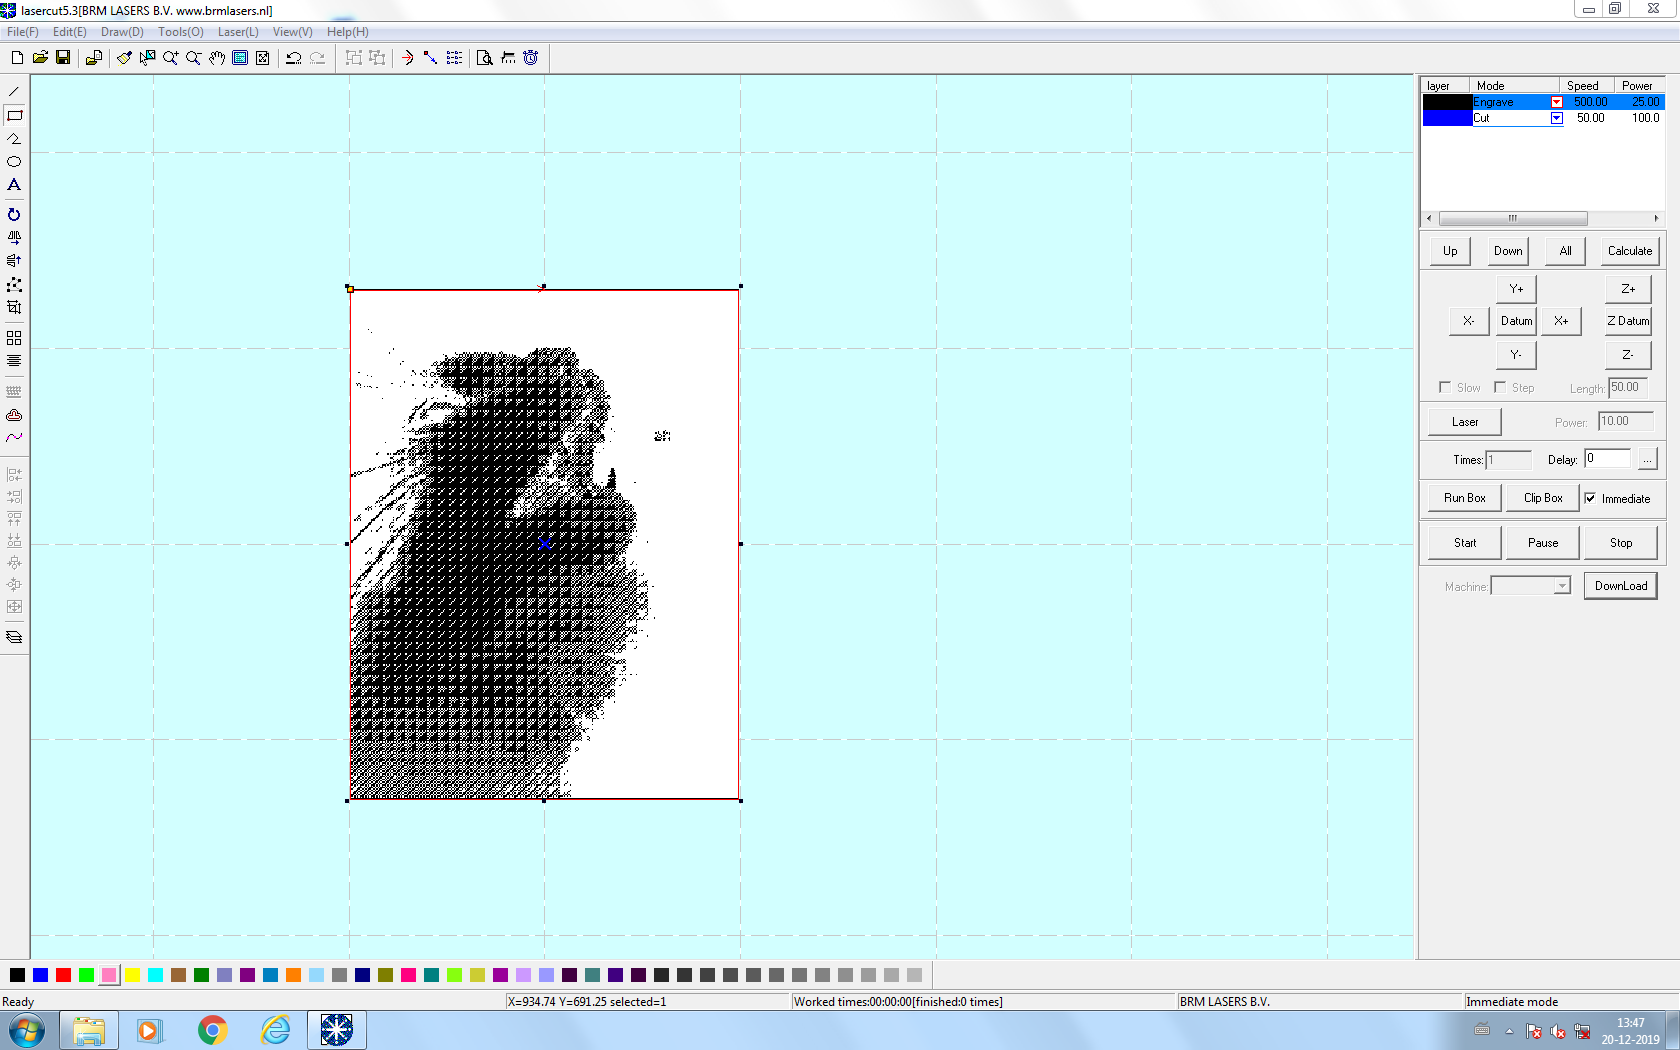
Lasercut settings:
- Cut: speed 50, power 100
- Engrave: speed 500, power 25
Bitmap images settings:
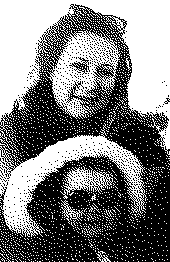
- Diffusion dither
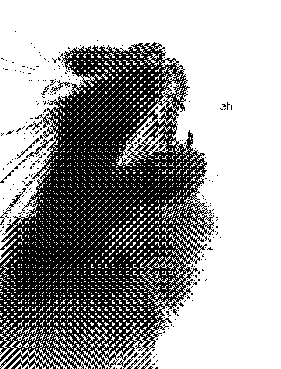
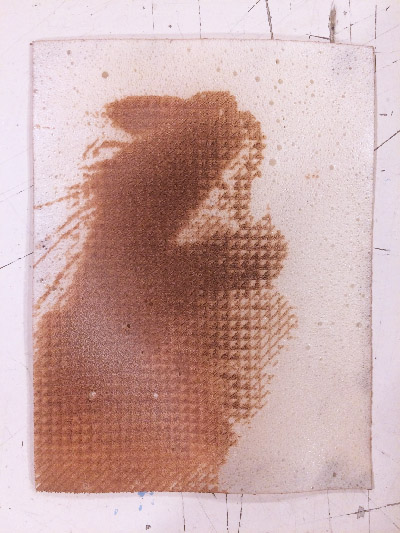
- Pattern dither
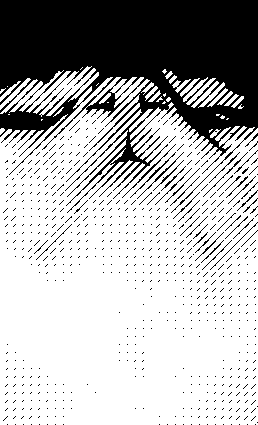
- Custom pattern with diagonal stripes
Process
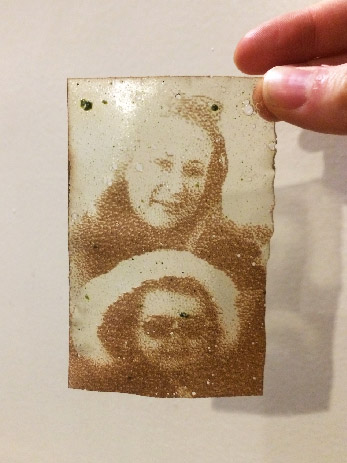
Thin bioresin: because it was a thin material it was easier to get it to stay flat. The cut settings for this thickness were too powerful, that’s why the edge on the right upper side is not completely straight.
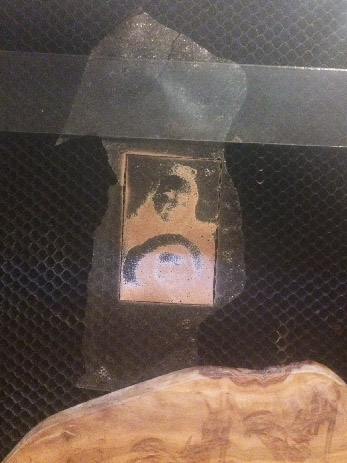
Thick bioresin: this is the same material as before but thicker and with more irregularities. I needed to use some weights because it had significant height differences; it was flatter on the bottom of the material so I engraved the image upside down.
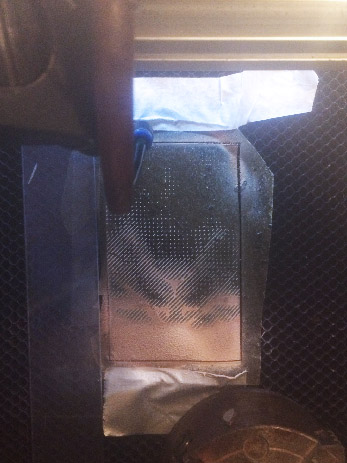

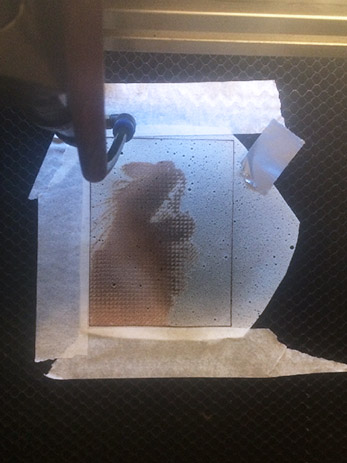
Biofoam: the material wasn’t completely flat resulting in local color differences. The letters (‘ah’) were too small and should have stayed fully black instead of dithered.
Tips
- Use weights and tape to flatten the material
- Try to find an average height of the material in case it’s very irregular, and focus the laser at that point
- Exclude text from the dithering process