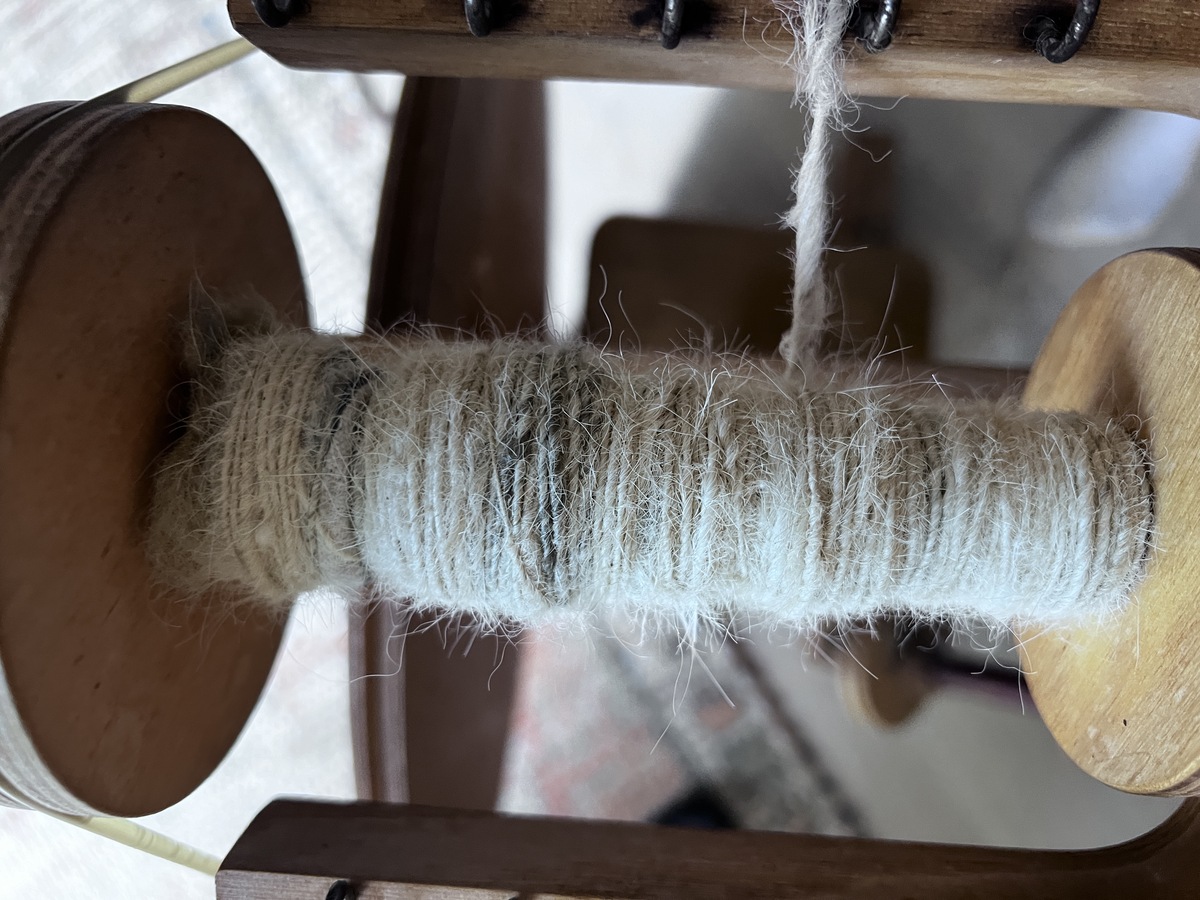
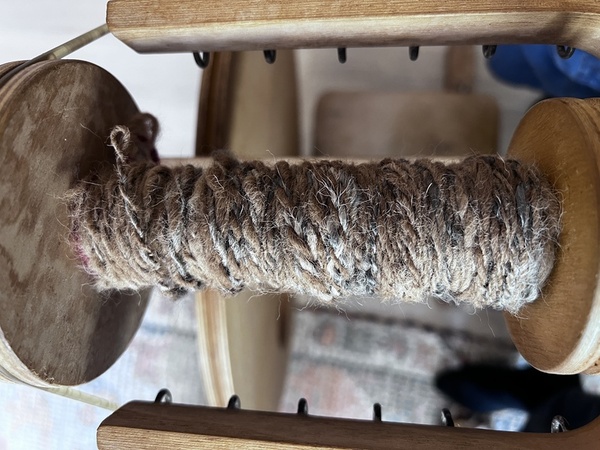
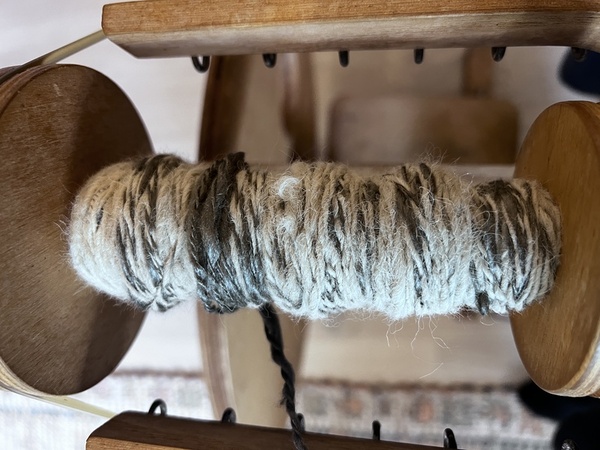
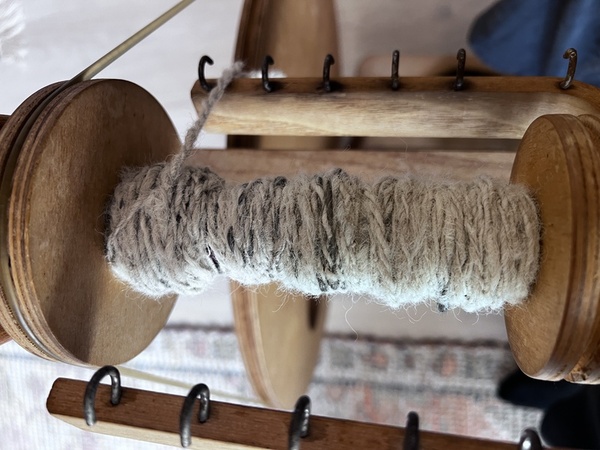
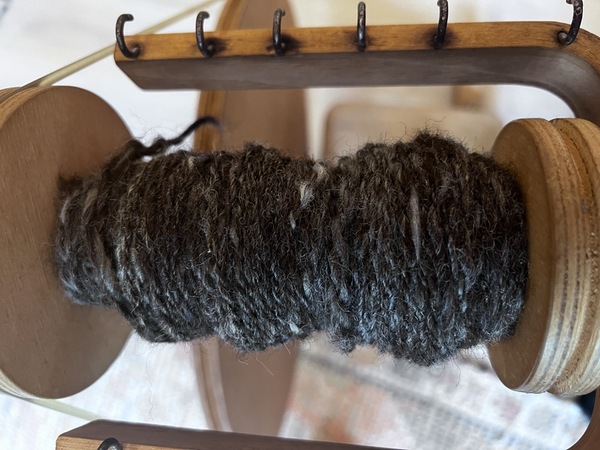
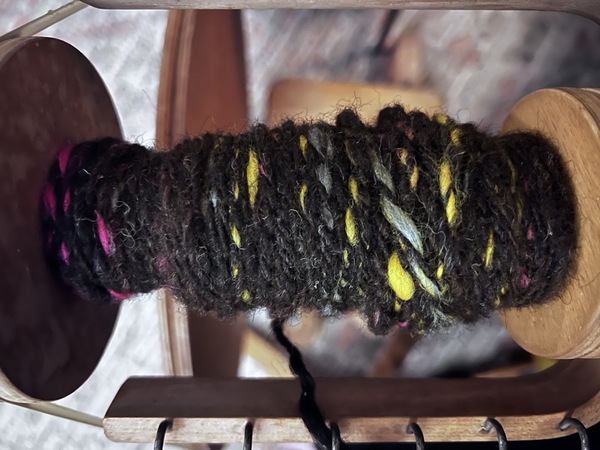
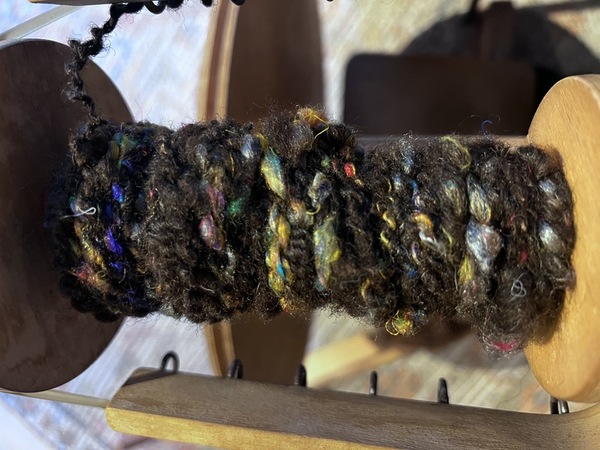
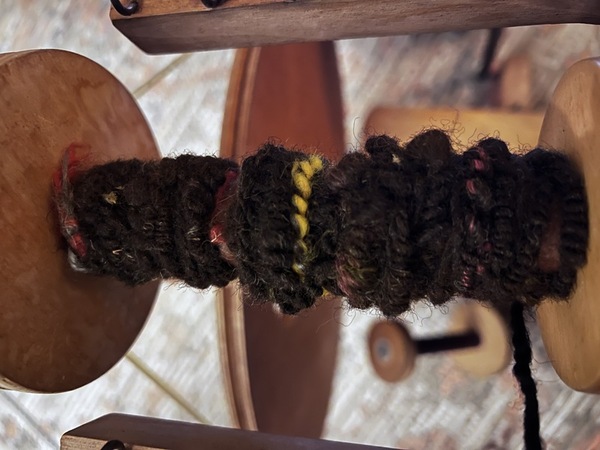
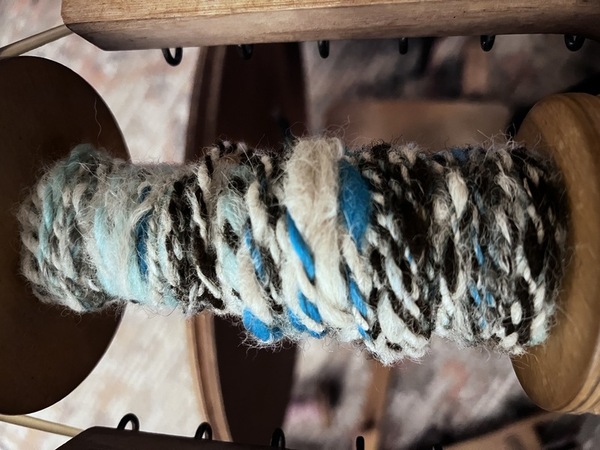
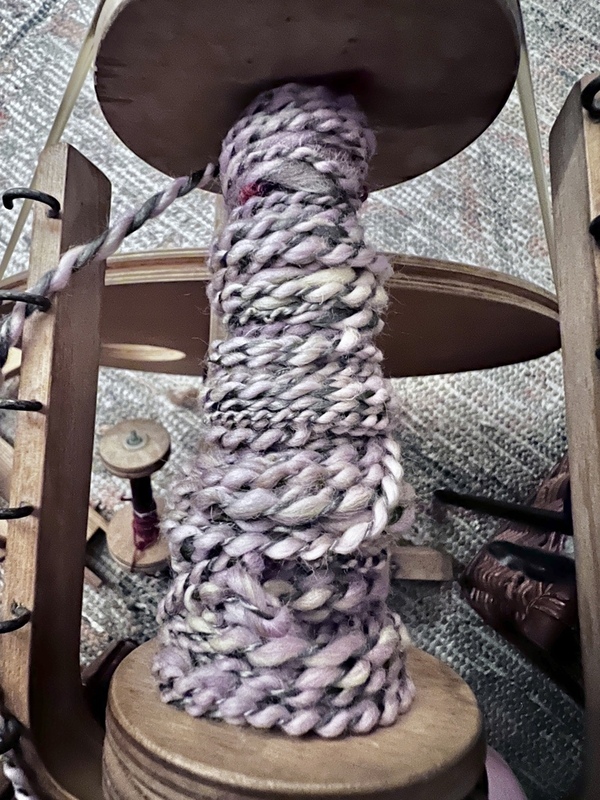
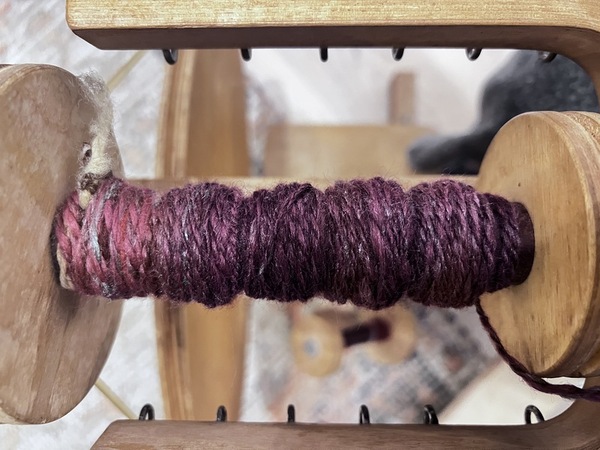
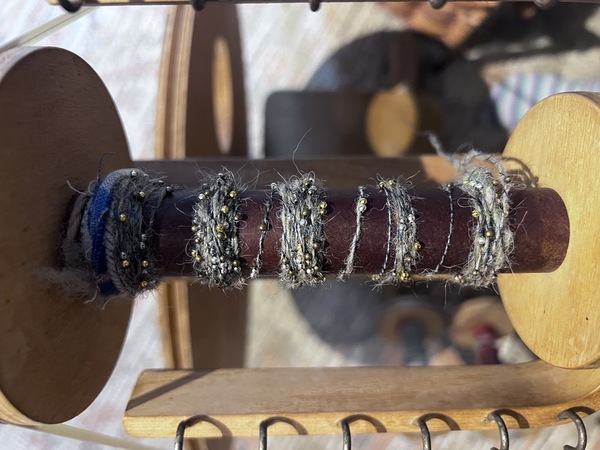
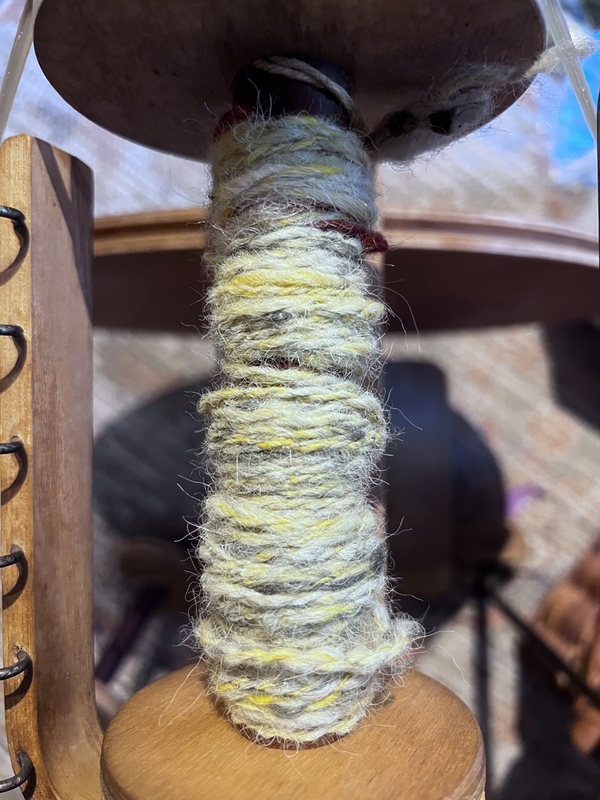
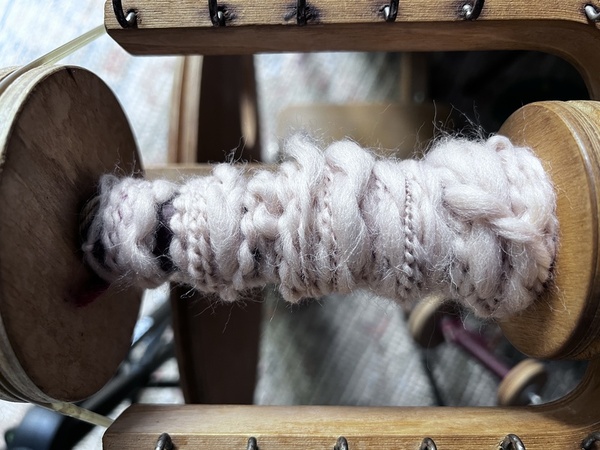
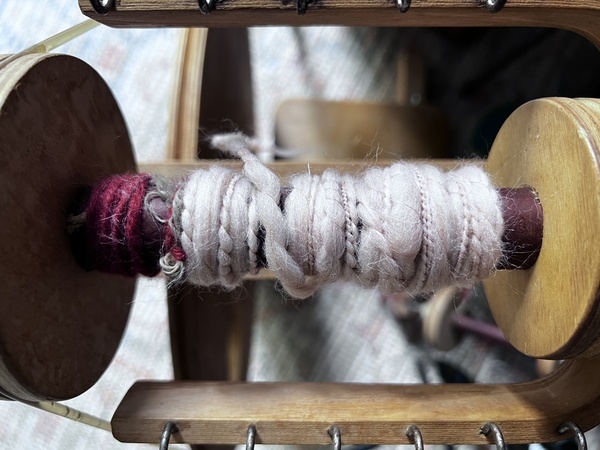
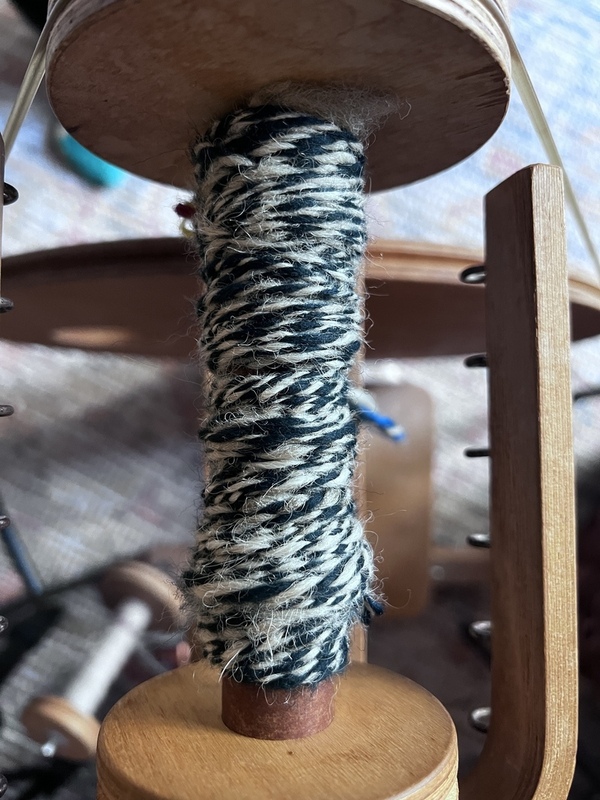
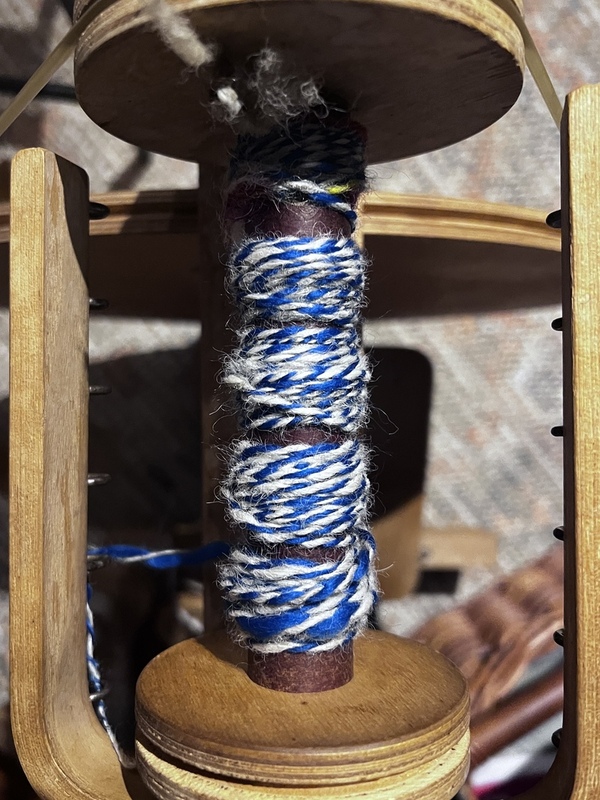
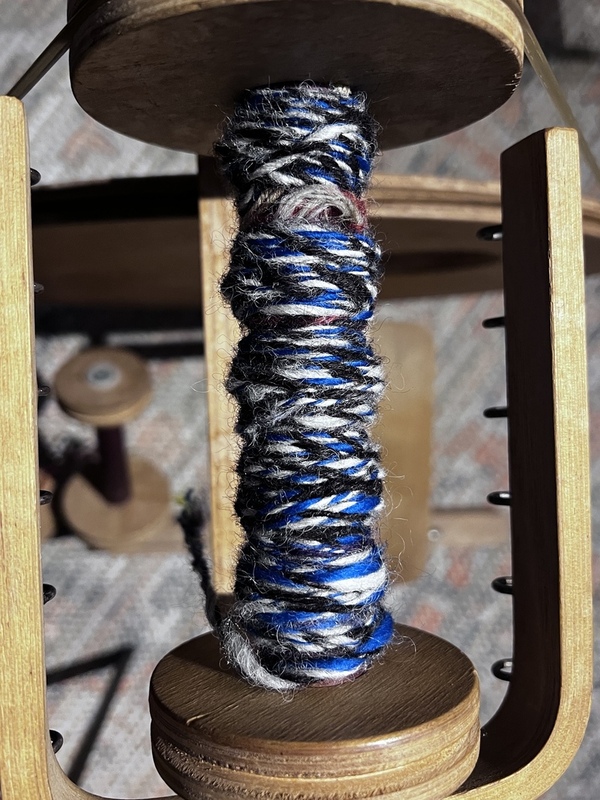
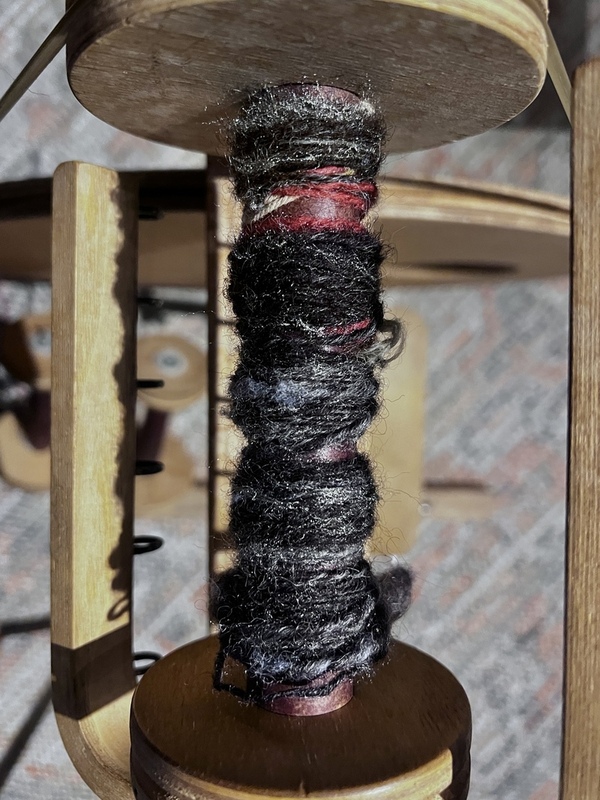
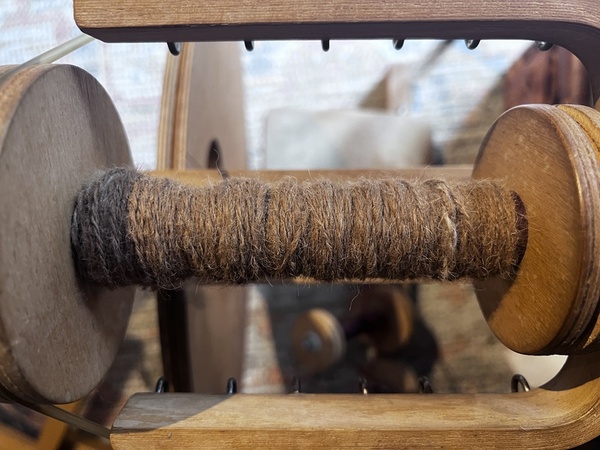
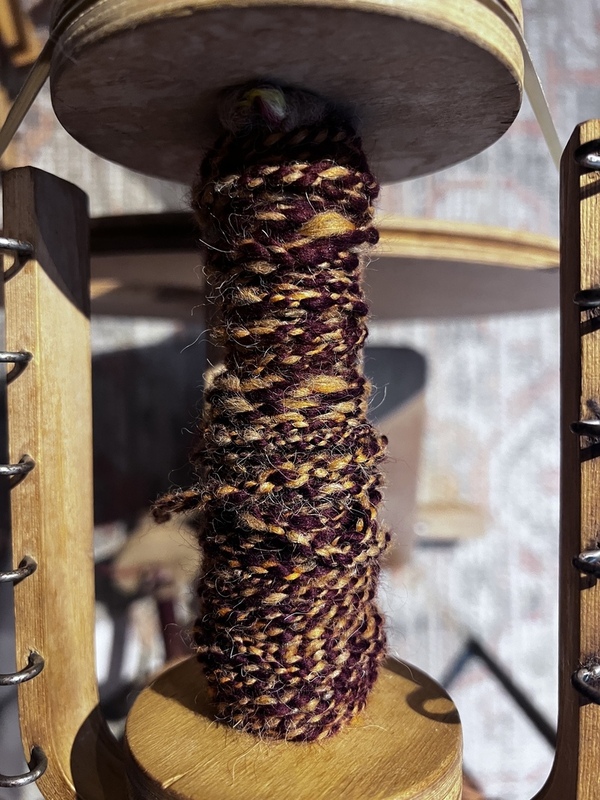
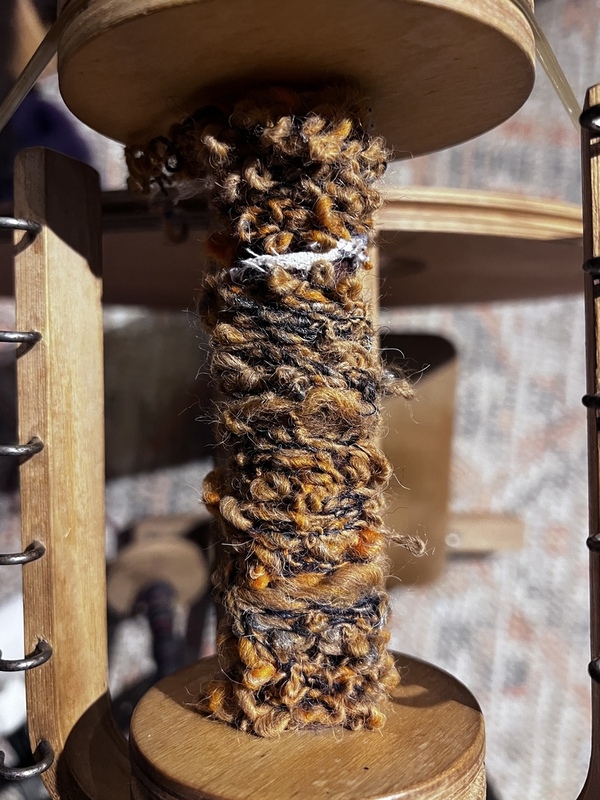
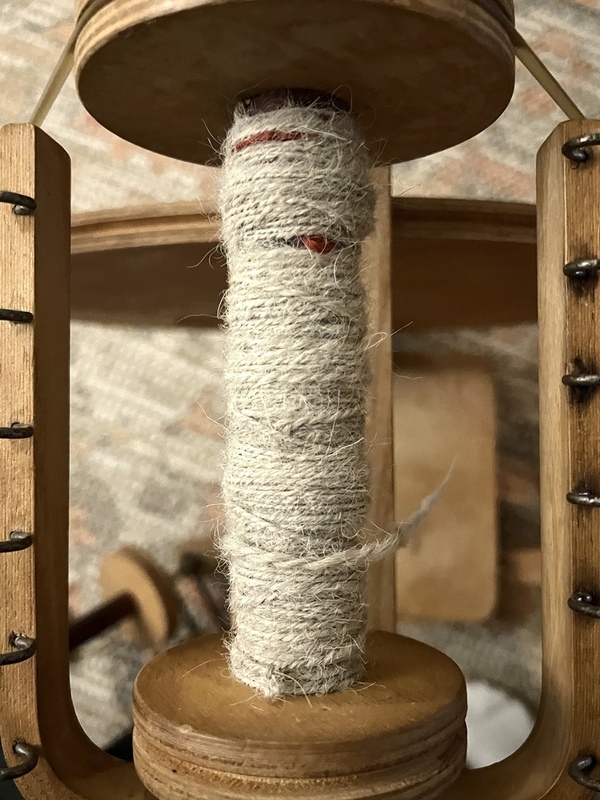
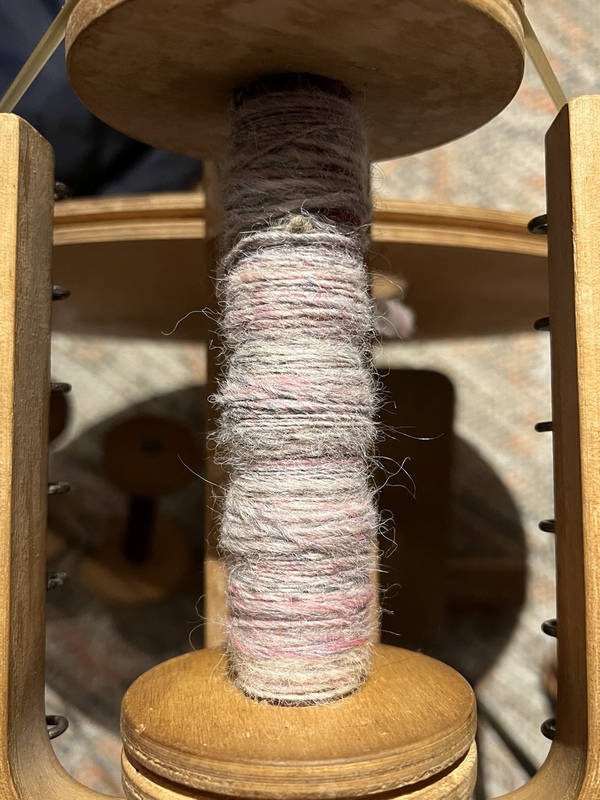
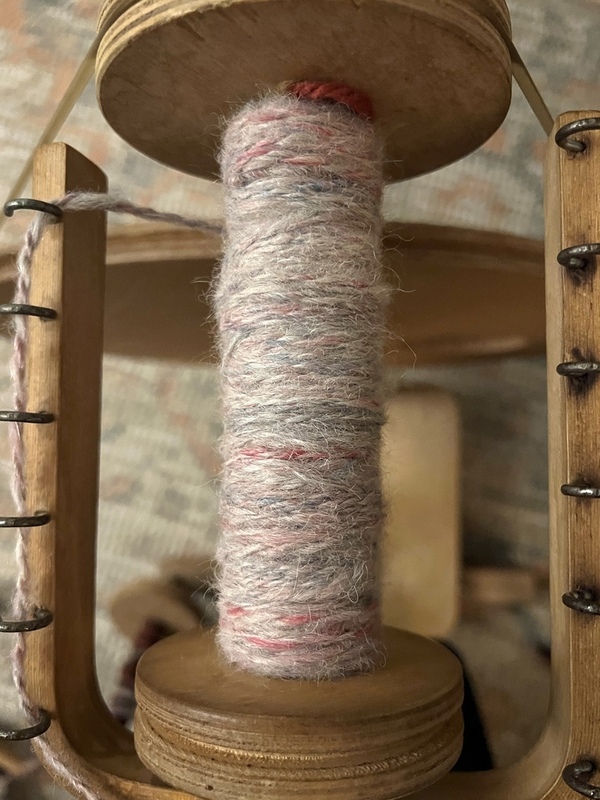
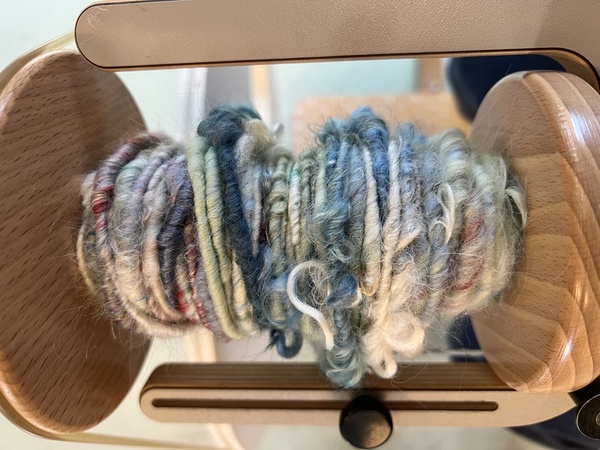
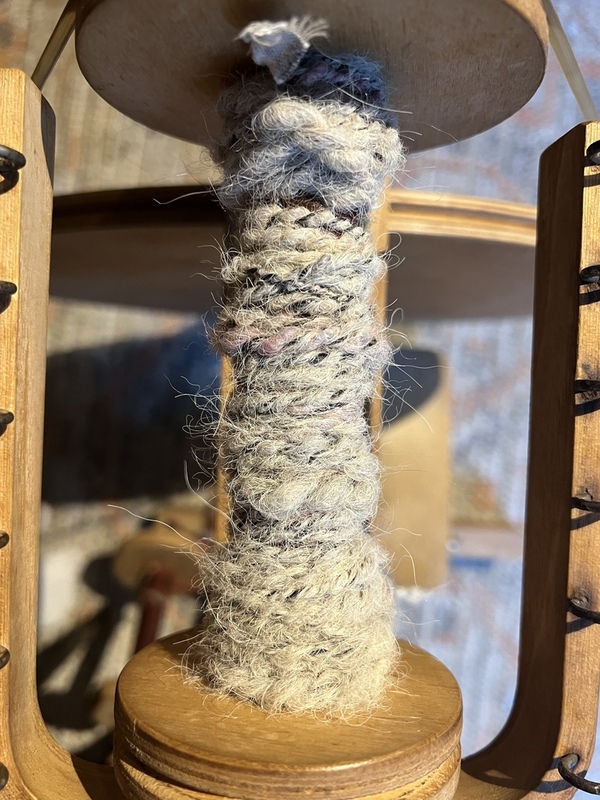
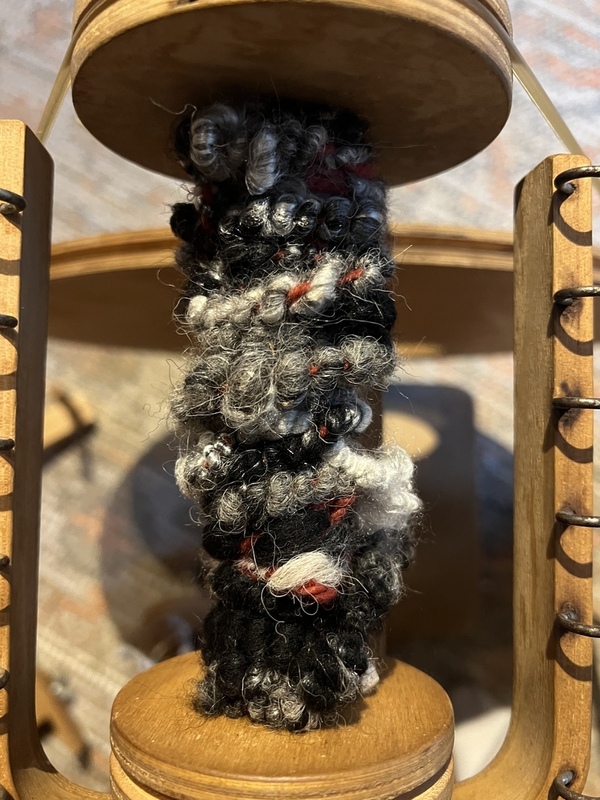
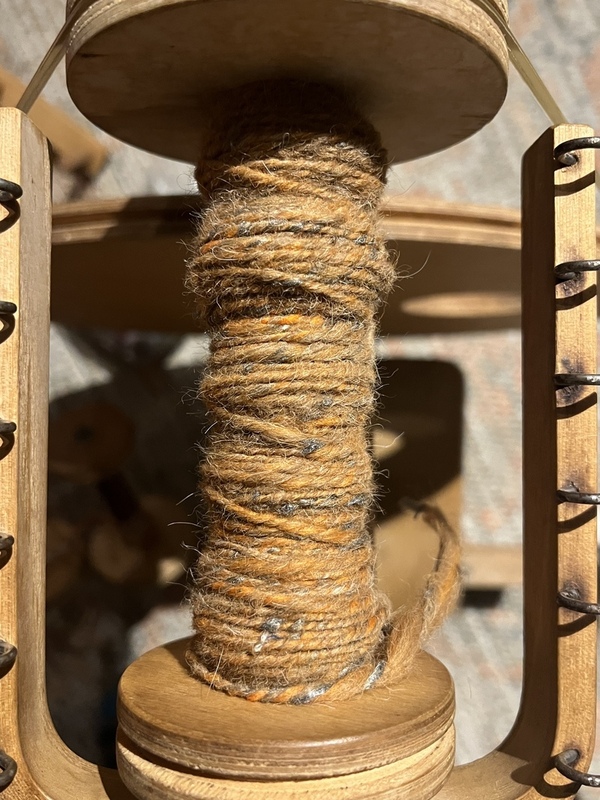
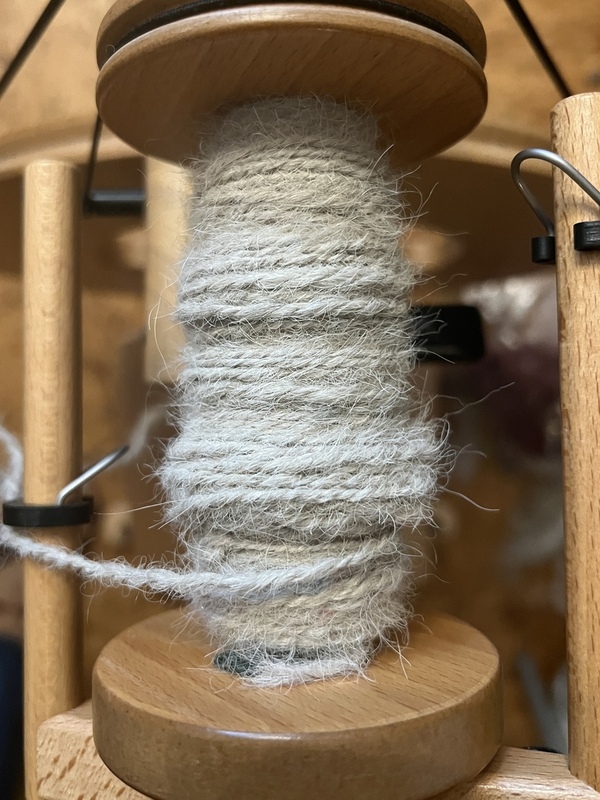
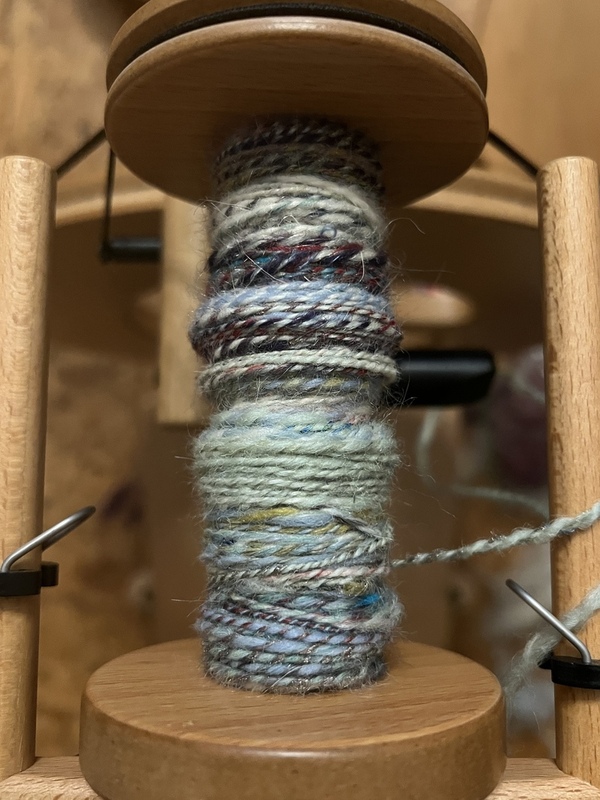
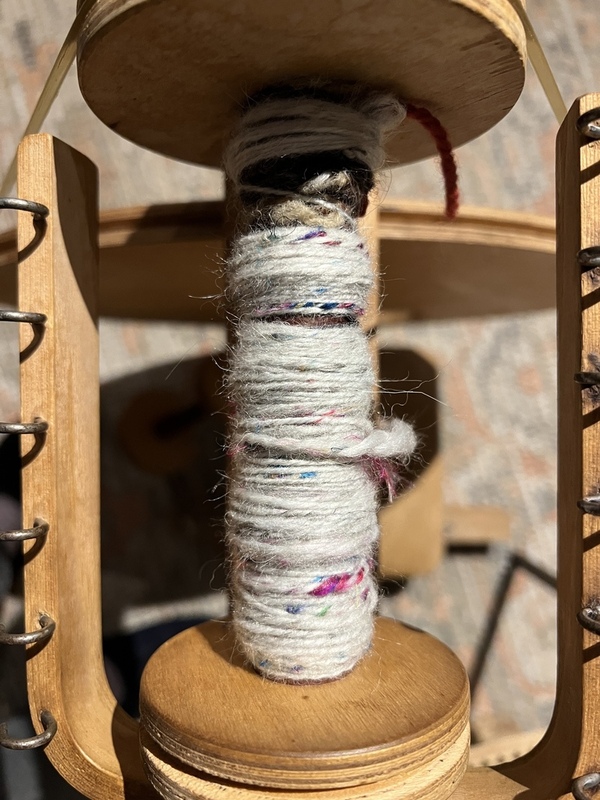
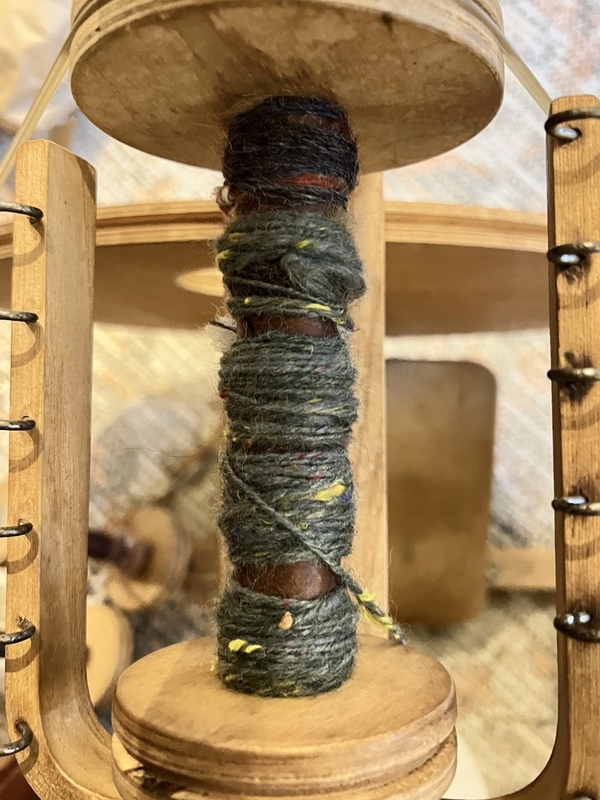
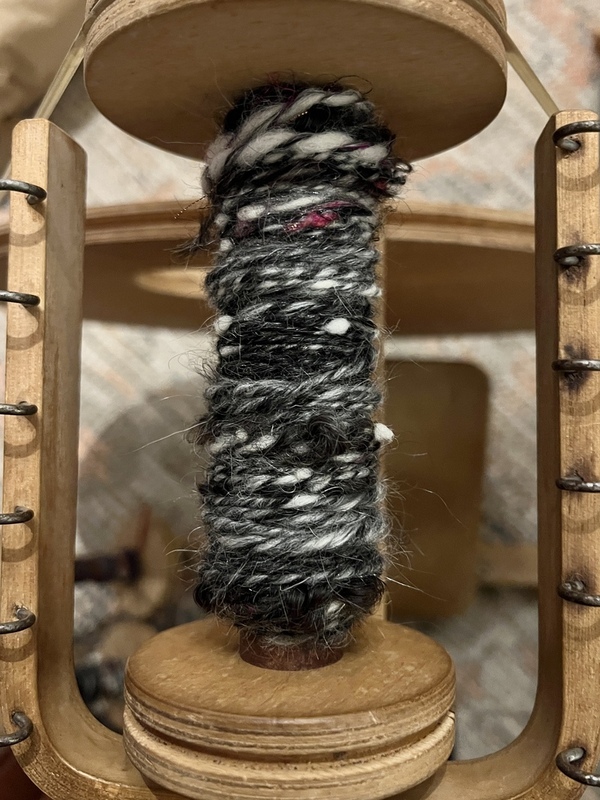
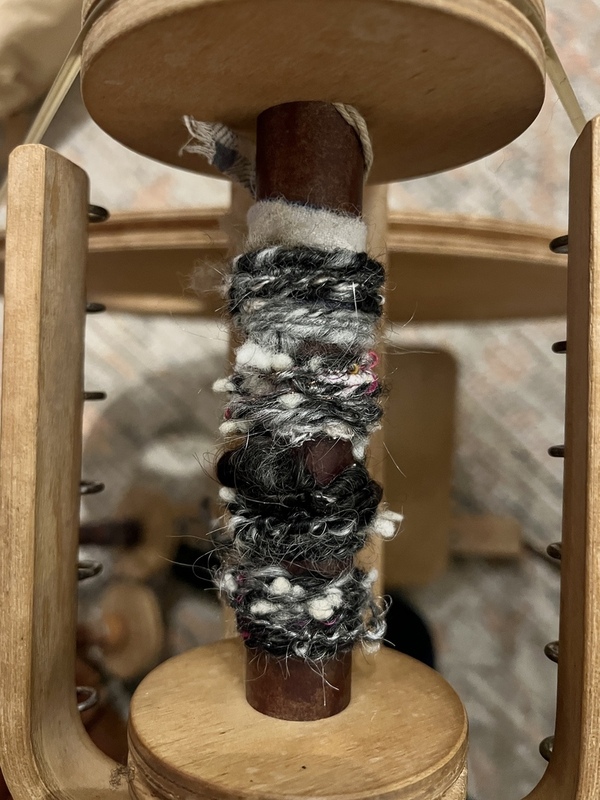
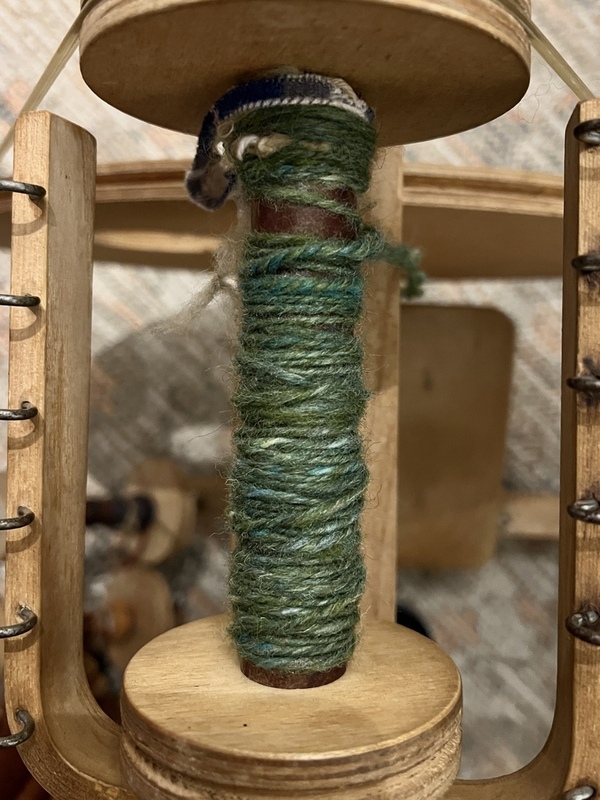
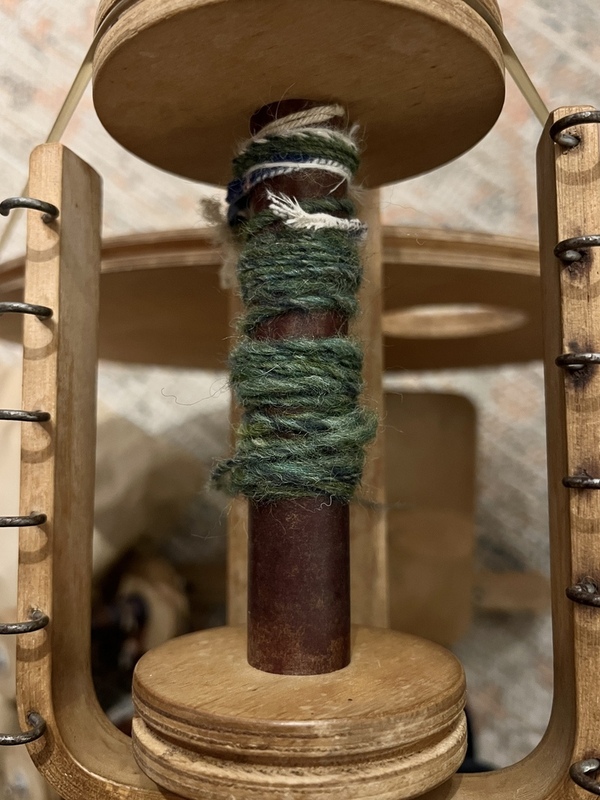
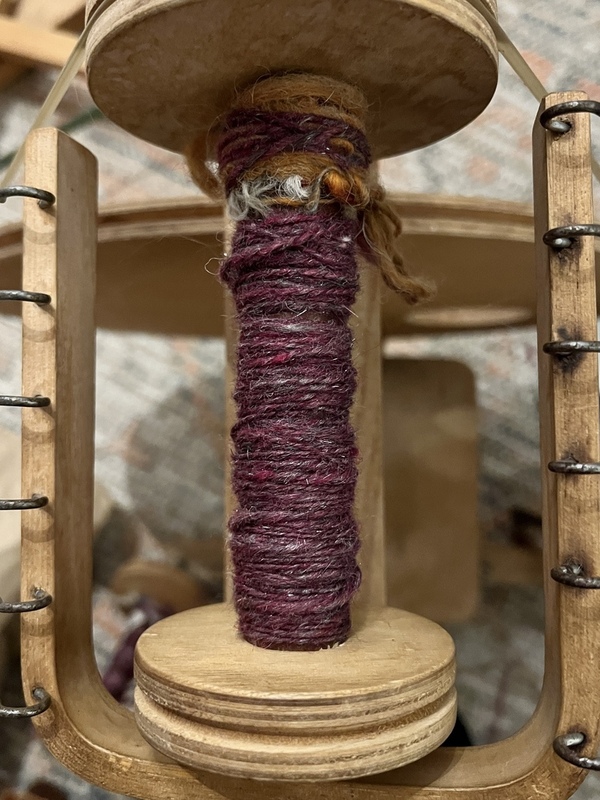
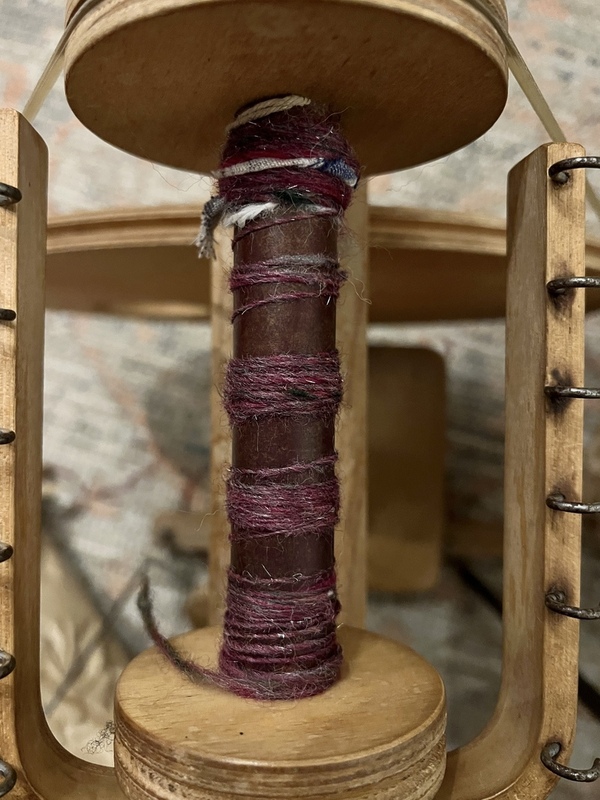
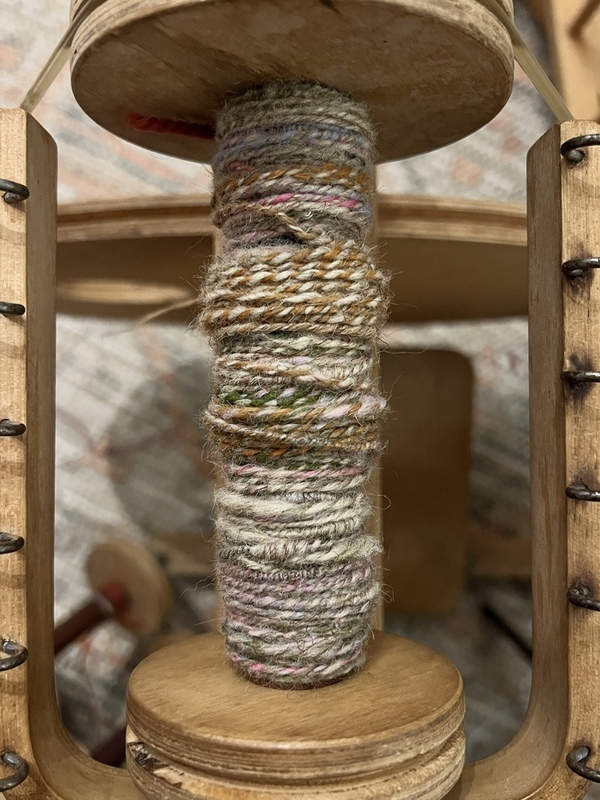
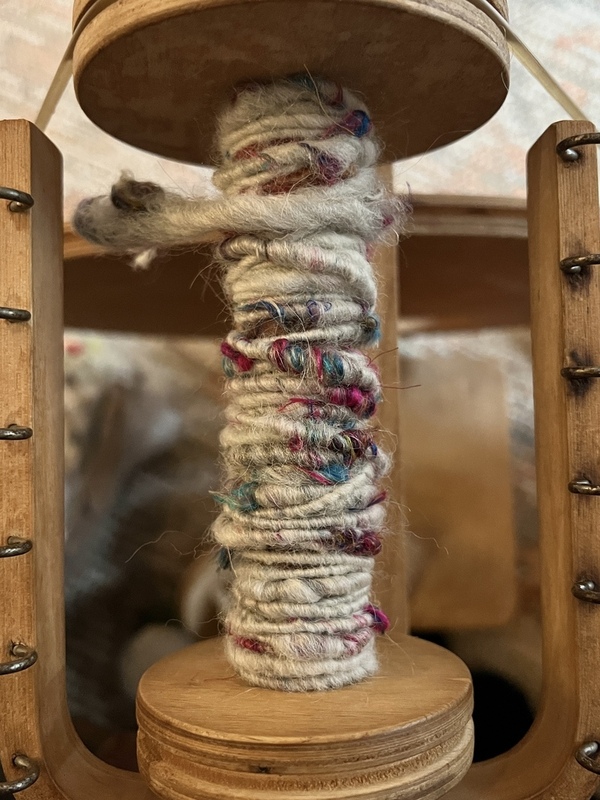
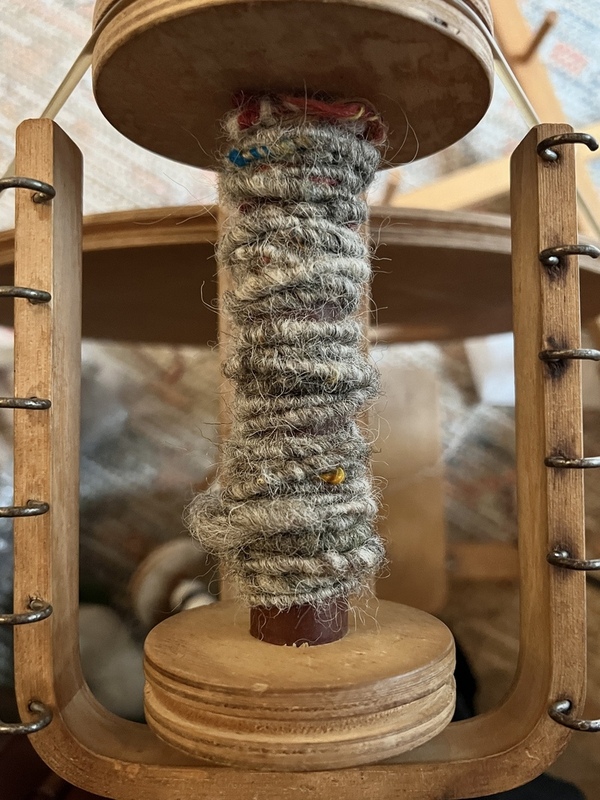
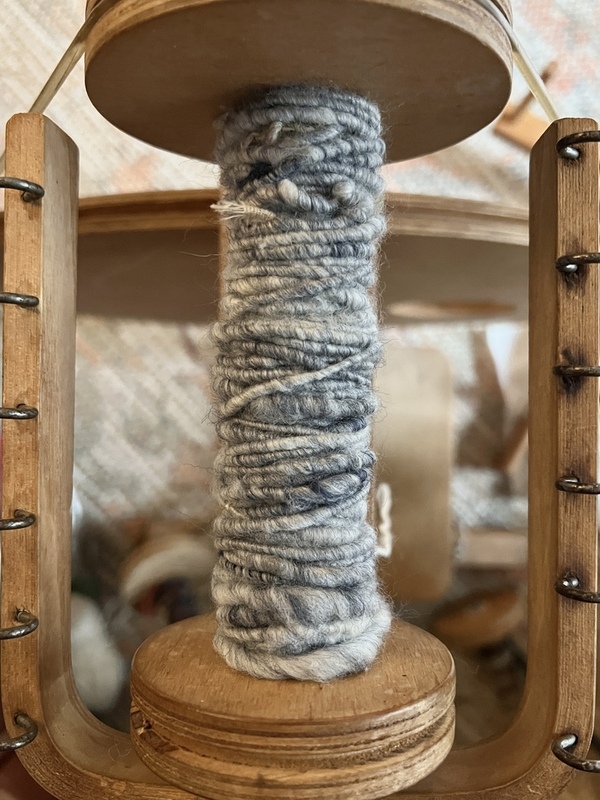
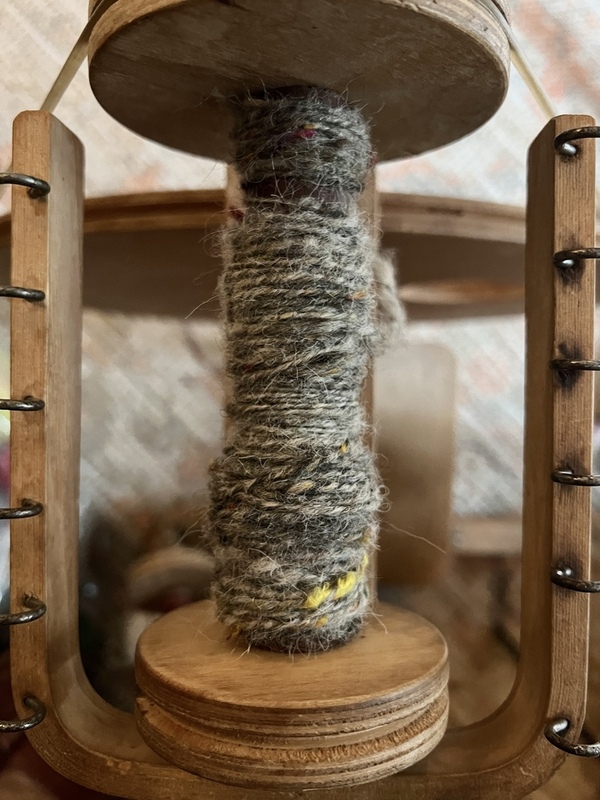
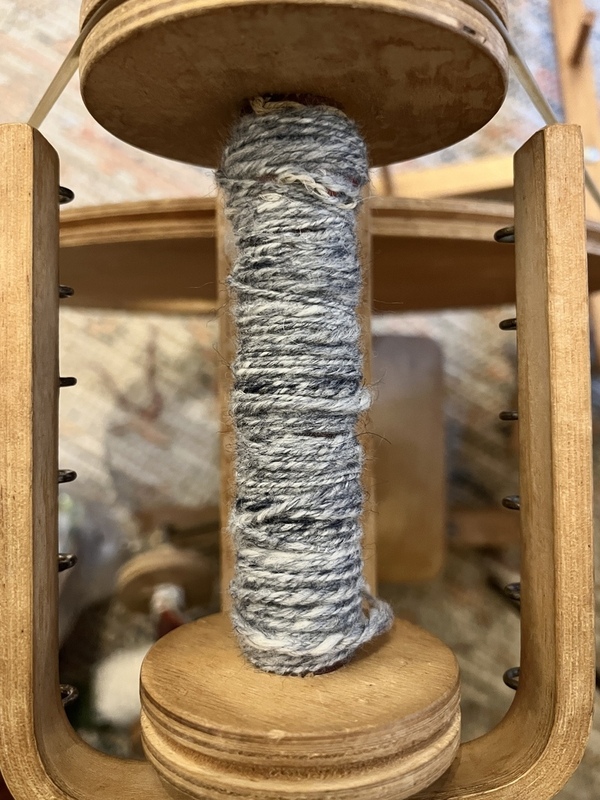
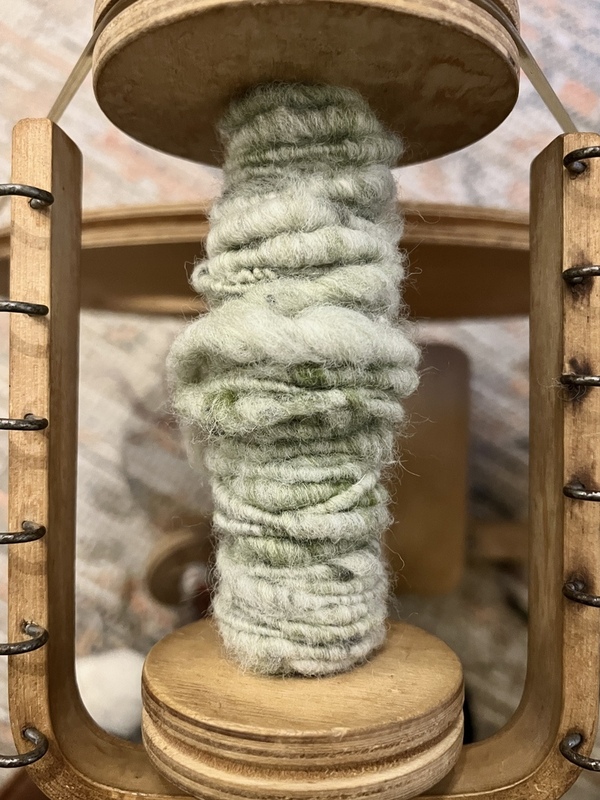
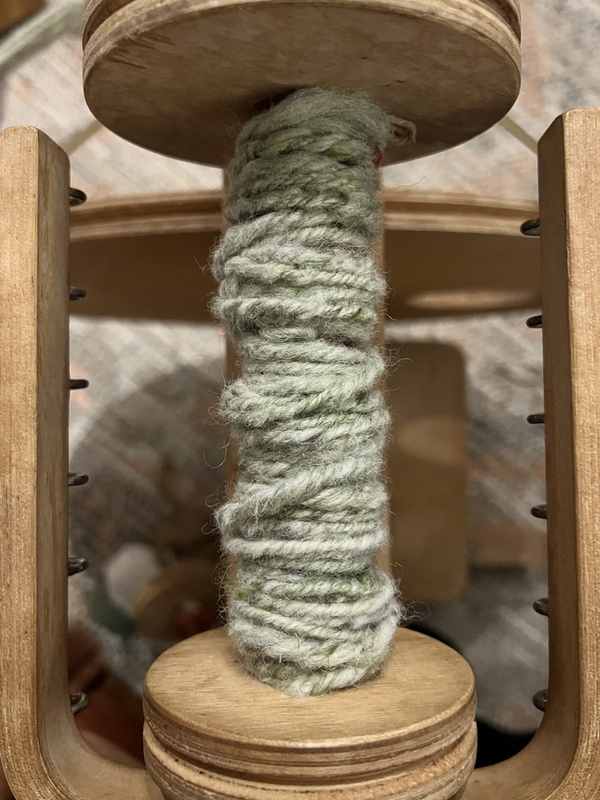
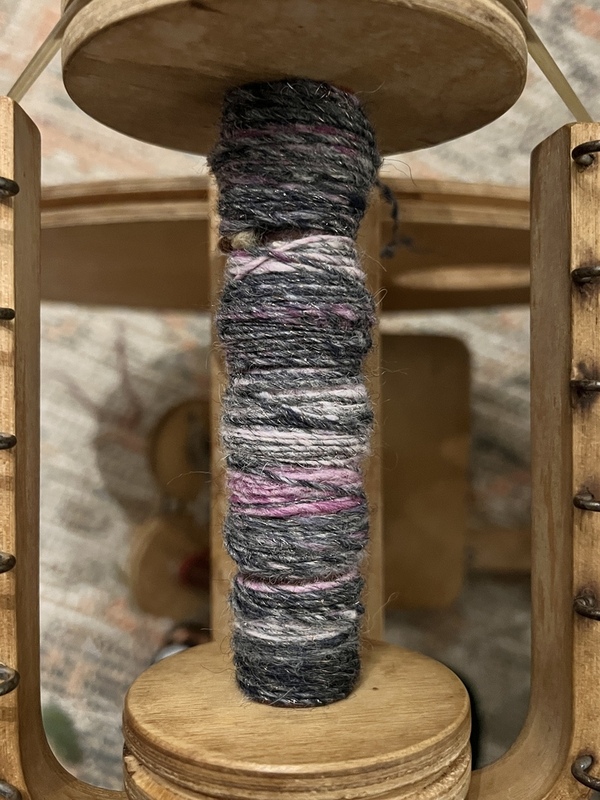
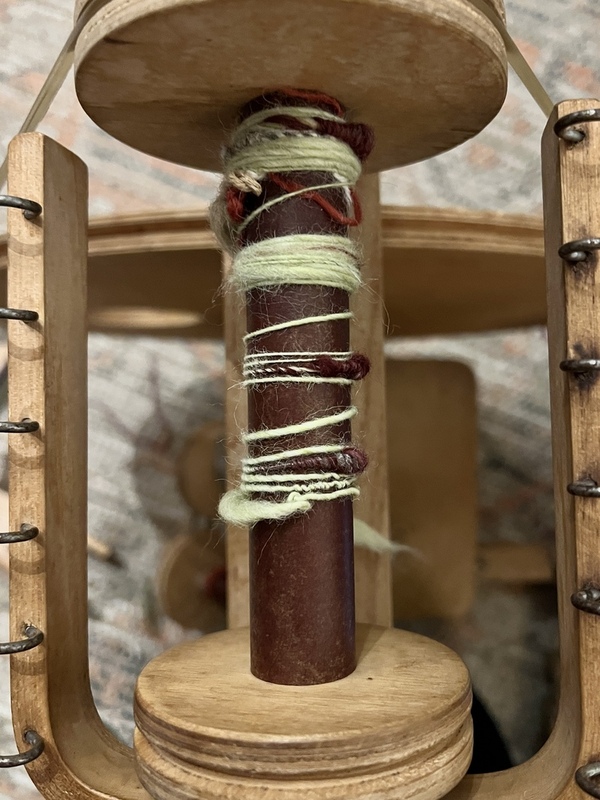
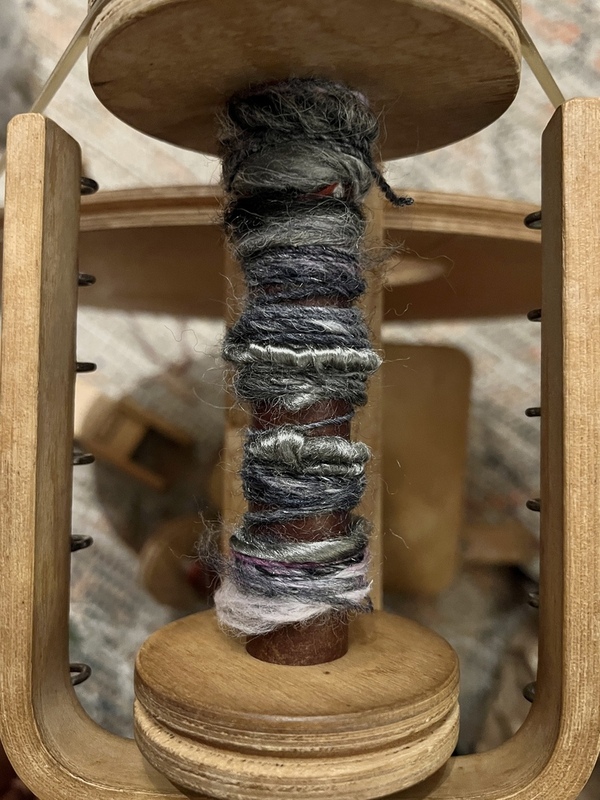
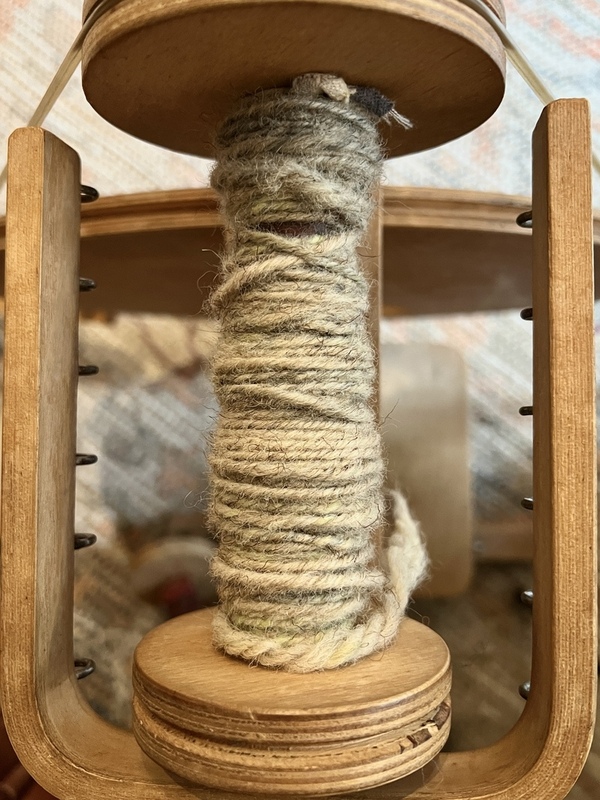
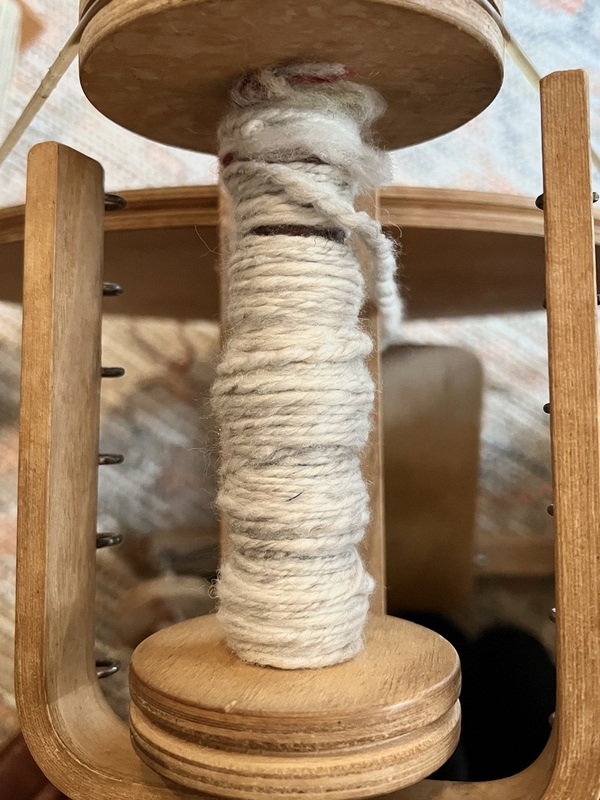
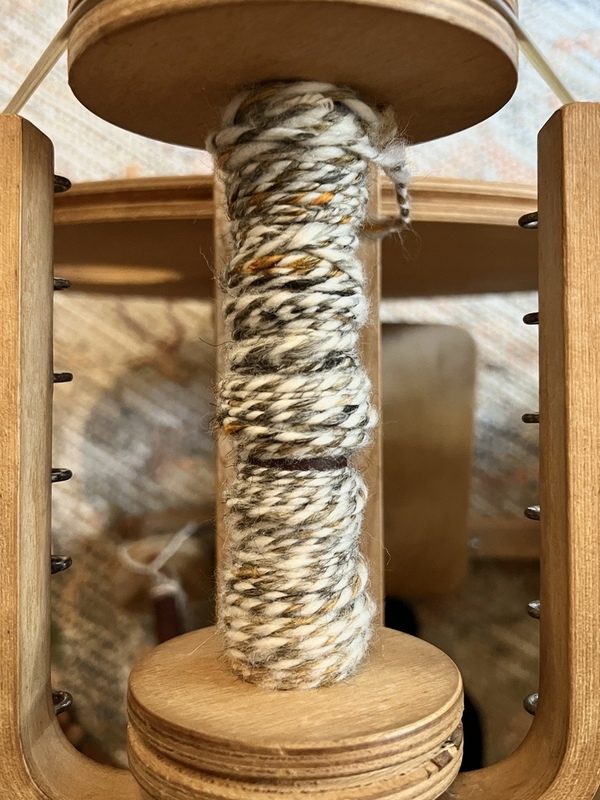
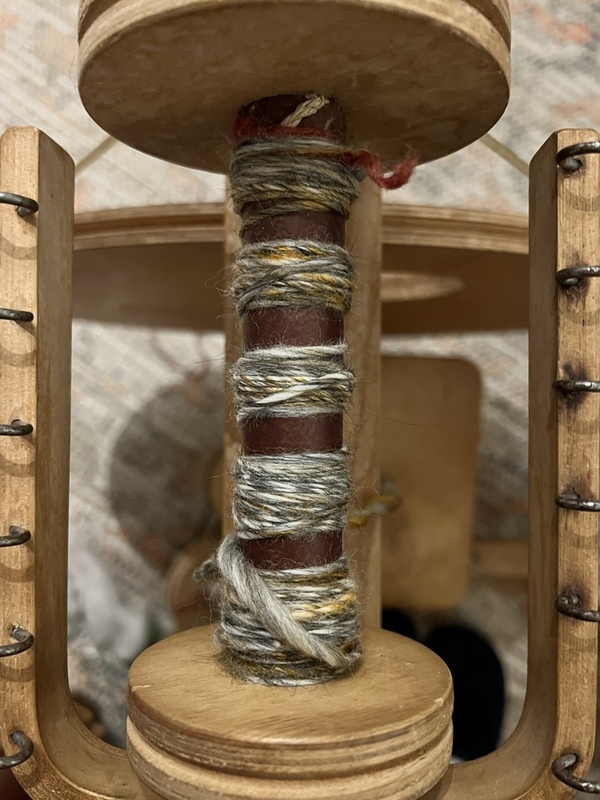
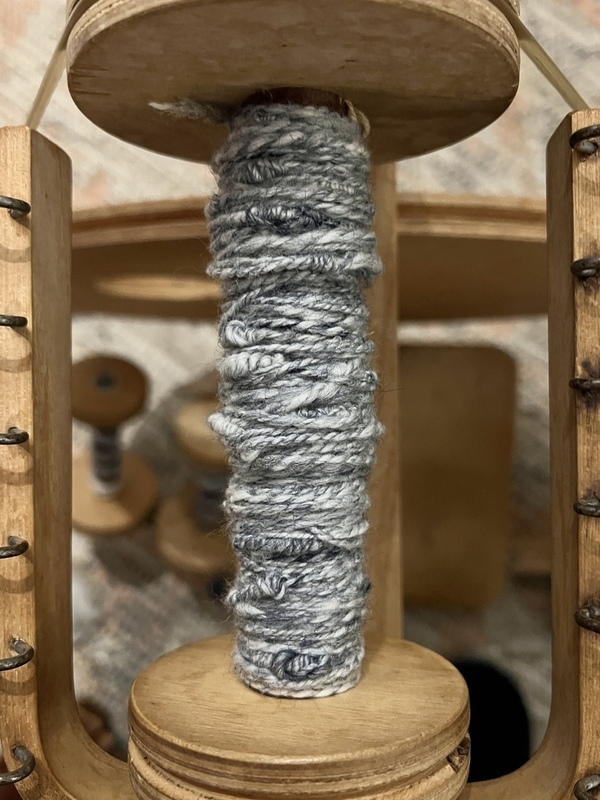
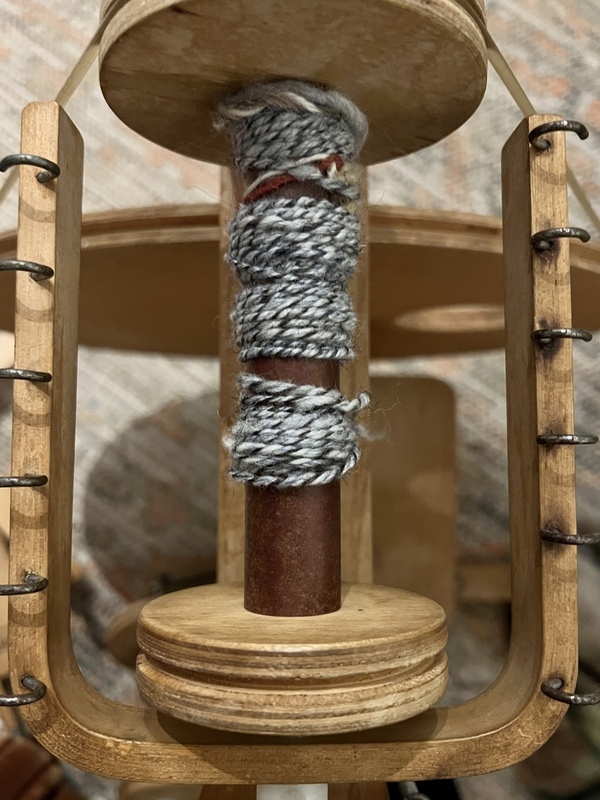
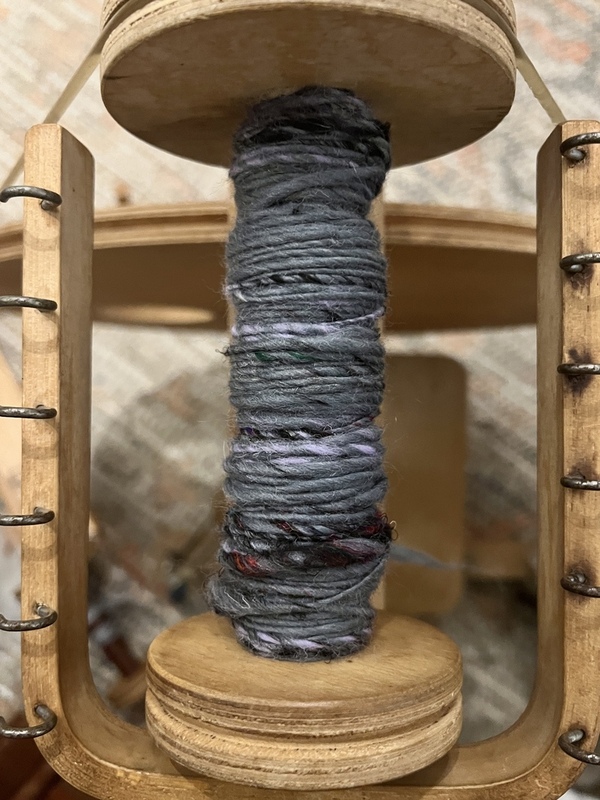
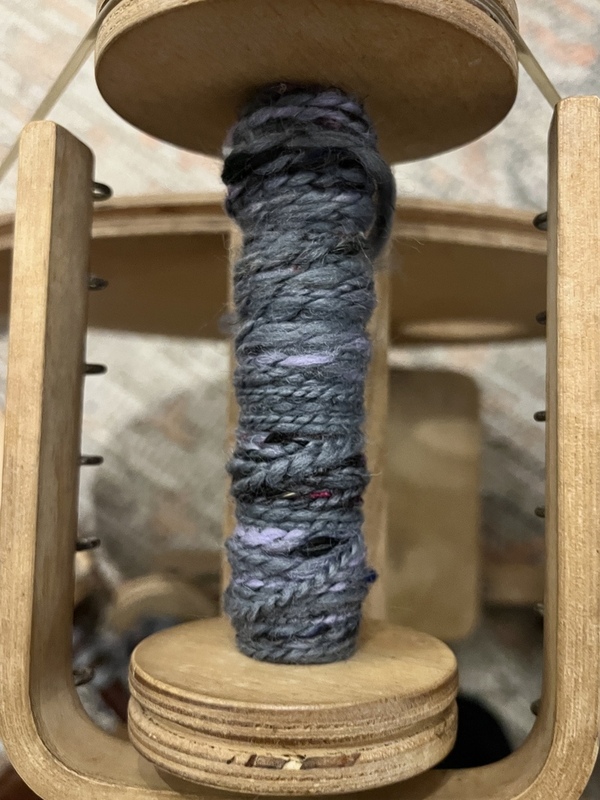
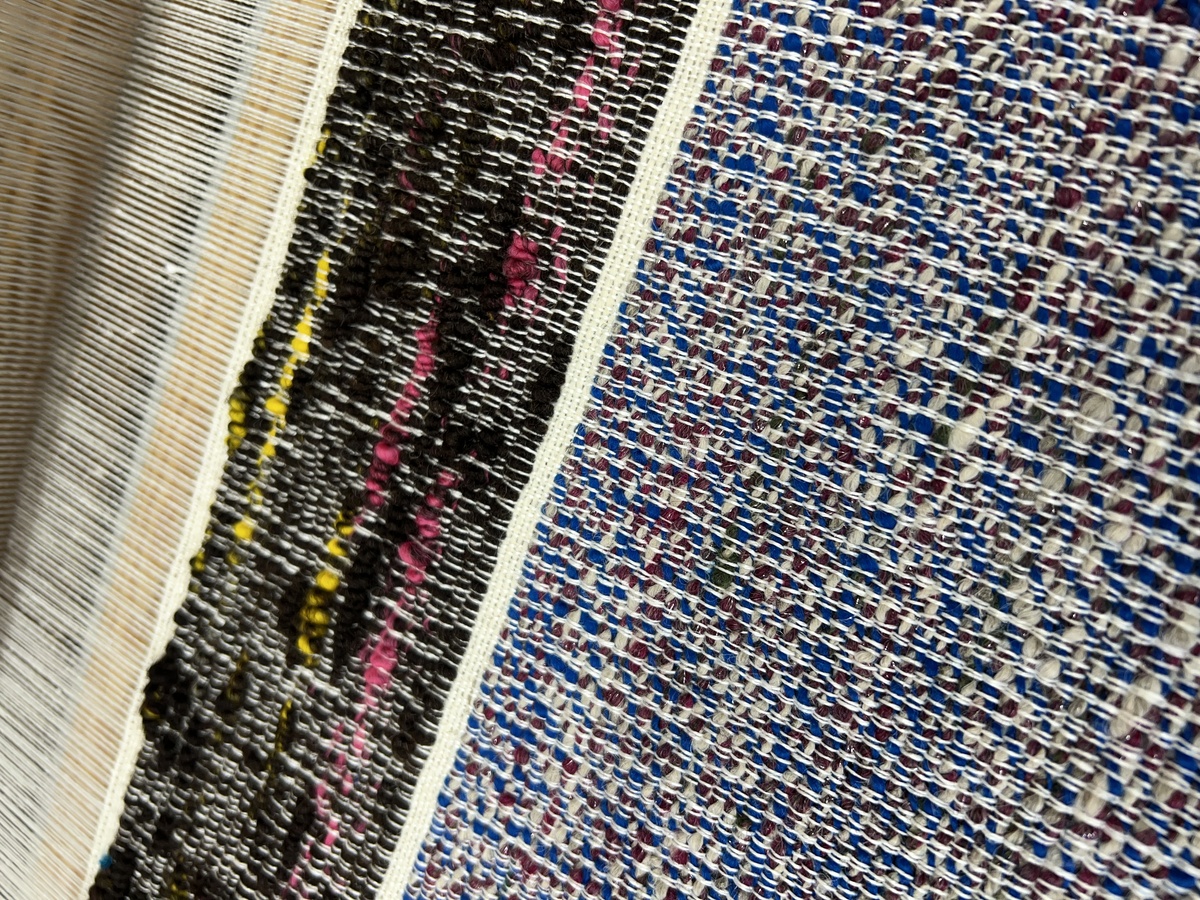
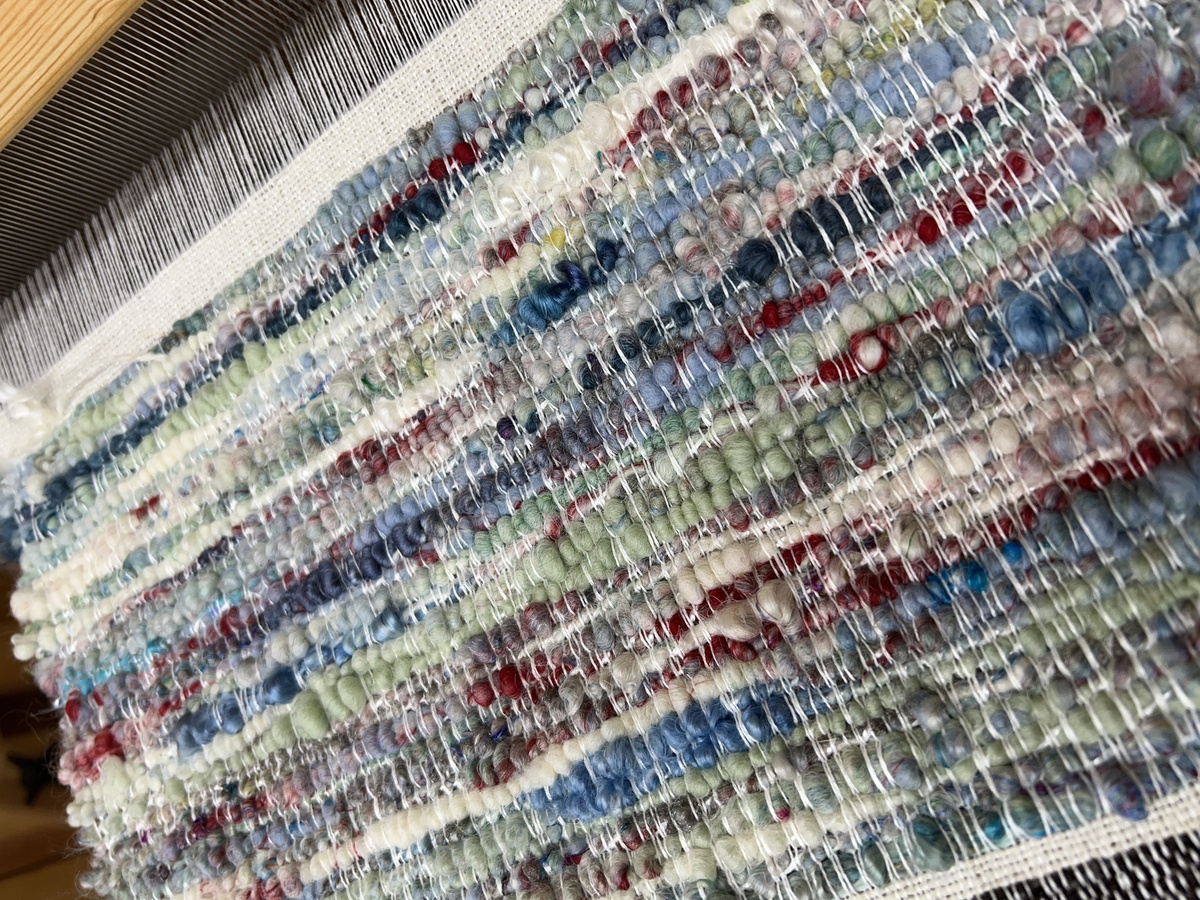
Sensor Spinster (2024) is an experimental research project exploring artisanal approaches to electronics through spinning conductive yarn. In Sensor Spinster, I am looking through the eyes of a craftsperson, a designer and an engineer. The spinning wheel is used both traditionally and experimentally: I’m trying to get better as a craftsperson through control and technique to be able to design e-textiles starting from the fiber, but I am also looking for different properties like electrical resistance when a yarn is touched, squeezed or stretched.
Sensor Spinster is a hands-on, material-led project going through all of the steps from fibers to interactive textiles using human-sized, manually operated tools and machines. First, conductive and insulating fibers are carded or combed into conductive batts and tops using hand carders, hand combs and drum carders. Various yarns are spun from those batts on a spinning wheel. Those yarns are woven on a shaft loom or knitted on a domestic knitting machine. The woven and knitted sensors are then turned into interactive interfaces by making them part of a programmed, electronic system.
This project is made possible with the generous support of the Creative Industries Fund NL through the experiment grant scheme.
Investigating where textile design, craft and technology meet is the core of this experiment. Is there a possibility that technology can be approached and innovated using artisanal methods? And can this be done in a way where the maker is both a designer and a craftsperson - an artisan?
I think approaching electronic textiles from a craft perspective can offer interesting reflection on what it means to be a contemporary artisan in the Netherlands in the field of textile crafts and DIY electronics. The question that arises is:
How can traditional textile techniques - in particular spinning - be used to make applied electronic textiles in an artisanal way?
This question is answered through the following applied research methodology:
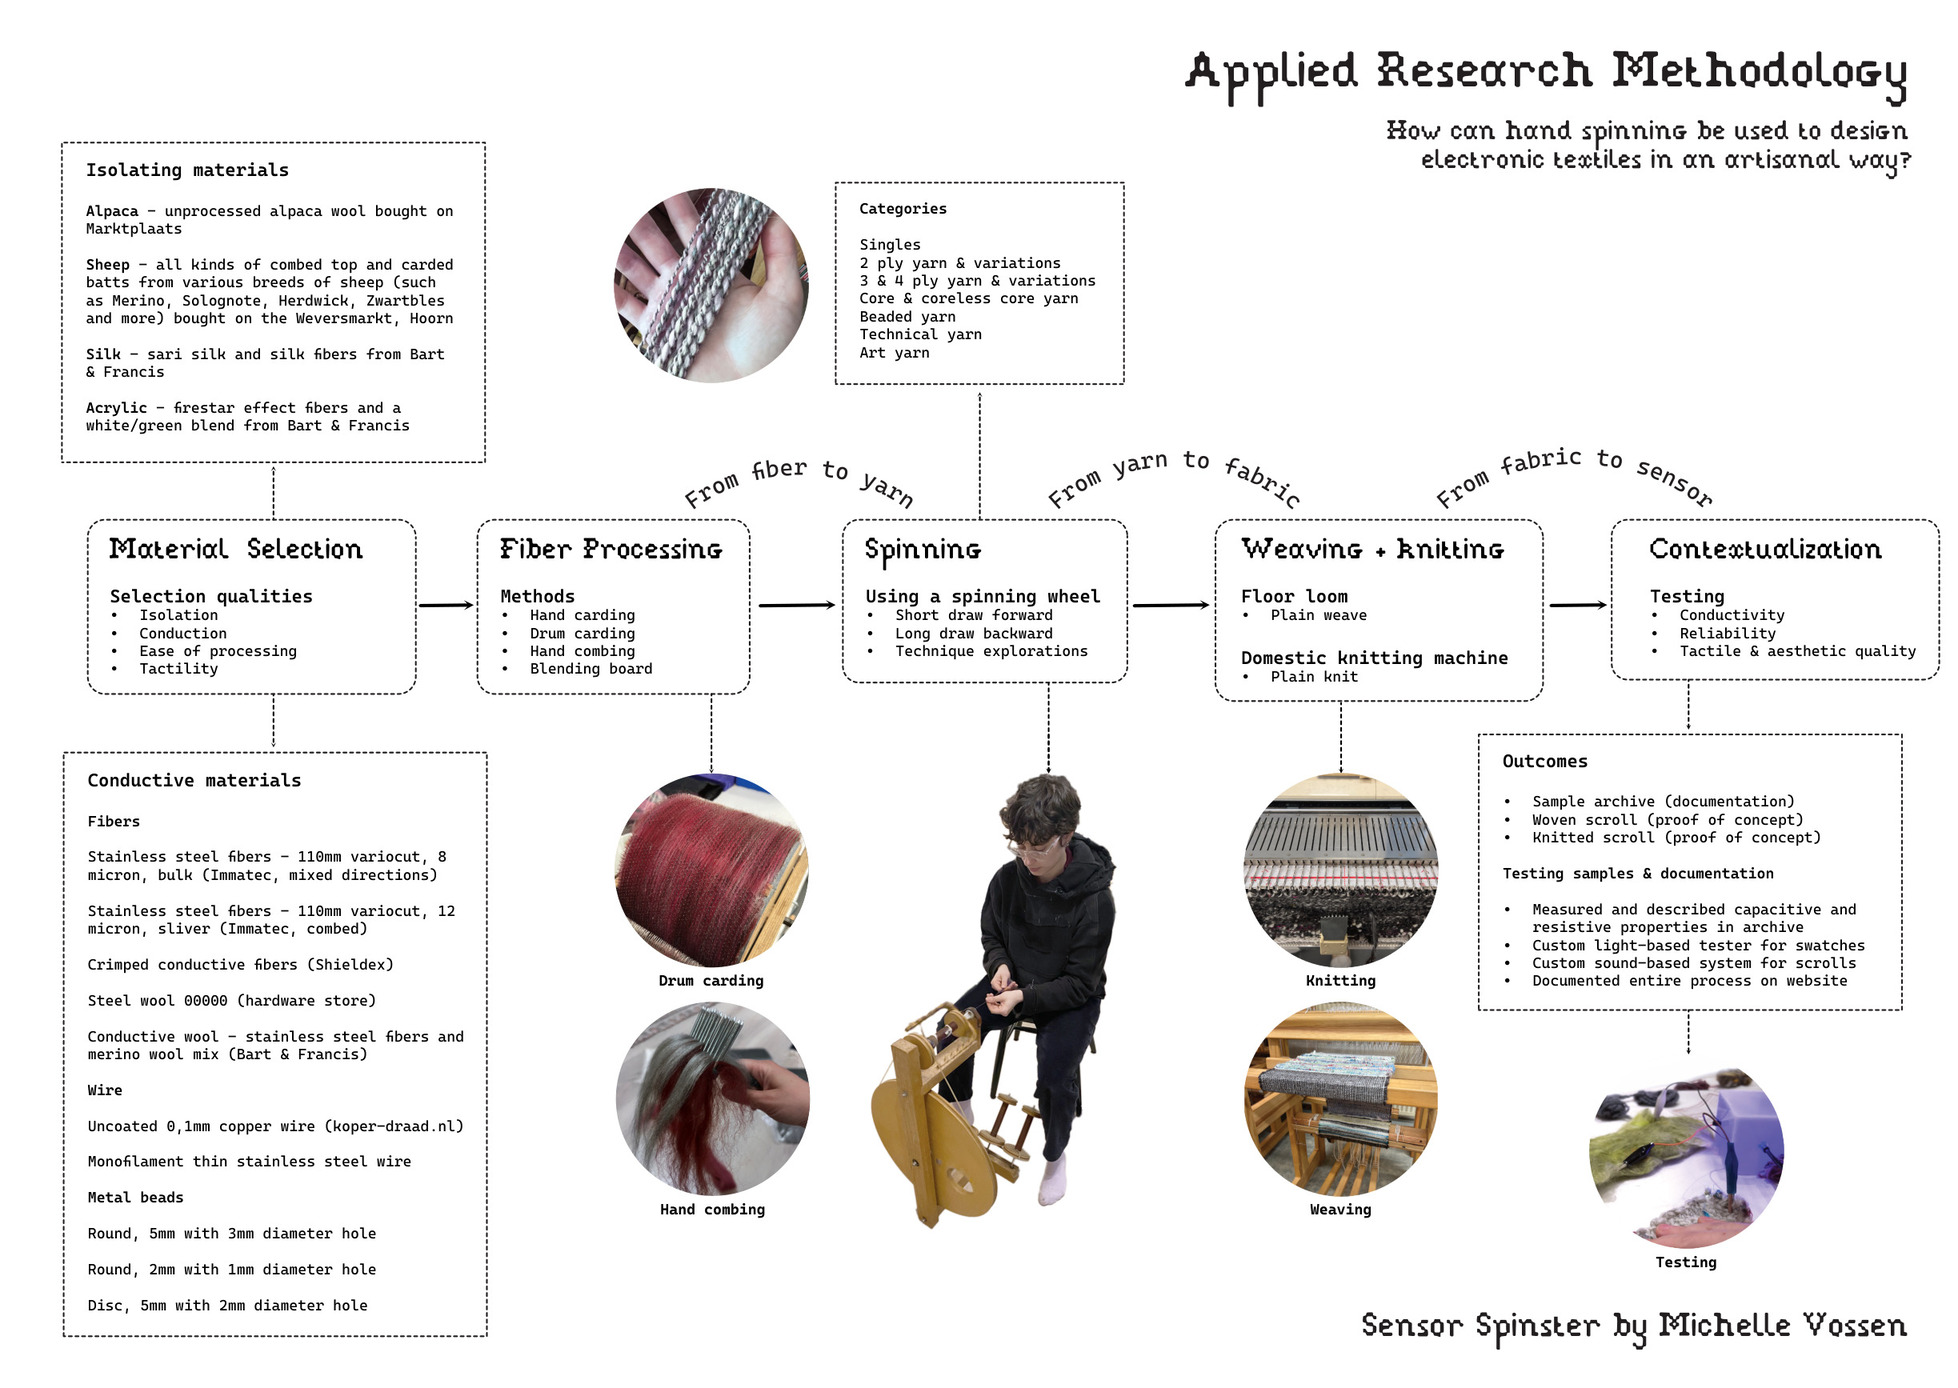
The research, reflections and conclusions come from conversations with spinners and craftspeople, from my own physical experiences and observations while working with the different materials and techniques. I improved my spinning and carding techniques with the help from Gregor Falkenhagen and Bregje Konings in particular, but I also learned a lot from women I met at spinning circles throughout the Netherlands. Lastly, while spinning you have a lot of time to think while your body is doing the work.
Categories
- Materials
- Spinning
- Testing
From fiber to yarn
Exploring suitable materials, techniques and tools to make crafted sensors
From fiber to yarn
Exploring suitable materials, techniques and tools to make crafted sensors
In this part, I’m elaborating on my material research, fiber preparation and spinning techniques suitable for spinning sensors.
Material research
Material research
Conductive materials
For the conductive materials to spin with, I looked into two categories - fibers and wires. Although spinning techniques can also be applied to existing (conductive) yarns, it’s my goal to make my own yarns starting from the fiber. However, I read in my favorite spinning book (The Spinner’s Book of Yarn Designs by Sarah Anderson) that if you need a strong material that will not be (very) noticeable in the final yarn, it may as well be commercial yarn, and I think I can get behind that (and over my purist intentions).
I am also applying this view to 100% conductive wires and filaments, because it doesn’t really add to my research to make fully conductive threads myself, especially if they are going to be hidden. I also think there is value in wrapping handspun yarn in thin conductive wires - like my favorite yarn from Bart & Francis. The research of spinning with conductive wire is only a small part of the project; the focus is on conductive fibers.
Fibers
I settled on the following conductive fibers to research:
- Stainless steel fibers - 110mm variocut, 8 micron, bulk (Immatec, mixed directions)
- Stainless steel fibers - 110mm variocut, 12 micron, sliver (Immatec, combed)
- Crimped conductive fibers (Shieldex)
- Steel wool 00000 for sanding
- Conductive wool - stainless steel fibers and merino wool mix (Bart & Francis)
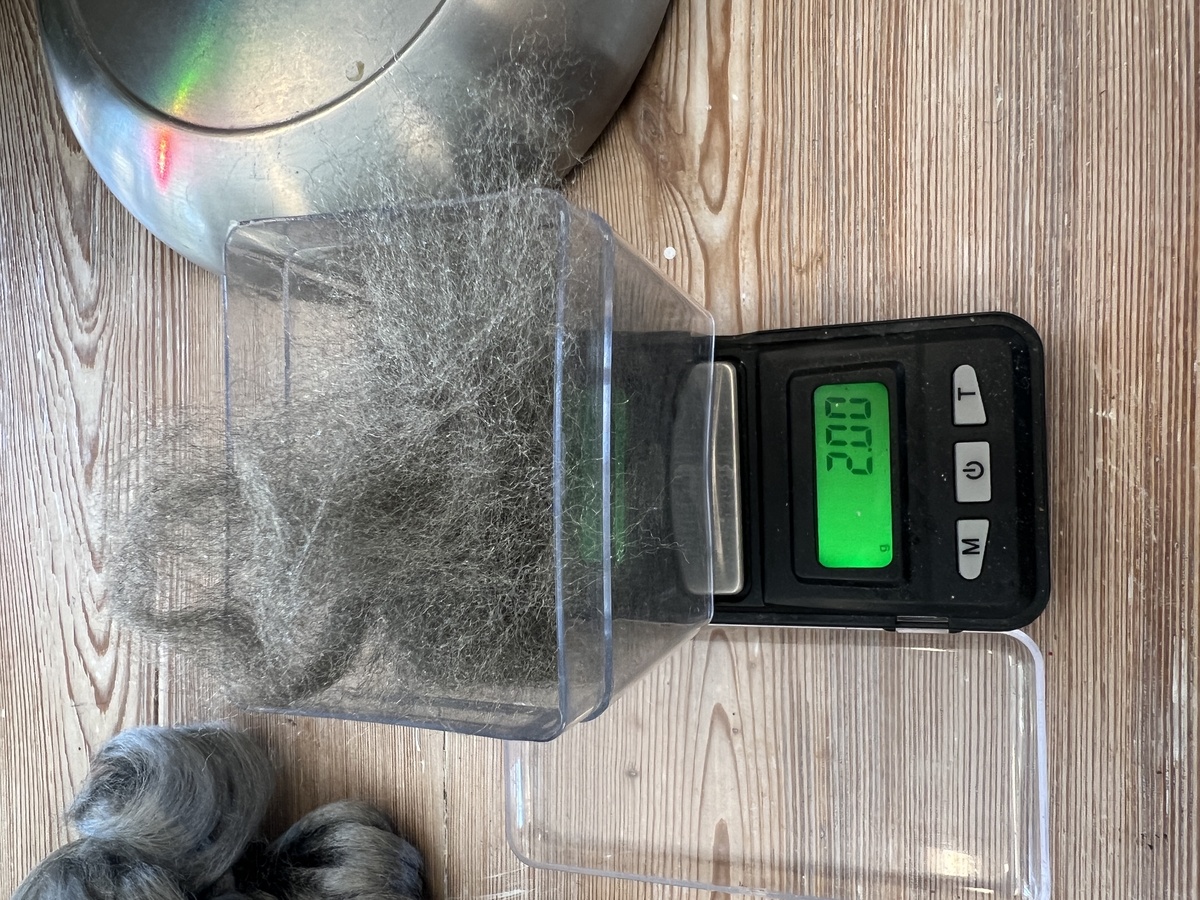
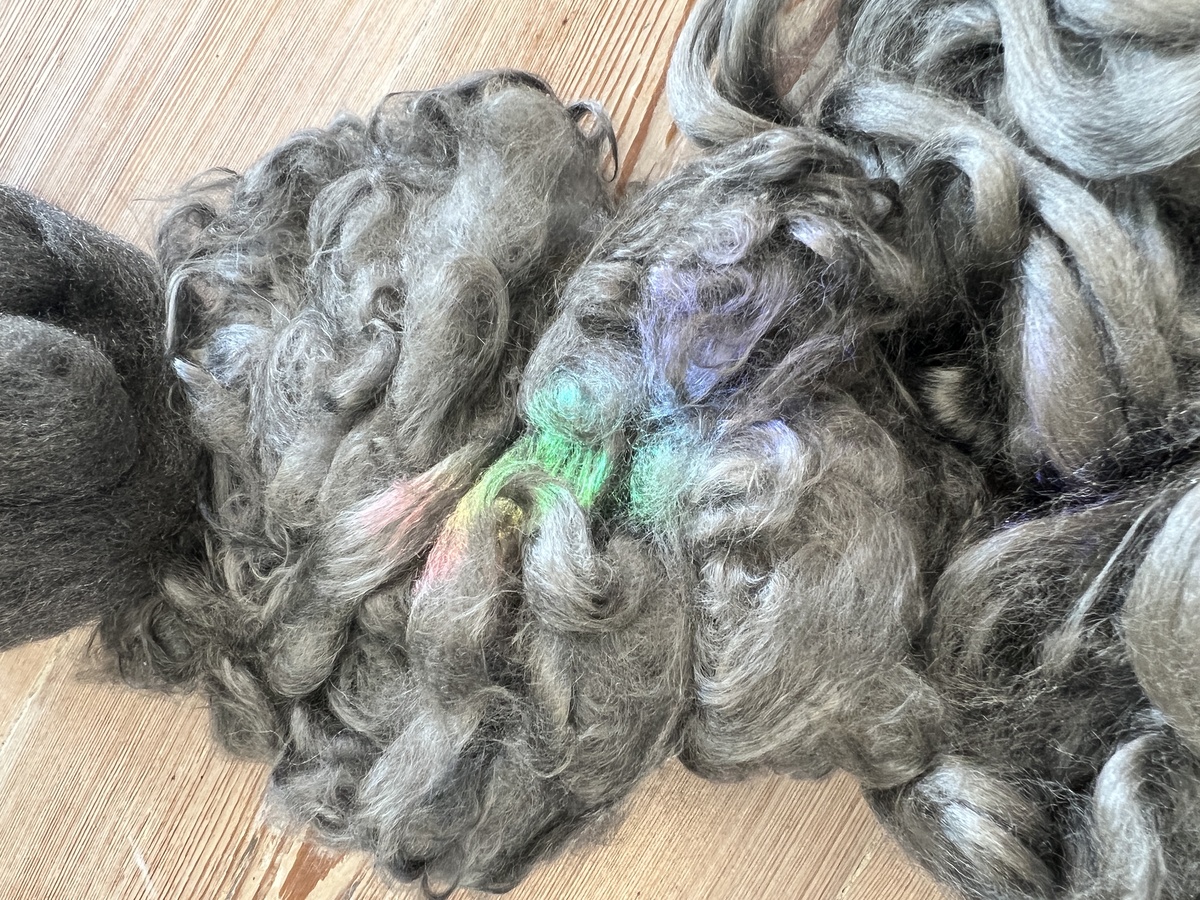
In the end, I did not use the steel/wool mix from Bart & Francis, since I wanted to compare only 100% conductive fiber options and do the blending with non-conductive fibers myself. On the first image, steel wool at the top, then 8 micron mixed direction stainless steel, then the 12 micron aligned fibers. On the right, the (way thinner) crimped fibers.
Wire
To look into spinning with commercial conductive wire, I got the following two options:
I only used the copper wire since it worked very well (both in spinning and in the resulting resistance/capacitance ranges) and it would make comparing the spun yarns easier if there was only type of wire used.
Beads
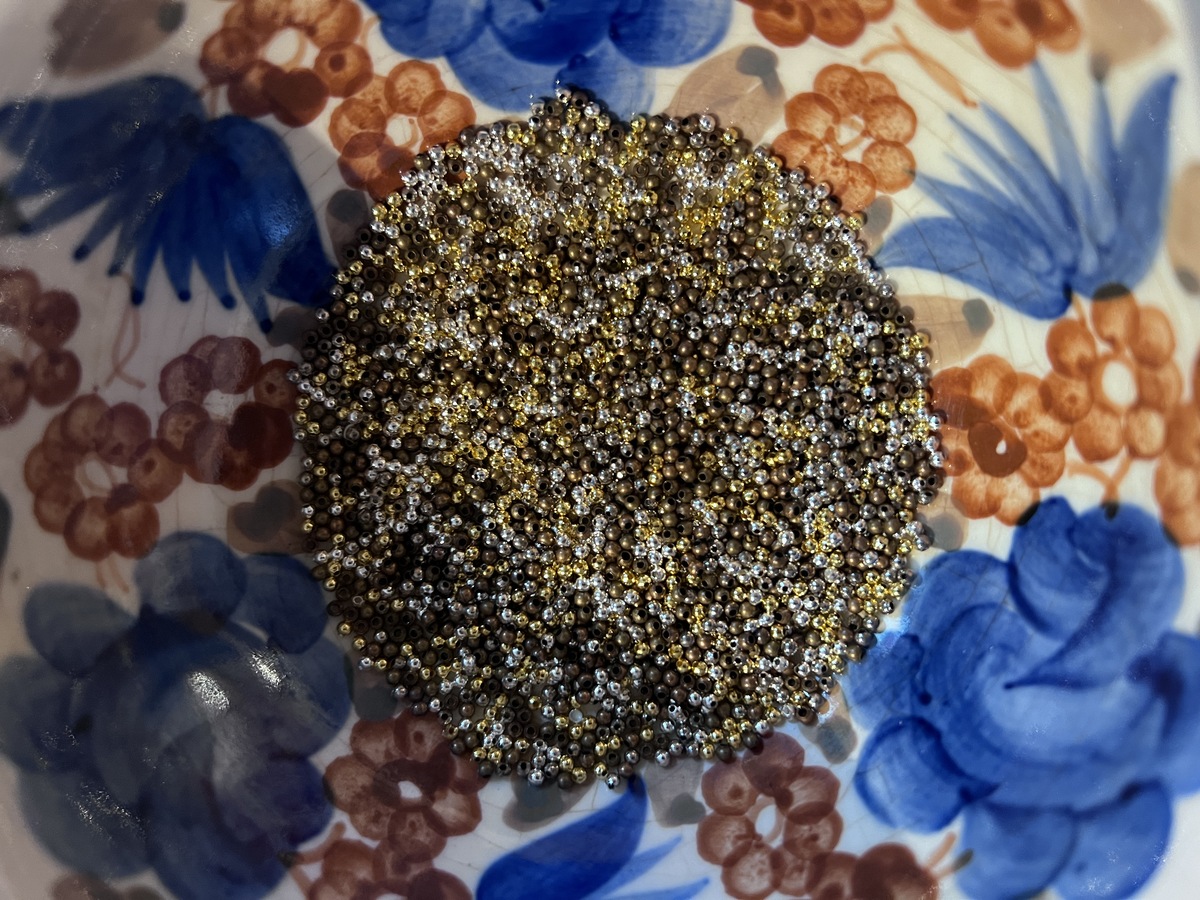
I also saw some spinning techniques which used beads, that I wanted to try out, so I bought a bunch of metal beads online (at an Aliexpress shop which no longer exists) in various sizes.
- Round, 5mm with 3mm diameter hole
- Round, 2mm with 1mm diameter hole
- Disc, 5mm with 2mm diameter hole
I did not use the disc shaped beads after I learned that the 5mm beads were too thick to be knitted.
Coatings
Finally, I looked at a bunch of coating options, but since these are more finishes and not necessarily part of spinning, I’m leaving them out of this research. They also tend to be pretty expensive, messy and sometimes even hazardous.
- Paints
- Bare Conductive paint
- Chip Quik conductive paint
- Silver conductive paint
- Glues
- Sprays
- Electroplating
Non-conductive (insulating)
All of my non-conductive fibers have been sourced from markets (mostly the Weversmarkt in Hoorn), Marktplaats and Bart & Francis (the ones from Bart & Francis I already had, I did not buy new fibers there). These fibers basically formed the carrier and gave the hand spun yarn their characters. I got the following materials:
- Alpaca - dutch alpaca wool bought on Marktplaats (I came to regret this later as described above)
- Sheep - all kinds of combed top and carded batts from various breeds of mainly dutch sheep (such as solognote, herdwick, Zwartbles, merino etc). I also got some unwashed sheep wool (I think Zwartbles but I’m not sure) from a spinner I met on Schiermonnikoog which I haven’t spun yet
- Silk - I fell in love with sari silk, which is silk fibers from shredded sari fabric. I bought it at markets. I also had some leftover dark blue silk fibers (‘haspelzijde’) from Bart & Francis
- Banana - very smooth, silky fibers sourced from banana from the Weversmarkt
- Cotton - unbleached cotton fibers from Bart & Francis
- Flax - I found a bag of flax top in a second hand store in Haarlem
- Acrylic - firestar effect fibers and a white/green blend from Bart & Francis
Suitable materials
Conductive fibers review
While working with the 8 micron conductive fibers (the mixed direction ones) I noticed that they love to tangle together and form clumps during the (hand) carding process already. Carding them separately beforehand can help a little bit but not significantly. Blending them with other fibers directly on the blending board is not too easy but okay if it’s not too much at once, but it still clumps and tangles while spinning; it feels like they’re felted together. I ended up not using this material after the first few samples since it was too frustrating to spin and I couldn’t get it to be blended evenly. Even when I was spinning just the conductive fiber, it resulted in very uneven yarn.
I then continued with the 12 micron aligned conductive fibers that looked more like combed top and where way more manageable to process. The crimped fibers from Shieldex are also very nice, as they are way thinner and very springy and glittery, which makes the yarn glitter a little. They are very conductive but easy to blend since they’re so thin.
Steel wool for sanding purposes is not stainless, which in hindsight makes sense. This resulted in rusting yarn. I put this yarn in the same bath as some other yarn with stainless steel, and they ended up having a few rust spots as well. I noticed the rust was getting worse when the yarn was drying up, so I’m curious to see if it will stabilize.
Insulating fibers review
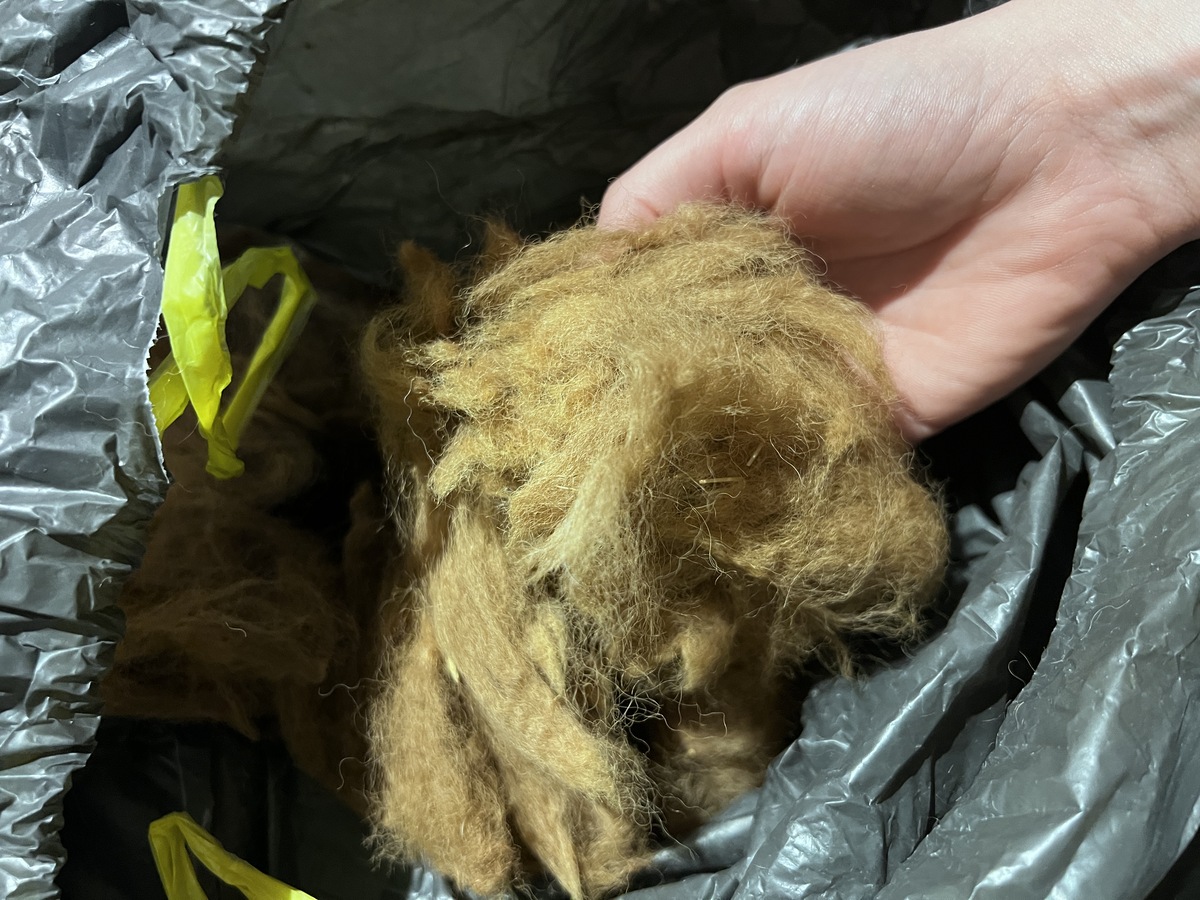
When I started the project, I already knew I didn’t want to work with raw sheep wool, since I know how long the washing can take and how nasty the lanolin and dirt is. The focus of the project is on spinning, not on the entire wool preparation process. I did however get raw alpaca wool, since I used it before and knew that the cleaning process was less messy, since alpacas don’t have lanolin in their coat. They do take dust baths however, and I think the alpacas that I got the coats from loved those, because the wool was very dusty. I also noticed that there was big differences in quality between alpacas - some had coats with a lot of kemp and others had very short fibers only, so it was pretty frustrating to work with. I ended up spending hours on cleaning, carding and trying to make it work for me, but you can really see the struggle in the yarn. After I went to the weversmarkt in Hoorn I only got washed and precarded fiber which was way better.
In my spinning process, I decided to focus on wool as the main insulating fiber. This is because they are the most commonly found in the Netherlands, available in a large variety, and are largely from local animals. On top of that, they are also very nice to spin. For the plant-based fibers, different preparation processes are sometimes needed (like heckling for flax), and since my fiber blending research is focused on carding and combing, this would not make sense. Furthermore, finer fibers like cotton need carders with way more teeth per inch (TPI) than I had. I also think it makes sense to limit the amount of non-conductive fiber types to make it easier to compare things like fiber ratios and spinning techniques. I did however use other fibers like silk, banana and acrylic fibers in small quantities as effect fibers for visual and tactile purposes.
Fiber preparation
Fiber preparation
The biggest thing I’ve learned in this project is that fiber preparation is everything. I’ve taken it into account already in my project proposal, but I did not really account for it as much as I should have. Good fiber selection and good fiber preparation make a yarn pleasant to spin, and even more importantly, distribute the conductive materials evenly along the combed top or carded batt. I’ll discuss fiber sourcing, carding and combing here.
Sourcing fiber
Two mistakes I made in the beginning of my project was to buy unwashed, unpicked and uncarded alpaca wool (first mistake) on Marktplaats (second mistake) sorted in two different qualities (A and B, mostly relating to fiber length) and 3 different colors. Since I had experience with the raw material already I figured it would be a beautiful (to the eye and to the touch), nice to work with and inexpensive starting point, but it ended up costing me way more time than I anticipated in washing (and waiting for it to dry) and carding it by hand. I learned that it’s better to spend a bit more money on fibers that have already been washed and carded (and dyed) and are ready for use.
The second lesson is that when buying raw (non-conductive) materials, you need to feel and see them first - this became very obvious when I went to the weversmarkt in Hoorn. Every sheep/alpaca/plant fiber is different and seeing and touching the material is essential before buying. I got the alpaca from Marktplaats shipped to my house, and then I realized both how much I had bought, how short the fibers were, and how many thick prickly hairs (kemp) there were. You can see this clearly in the yarn I made with the B quality fiber, there are a lot of fibers poking out and it’s very prickly.
The sourcing process for conductive fiber happened online only, since conductive materials are not very common in markets or shops, apart from copper wire (electronics stores) and steel wool for sanding and cleaning (hardware stores). Steel fibers are mostly found on websites of the companies producing them, and you usually have to e-mail them or fill in a form to get a quote. They are mainly sold to other businesses, and are only available in small sample quantities for high prices or in large quantities. As a small individual textile designer, this is not very convenient, but I still managed to get some different conductive fibers to do my research with from the french company Immatec (through e-mail) and the german company Shieldex (through their sample webshop).
Tools
I’ve used a variety of tools for this project: some donated, some bought, some made and some borrowed, that I’ll introduce below.
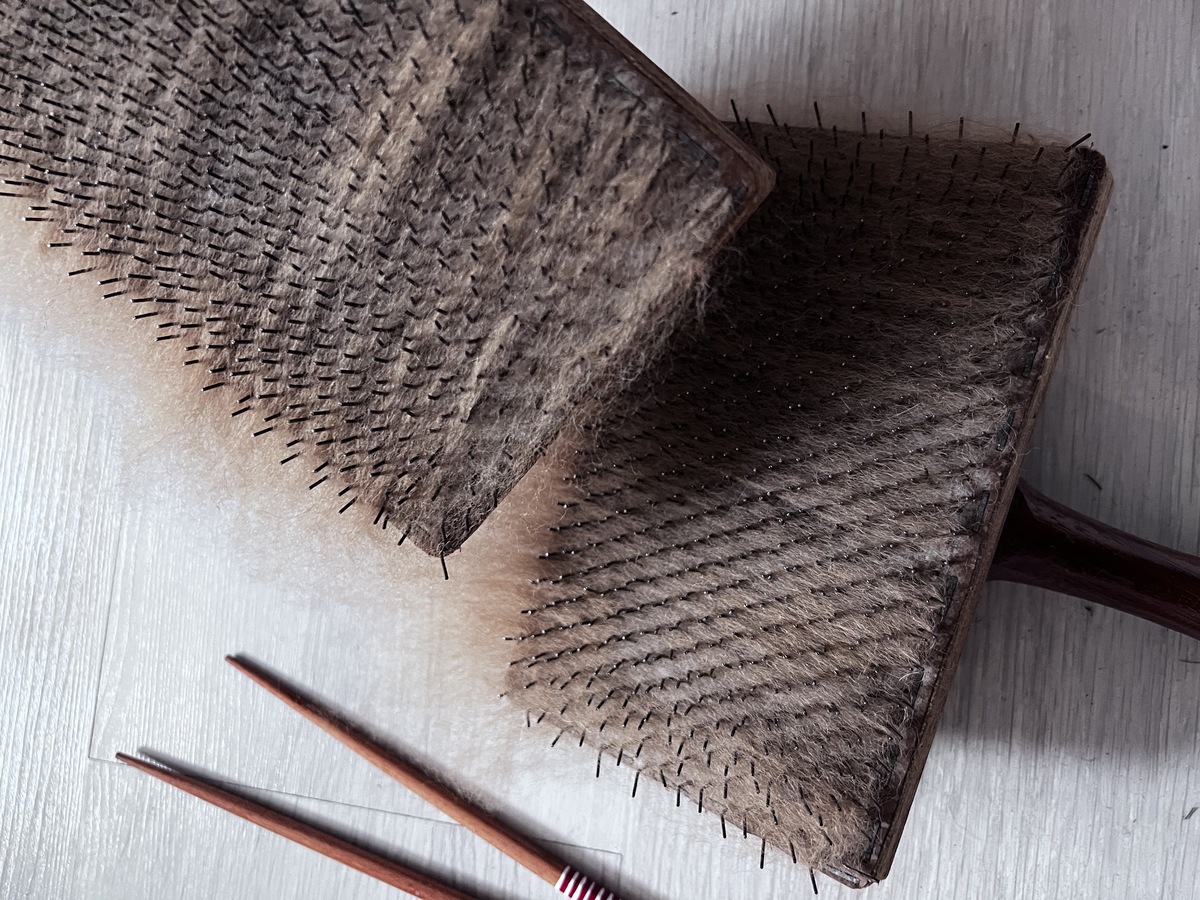
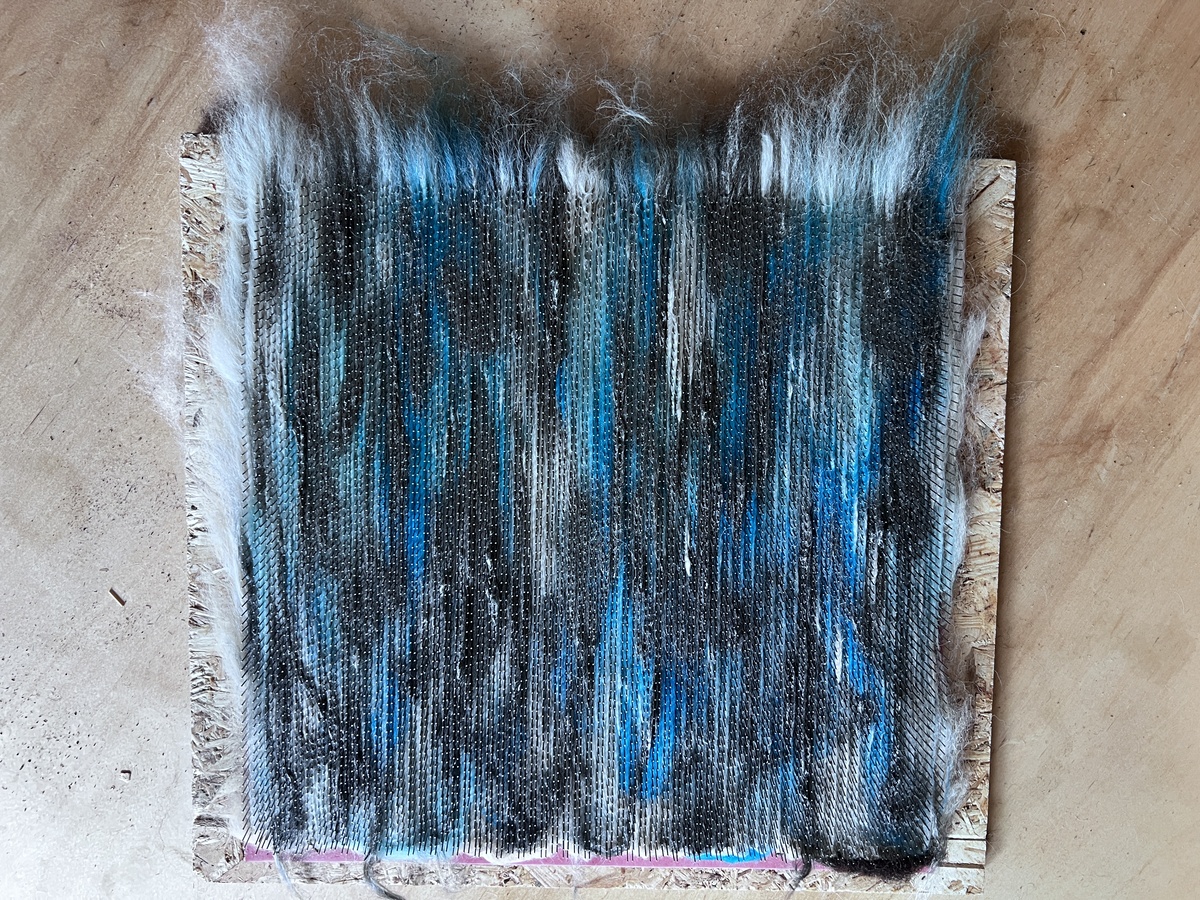

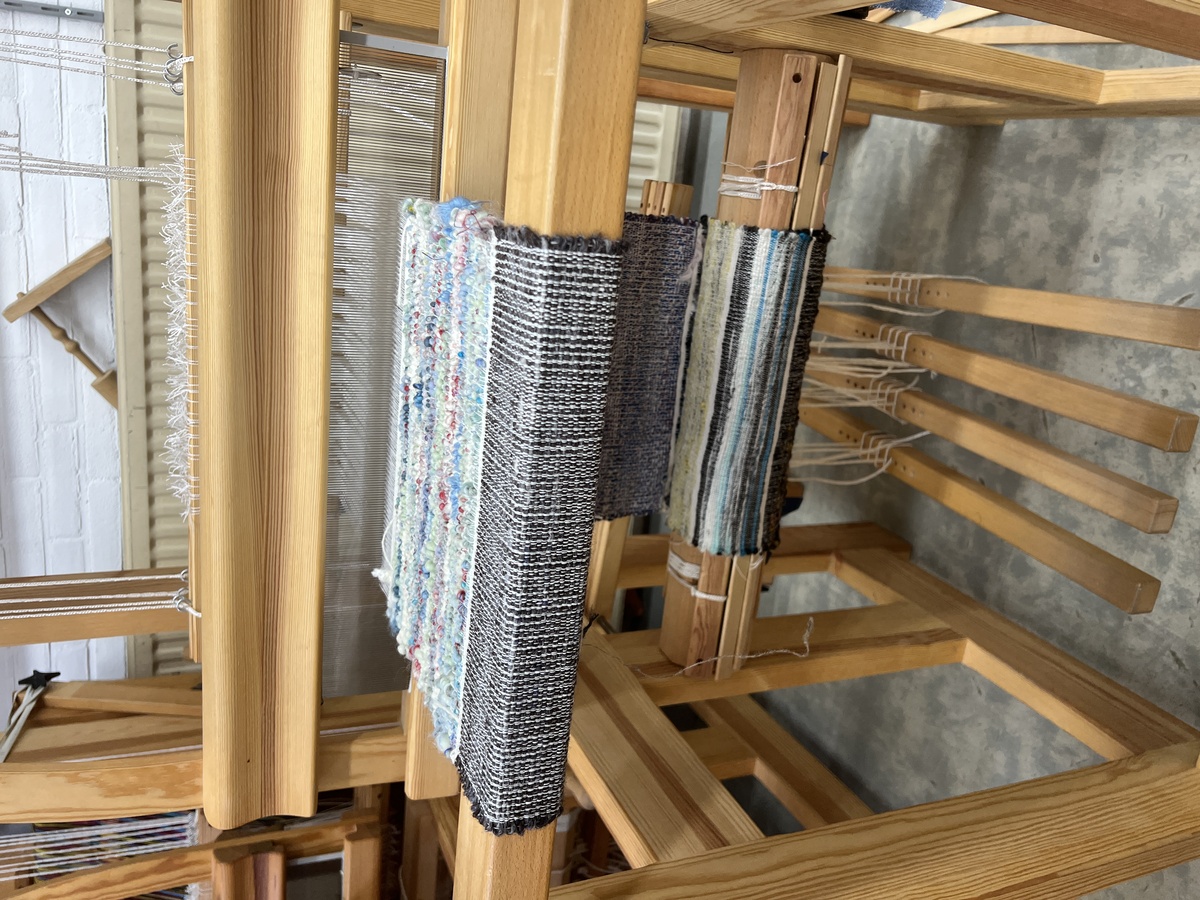
From left to right, top to bottom:
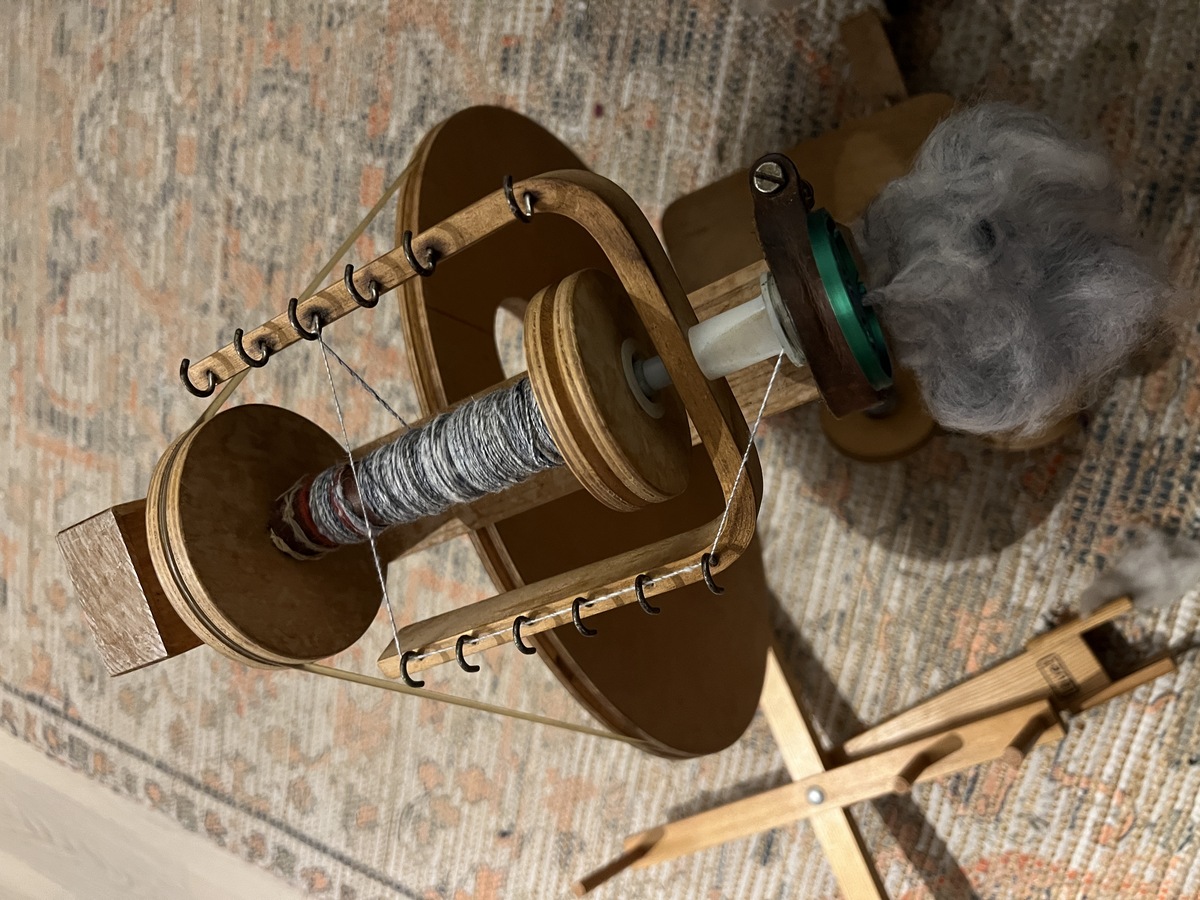
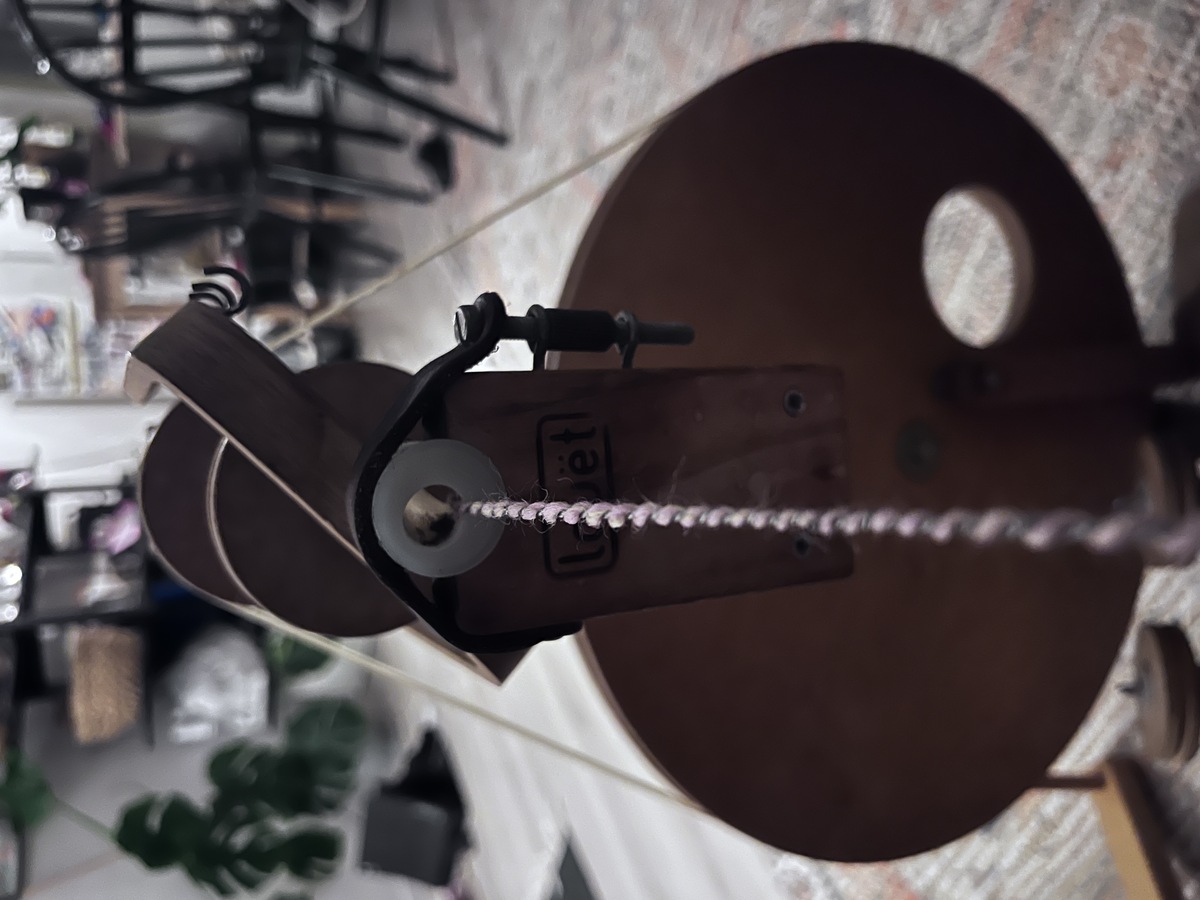
- First of all, the star of the project: a spinning wheel (a scotch tension Louet S10 donated by Marina van der Velden, the mother of my neighbour to whom I am very, very very grateful :) ). On top you can mount the skeinwinder to wind freshly spun yarn into skeins.
- Hand carders: one coarse pair that came with the spinning wheel, another 72 TPI pair bought at GF Carders and some chopsticks to make rolags.
- Blending board (108 TPI)
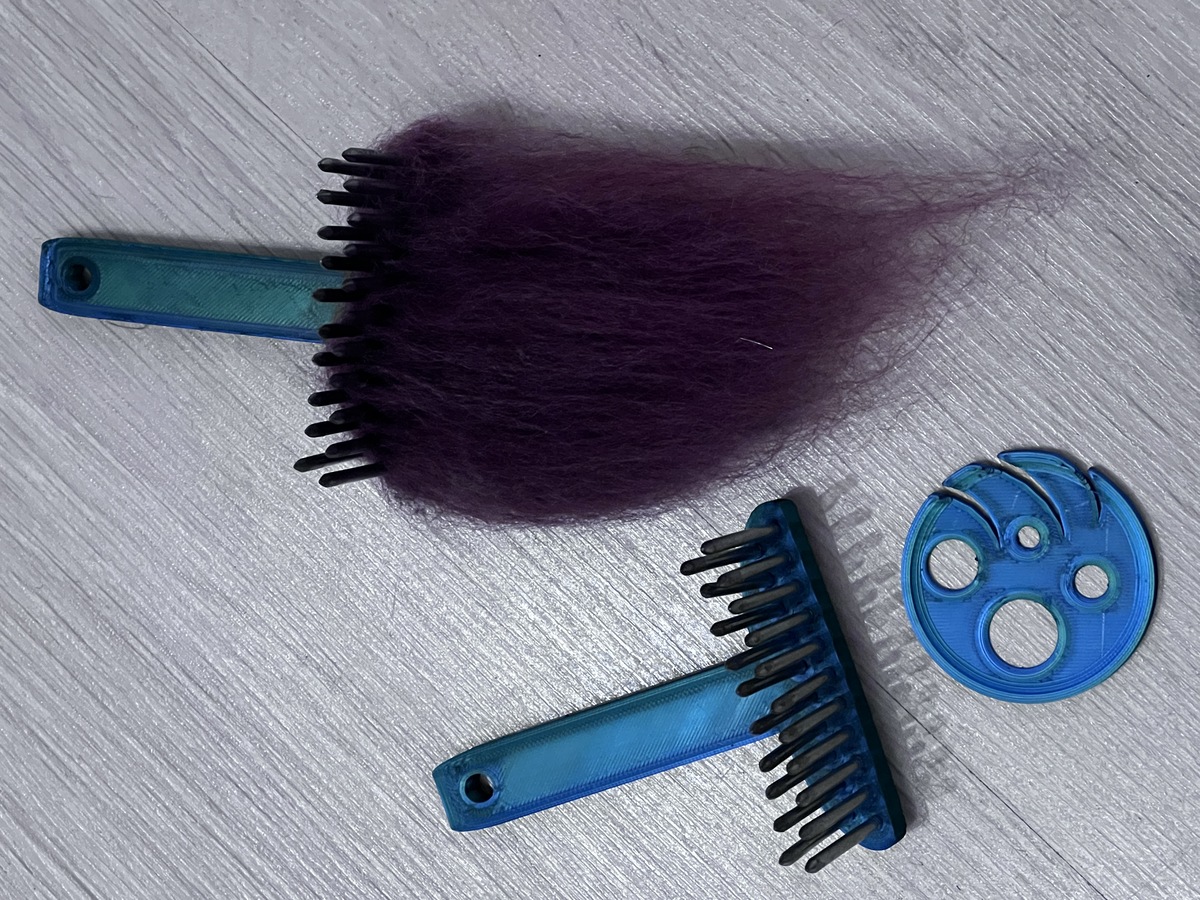
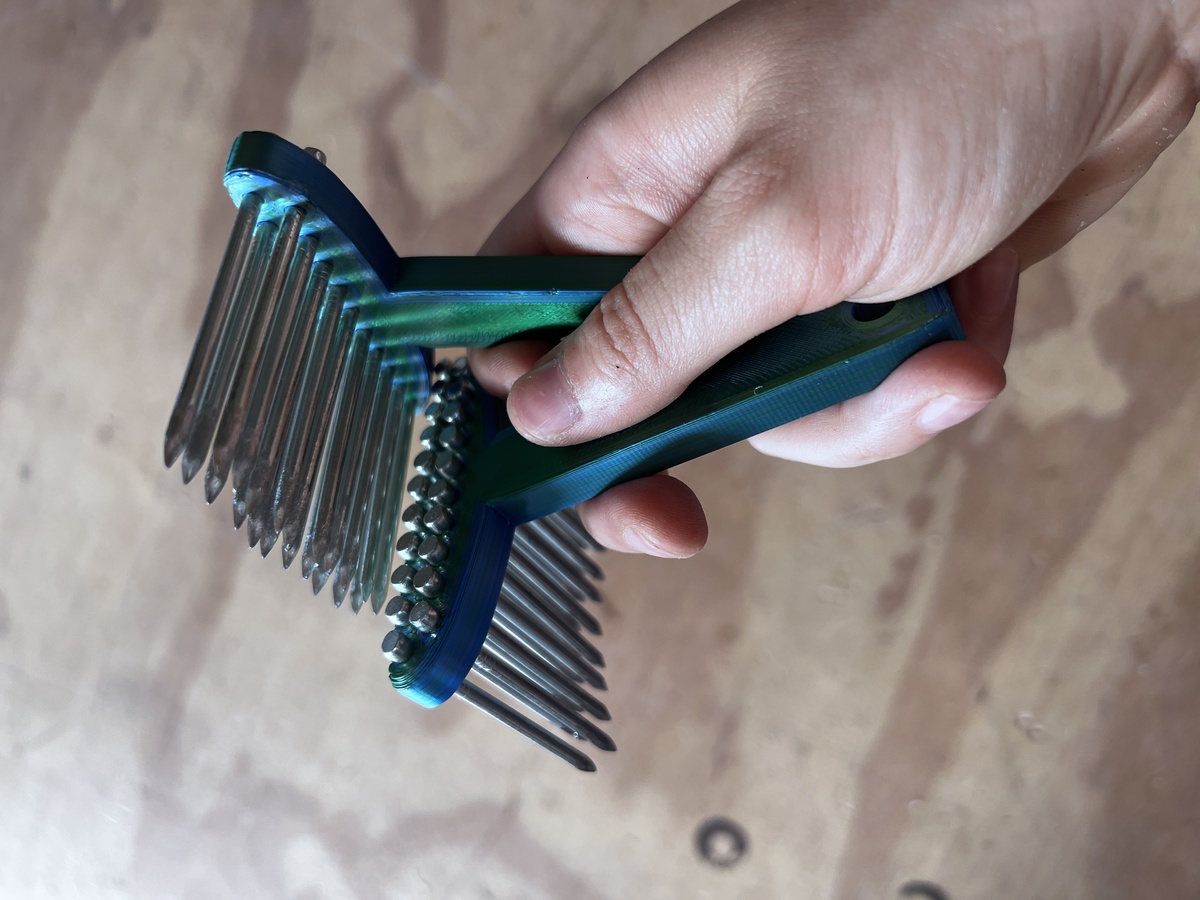
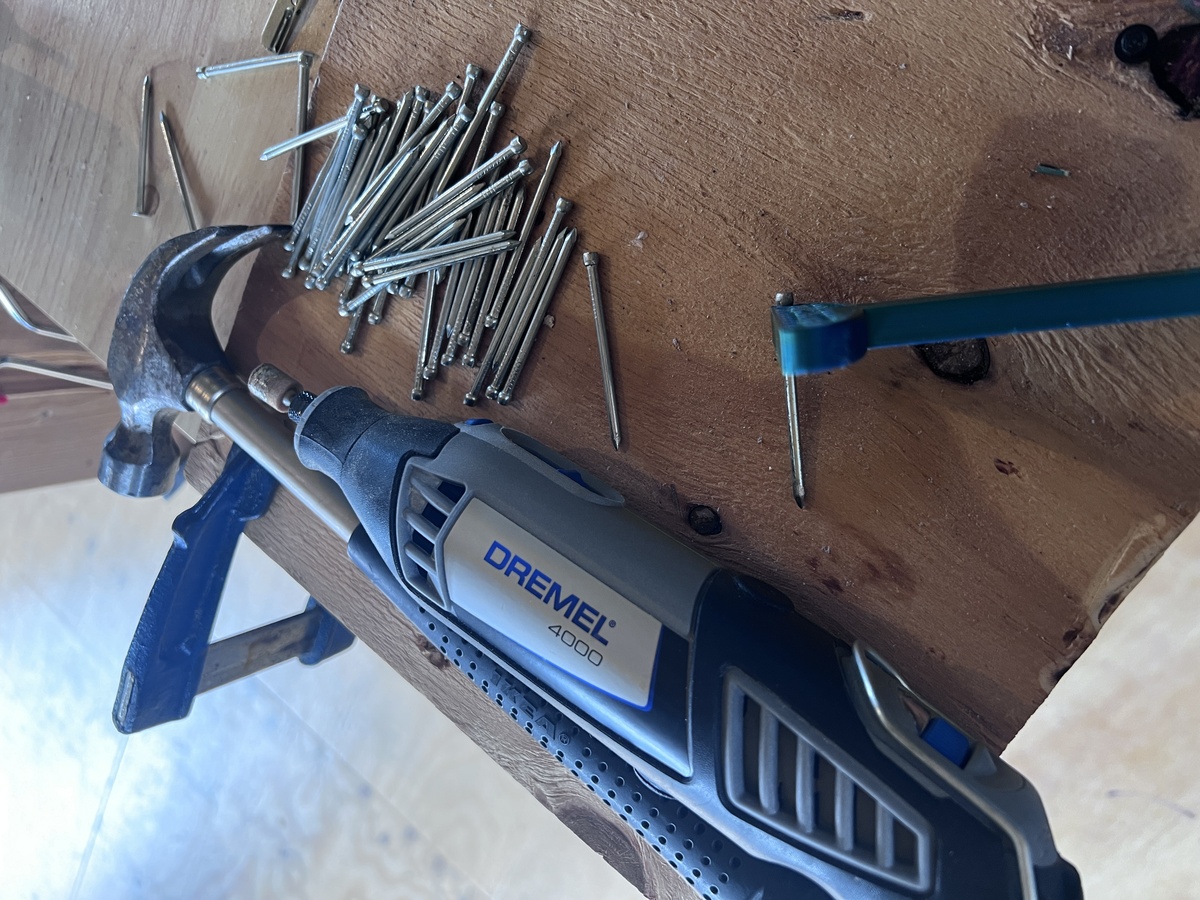
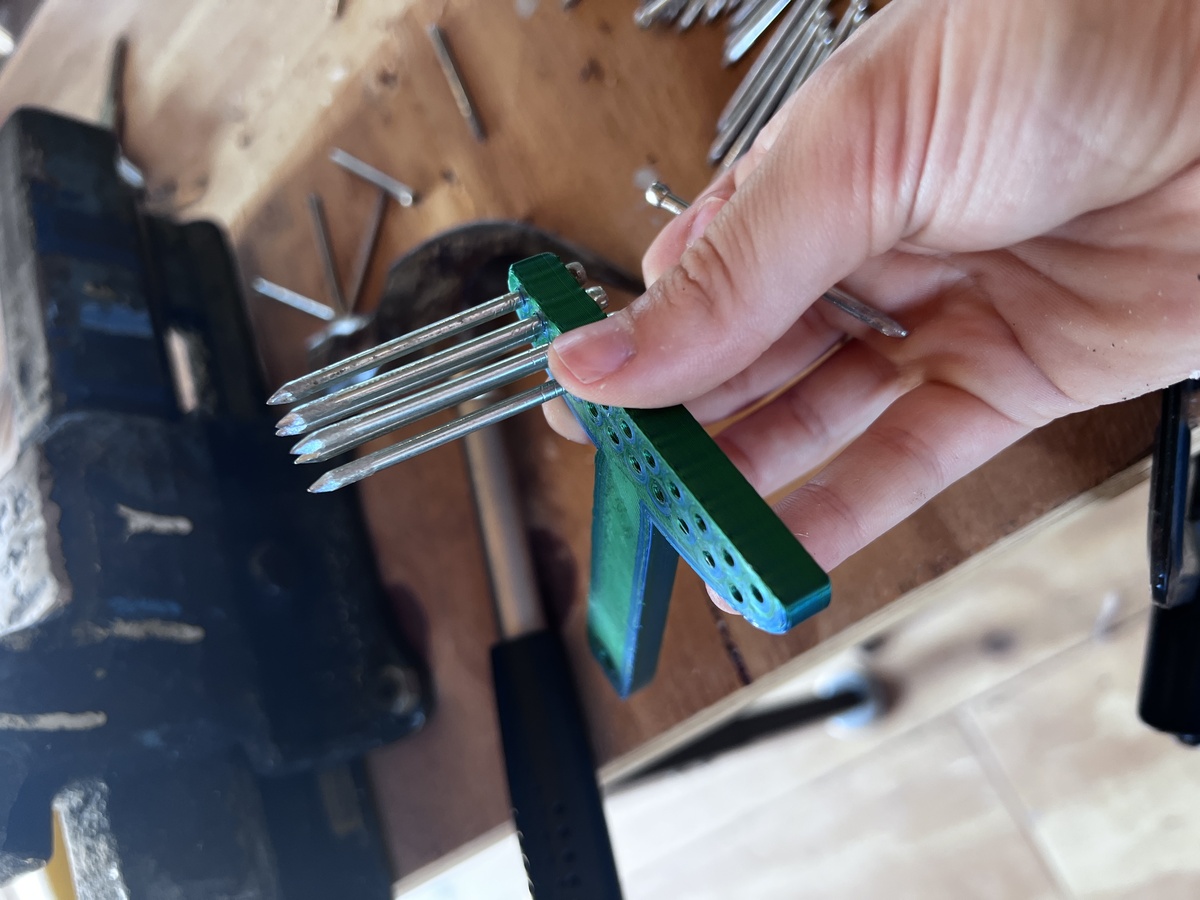
- Wool combs (made myself using a 66% scaled down version of this print using 3.1 mm nails since wool combs are ridiculously expensive) and a diz with twist saver (made myself by printing this file).
- Louet drumcarder (I visited the textile workshop where I used to work at Utrecht University of the Arts multiple times to make use of their drum carder)
- Treadle weaving loom (made use of one at the Weefacademie Sytze Roos)
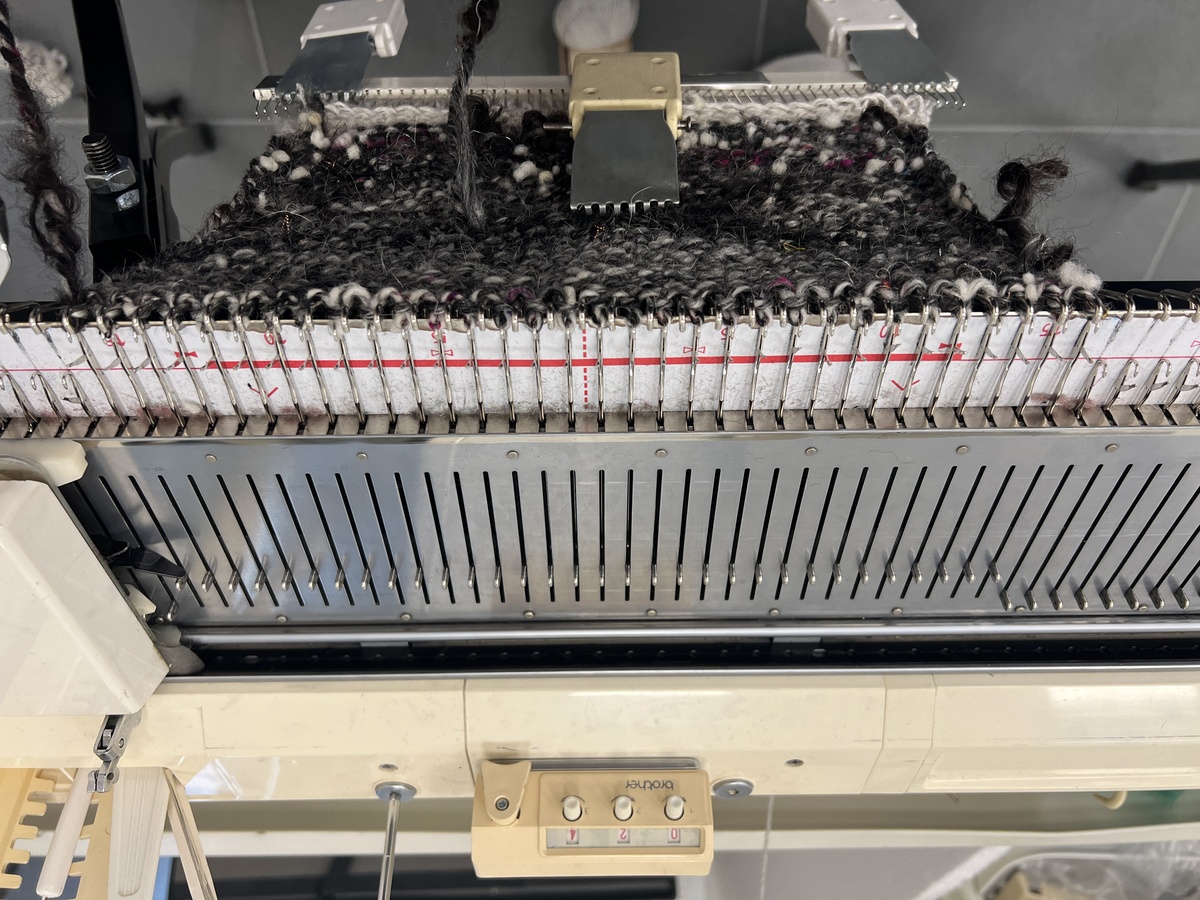
- Domestic knitting machine (a fine gauge machine I already owned; a coarse gauge machine I made use of at Utrecht University of the Arts)
Carding and combing fibers
This project is as much about spinning as it is about carding. How you prepare your fiber accounts for a third of how it’s going to spin, the other thirds going to the actual fiber you use and the spinning itself.
For the sake of this project, I bought hand carders (72 TPI which means teeth per inch; this is a nice jack of all trades for carding various fiber types) and a blending board (108 TPI). I did not buy a drum carder, because they are pretty expensive and bulky. However, when I bought the blending board, I thought that I could use them for mixing in conductive fibers evenly, but that really didn’t work and it’s not what they are for. I also hoped that I could use them to card raw wool. However, blending boards are for blending clean, combed or carded fibers and designing fiber arrangements with, not for actually blending and mixing fibers. I learned that that is not really what I was looking for: I primarily wanted to mix the conductive fibers very well to distribute conductivity throughout the resulting yarn. The rolags and batts I made with the blending board had the different fibers used distinctly visible. I do think that the blending board can come in handy when designing yarn with a combination of carded conductive and non-conductive blends, but I didn’t use it a lot during the research. Looking back at the first sensors I spun using the blending board, I like that the colors are less mixed, and I think I can make yarn with better technical properties with the carding knowledge that I have now.
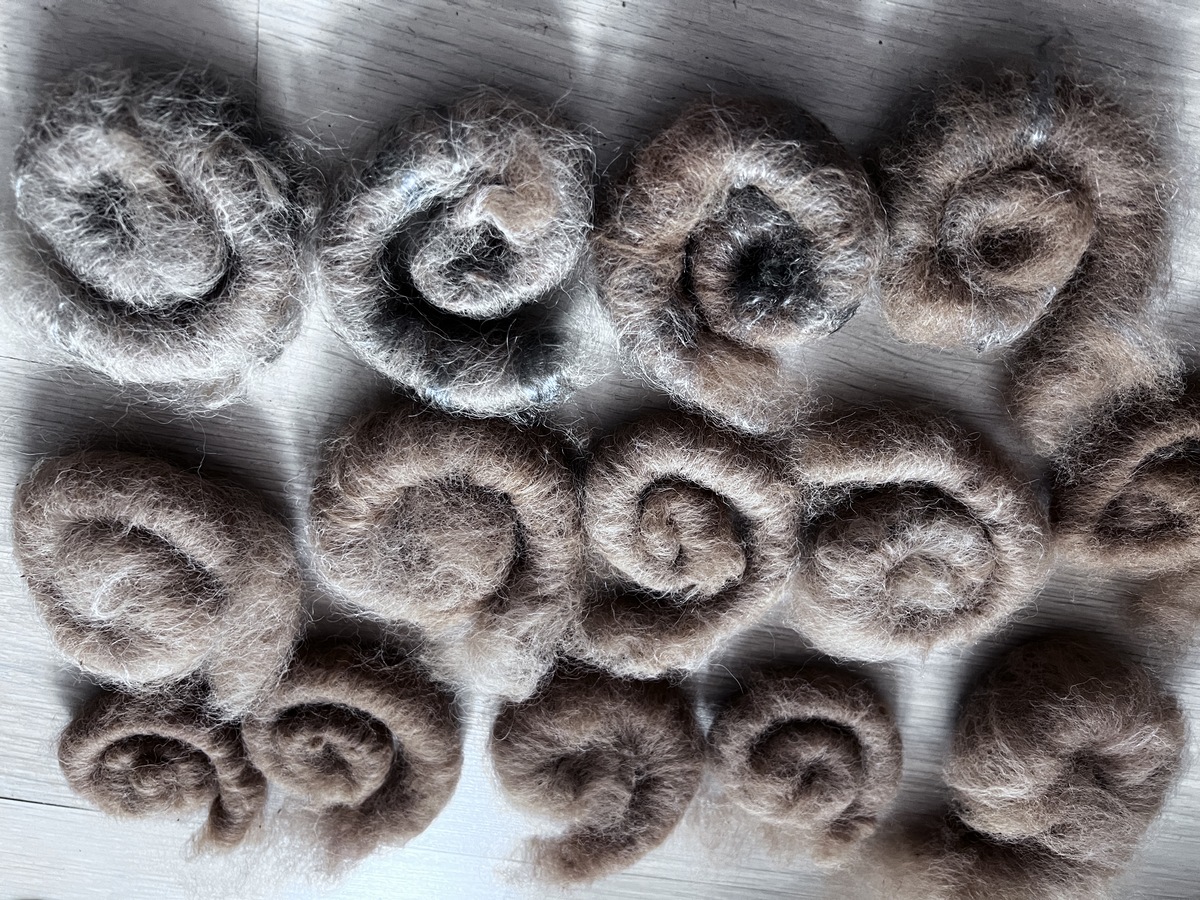
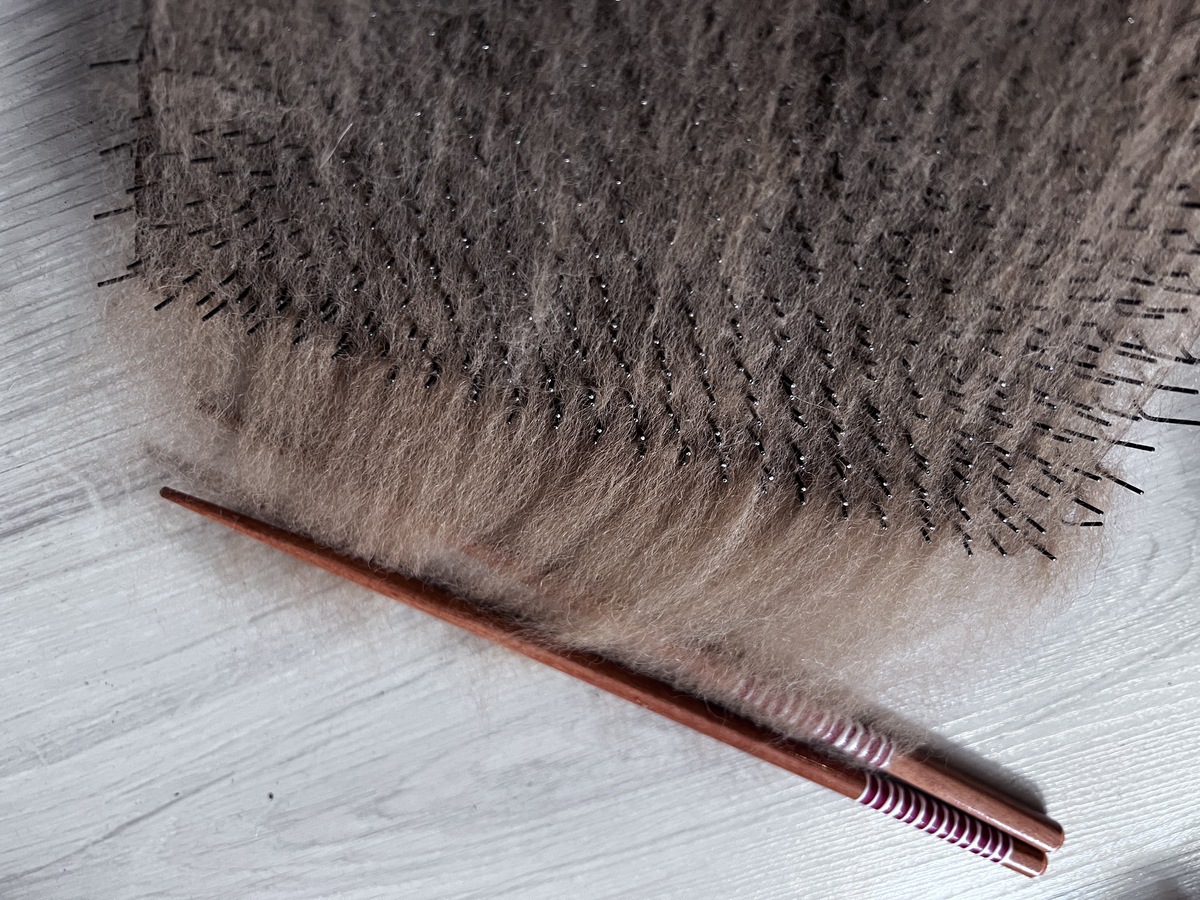
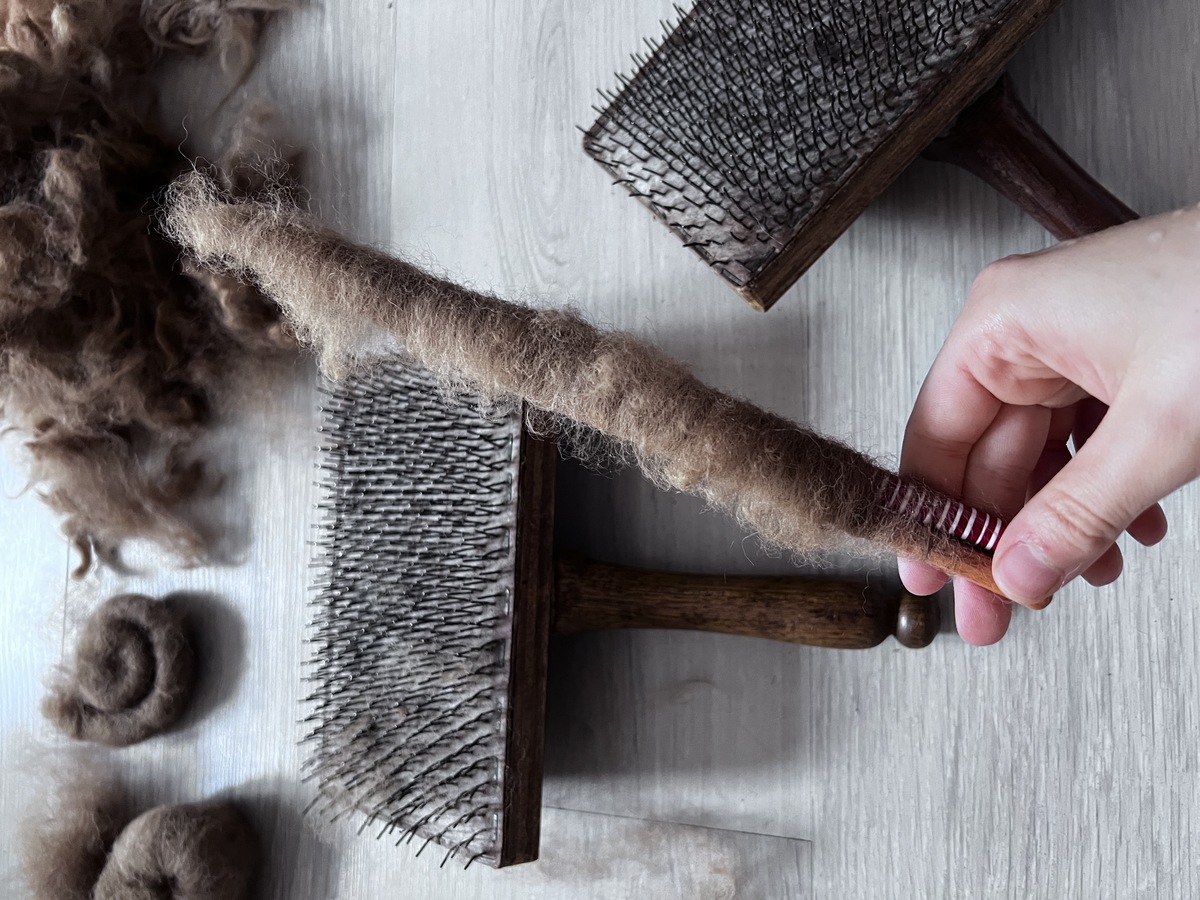
Hand carding is a lovely process of lightly brushing two carding brushes loaded with fiber over each other, to straighten and fluff up the fibers. The resulting batt is not very large and doesn’t produce a lot of yarn, but it’s just enough for a swatch. I used the hand carders quite often in this project. You can roll up the fiber into a neat roll called a rolag, which is used in long draw spinning. With hand carding it’s important to not overload the carder, otherwise carding is harder and drafting from the resulting rolag is harder. Below you can see rolags made from alpaca wool and conductive fibers in various ratios.
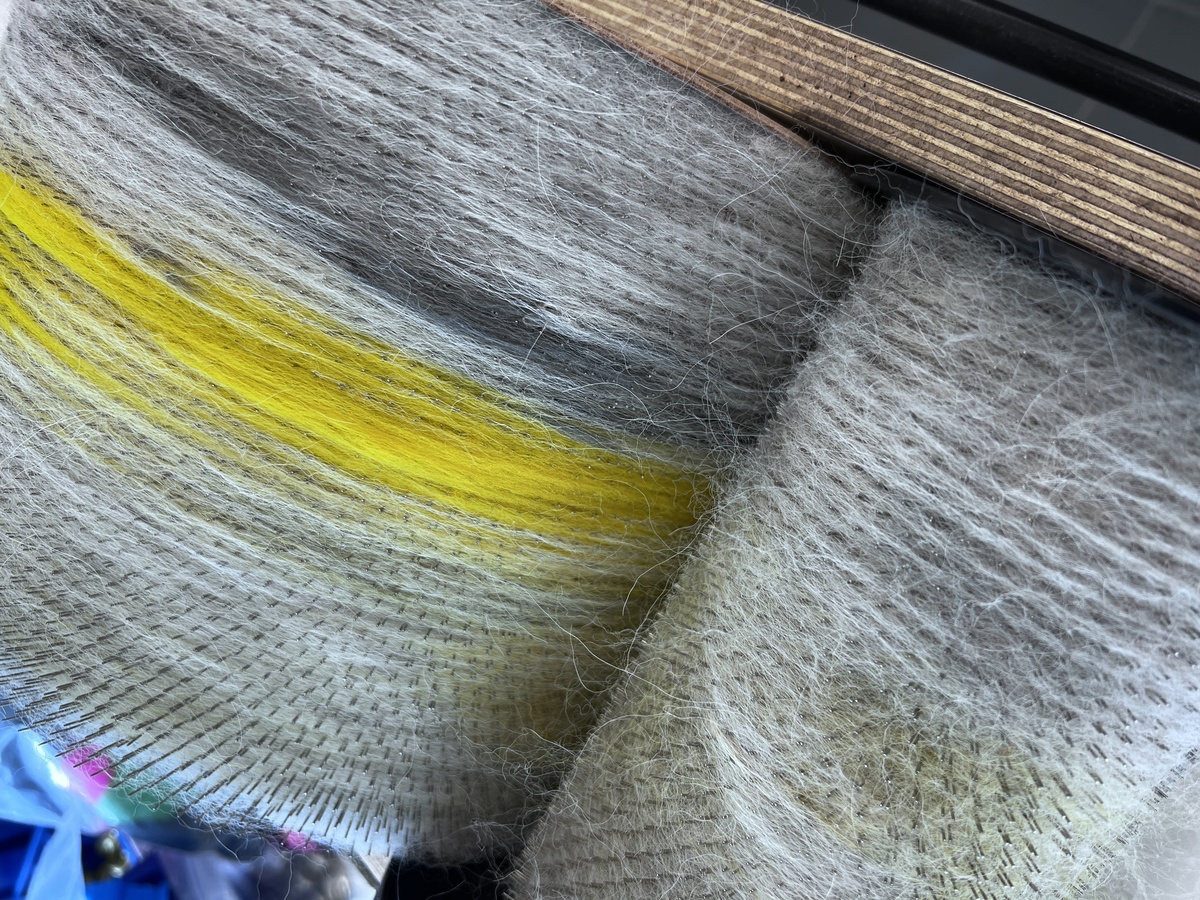
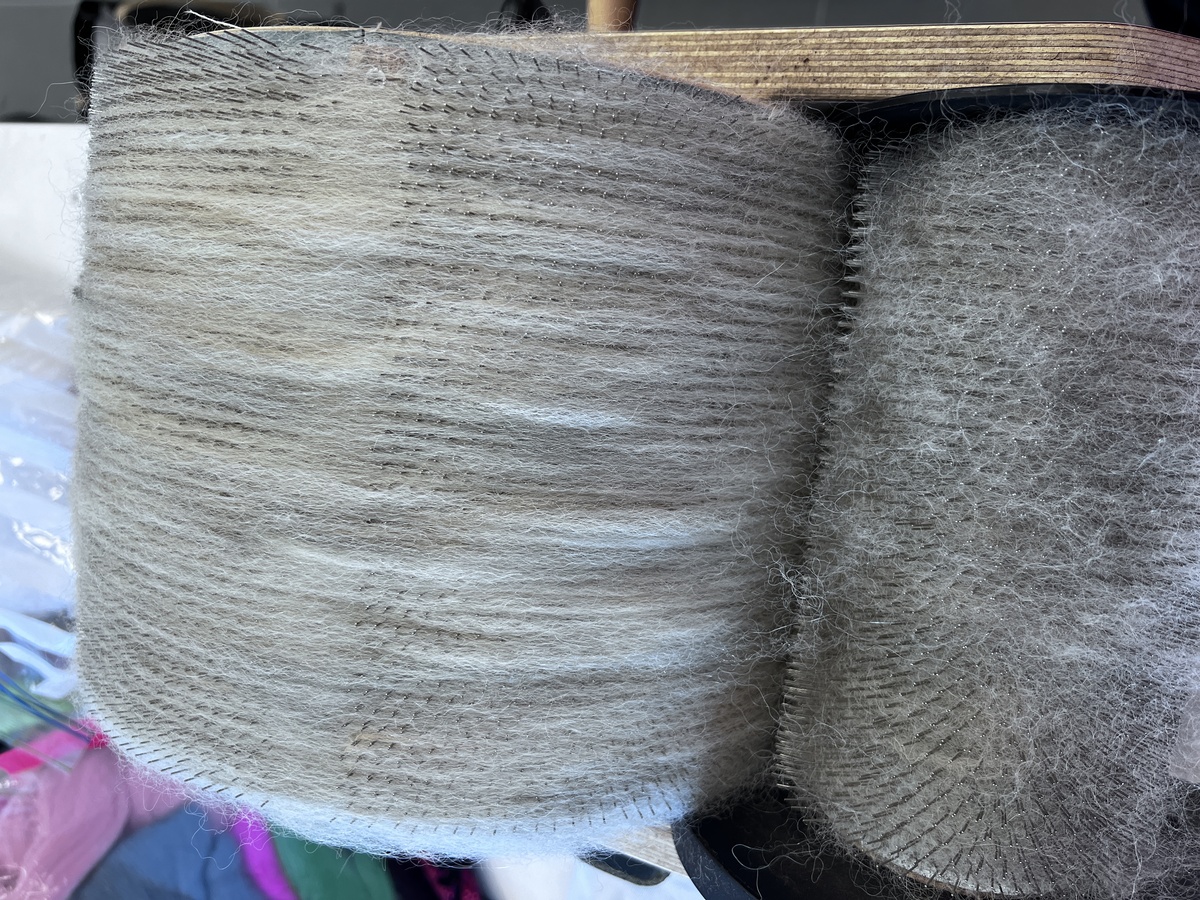
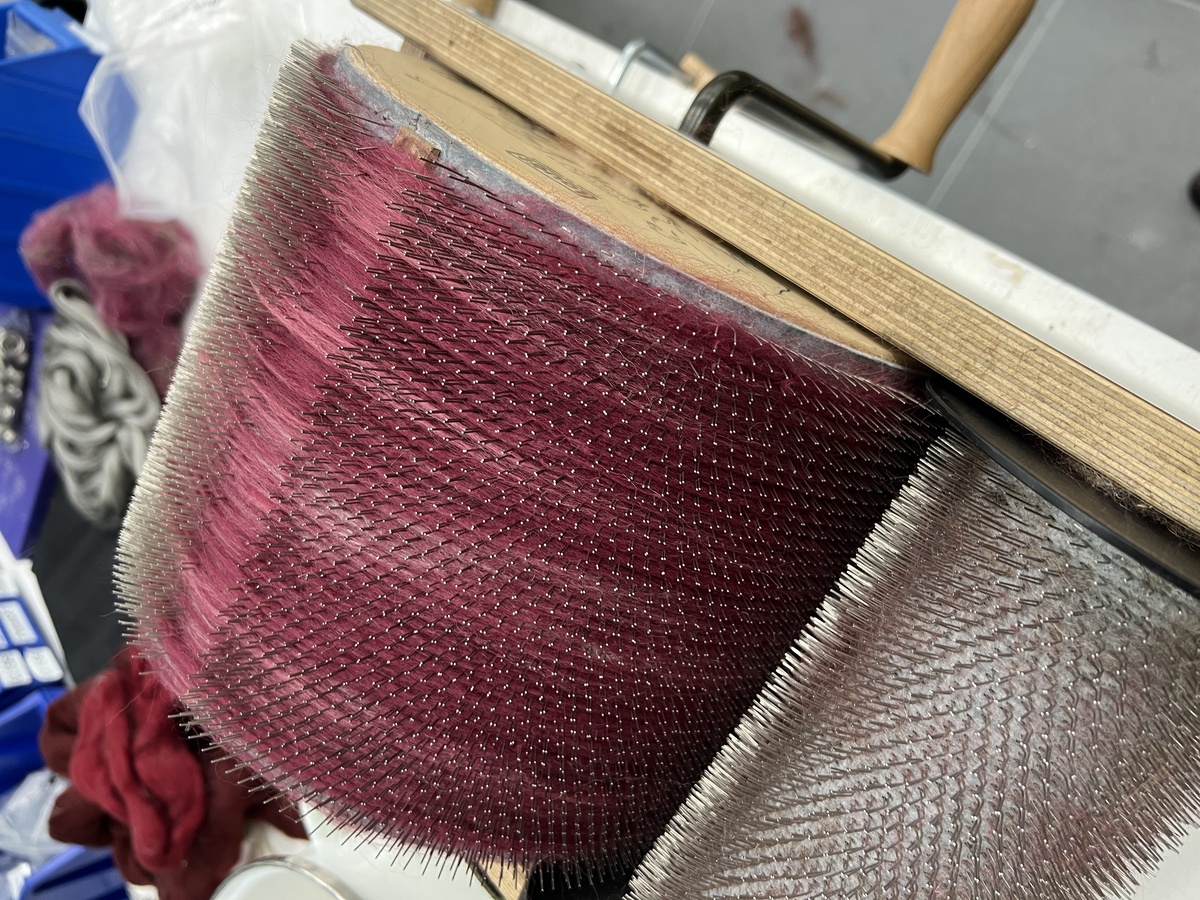
Drum carding - carding fibers with a hand-cranked machine with two rollers with carding cloth - is my favorite process and I ended up doing most of my fiber preparation like this, simply because it works the best and fastest. With an 80 gram batt from a full averagely sized drum carder like the Louet Drumcarder Standard that I used mainly, you can spin multiple hanks of yarn of different types to compare and make multiple sensor swatches with the same batt, or spin a lot of yarn of the same type for a larger sensor swatch. I do not own a drum carder as they’re pretty expensive, but I was able to make use of the one at HKU, close to my studio in Utrecht.
I also made wool combs, since I tried this fiber preparation process during a workshop I followed by Gregor Falkenhagen from Men at Wool and found that the resulting combed top is very evenly mixed, which is what I wanted. The problem is that it takes very long, and it produces a lot of waste. In the end I preferred carding the same batt multiple times for better consistency over combing small amounts of wool, because I found that the distribution of conductive fibers in batts (carded well) was already good enough to detect useful resistance and capacitance ranges in the resulting yarn. Combing worked a little too well, and the resulting yarn was smooth but a little one dimensional in my opinion. With carding, you have more design freedom.
Better carding
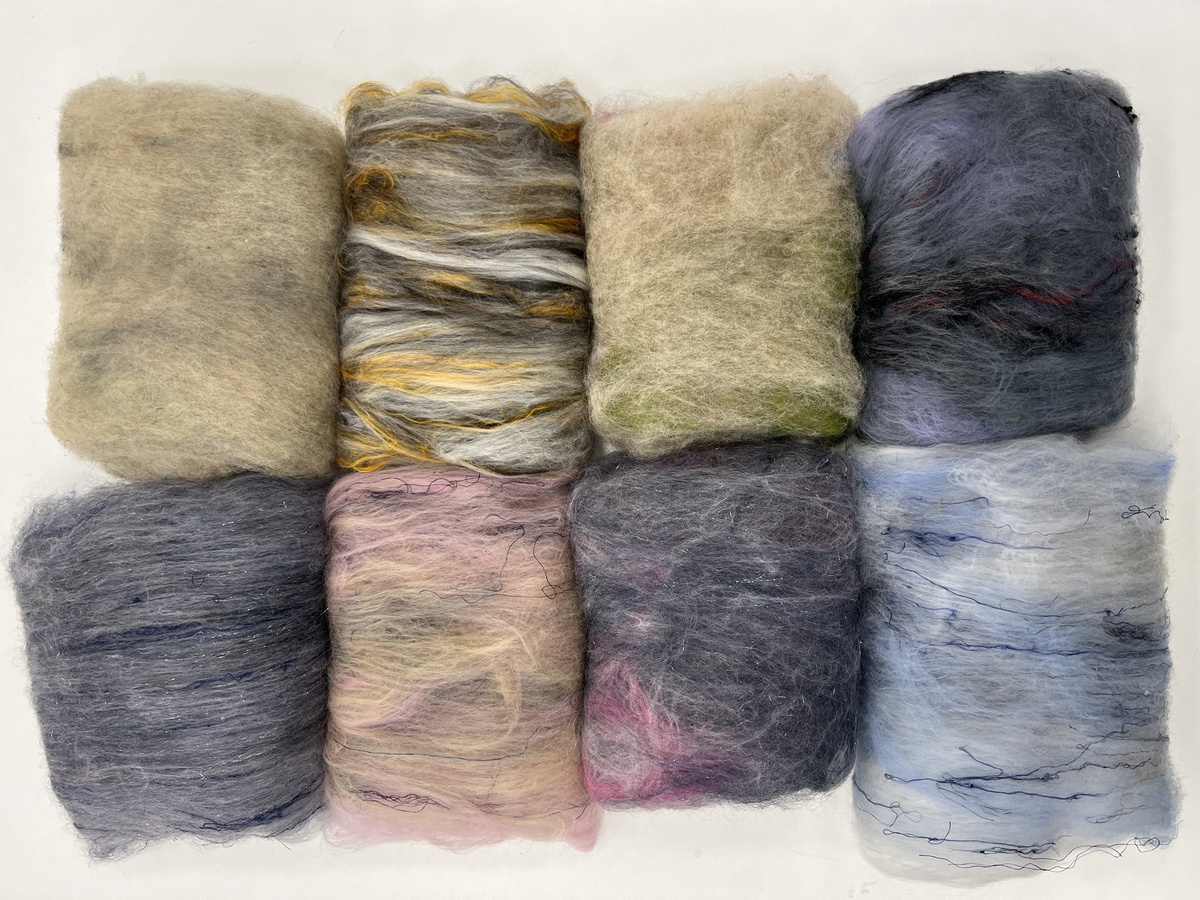
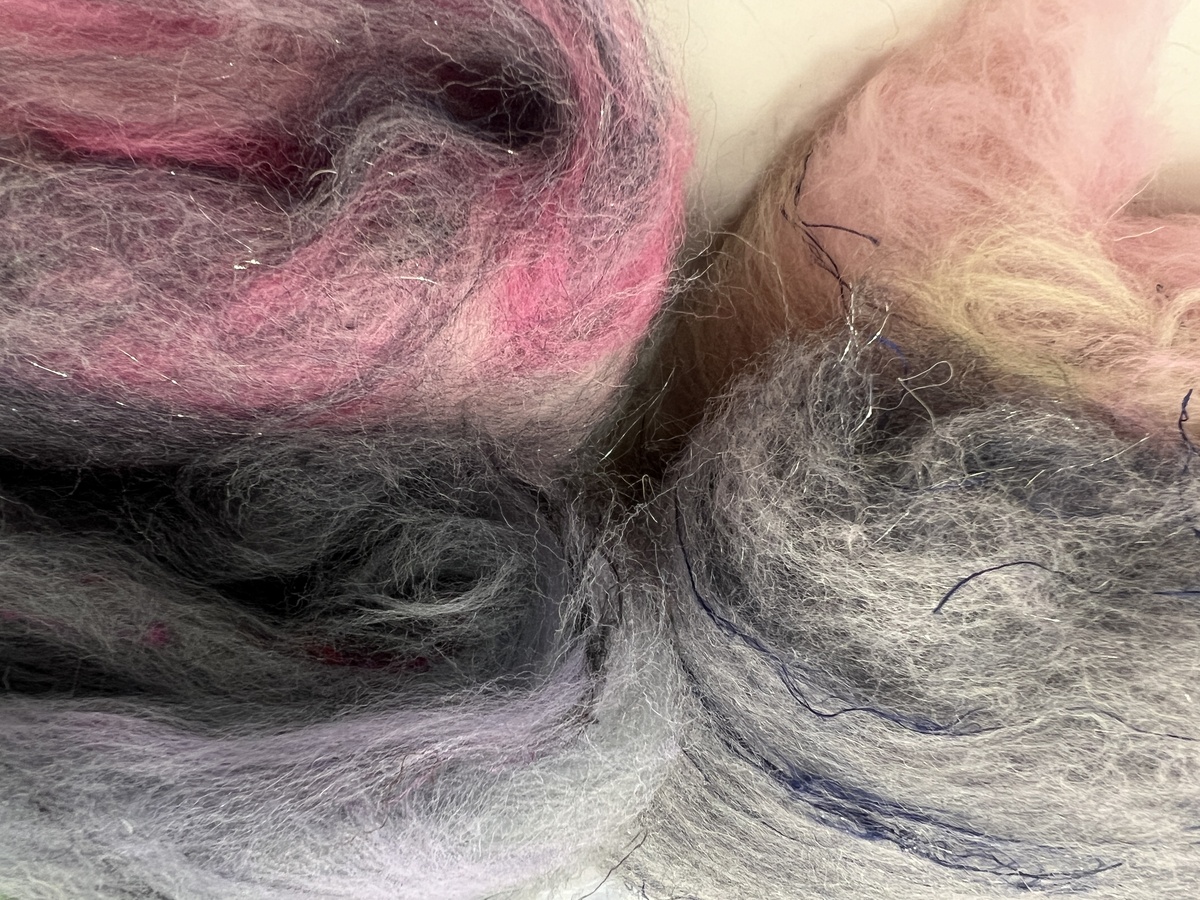
The problem with carding a batt multiple times though is that again, it takes a long time, and if I didn’t carefully distribute the conductive fiber they can still stick together too much. To learn how to better card, I followed a workshop on art yarn spinning and carding by Bregje Konings, where I learned how to improve this process. By sandwiching the conductive fibers in between regular wool, you have more control about the placement and separation of the conductive fibers. I tried this on Bregje’s drum carders, first making an art batt with a huge amount of different colors and fibers (90 gram of silk, merino, mohair, wensleydale…) and a small amount of crimped stainless steel fibers (2 gram). The in-between white layers are combed mohair to make the yarn really cloudy. The next batt is again with a variety of fibers (72 grams of gotland curls, shetland, merino, bluefaced leicester, black and grey bamboo, pink sari silk, white firestar and copper christmas decoration to name a few) and 5 grams of 12 micron aligned stainless steel; here I compared carding once versus twice:
By making sandwiches with other fibers (like combed top) it’s easier to place fibers where you want them (especially if they’re really thin and finnicky). It’s also a good idea to pull apart and widen the conductive fibers that you feed the drum carder, and only feed a little bit at a time to get a very even distribution. By preparing the fibers better, I didn’t need to card 3-5 times which saved a lot of time, even though preparation took more time. With this technique, carding just once is enough, which is way faster. The fibers are a little bit less blended (although you also have control over this) but this can be pretty nice visually.
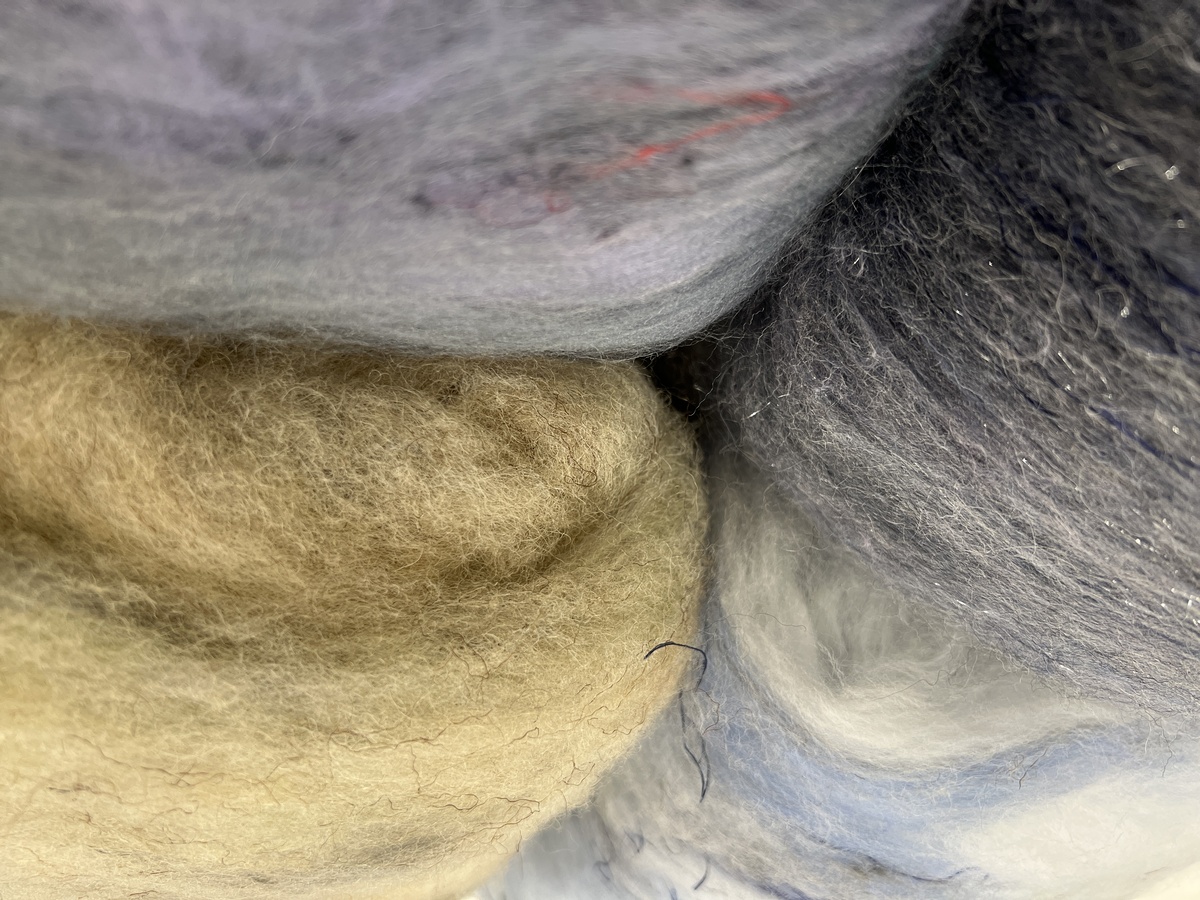
These were the first batts after the session with Bregje:
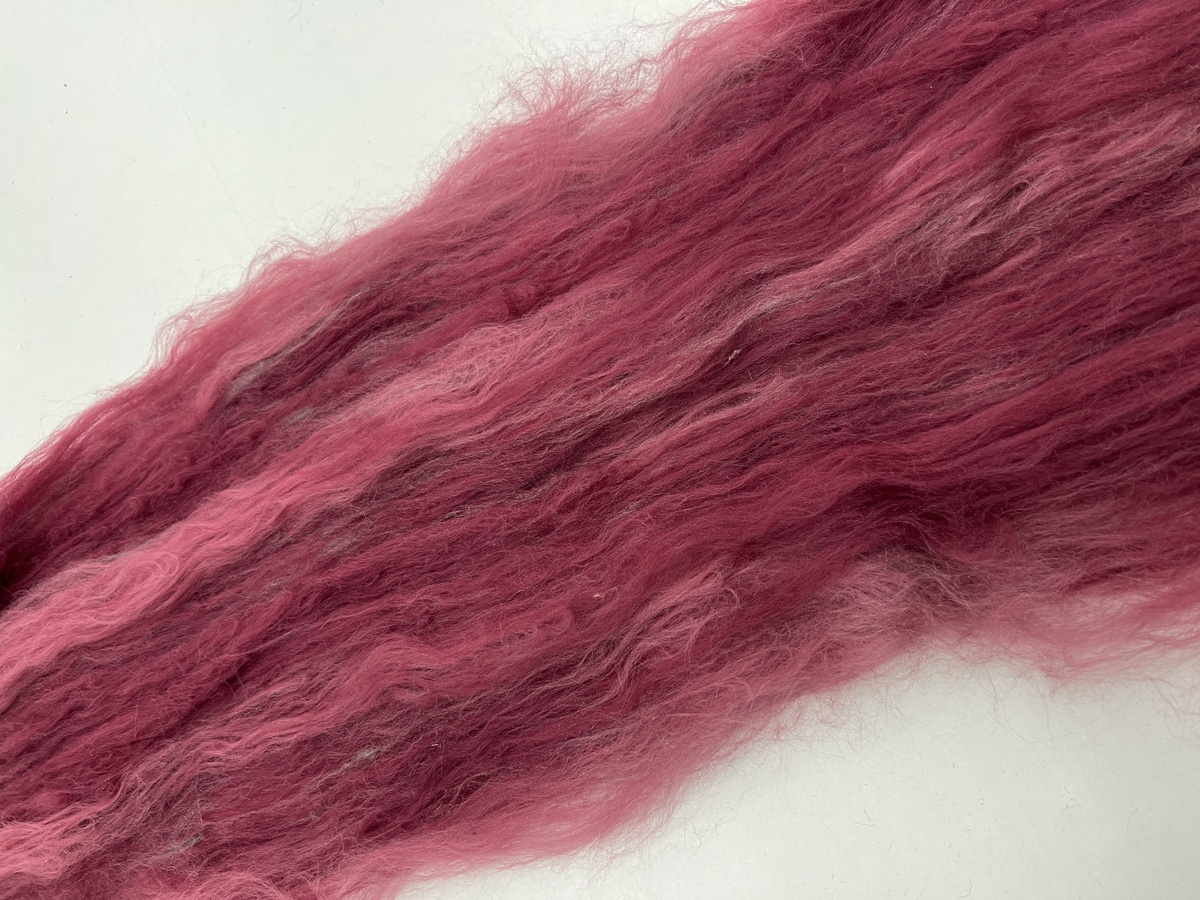
Still, carding the following 8 batts took about 5 hours, so it’s by no means a quick process.
No preparation
The fastest method of fiber preparation is when I’m spinning straight from non-conductive fiber and plying it with copper wire. In that case, it’s more about the spinning technique to make the yarn interesting. When spinning yarn with copper wire, the yarn is a bit more stiff and you can notice the thin copper wire. This can be used as a design feature though.
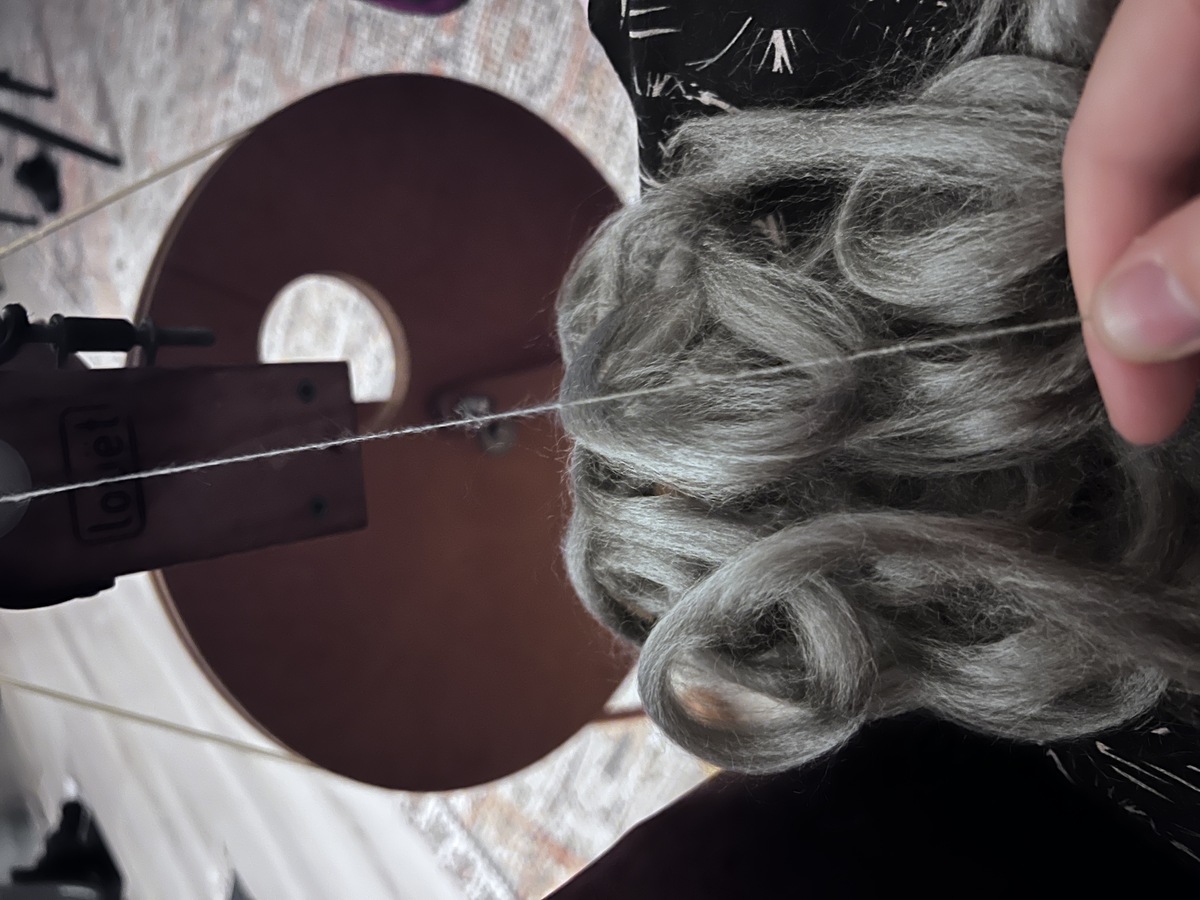
Another option where no fiber preparation needs to be done is to spin 100% conductive fibers (works best with the combed top variant), spin 100% wool, and ply the two together. This only works as a capacitive touch sensor, because it will be super conductive.
Spinning techniques
Spinning techniques
I’ve explored many different techniques during this projects. They can be categorized roughly as:
- singles
- 2 ply yarn & variations
- 3 ply chain plied yarn
- core & coreless core yarn
- beaded yarn
- technical yarn
- art yarn
Below you will find all of the yarn I’ve spun, their techniques, the materials used and other notes.
This was the first yarn spun for Sensor Spinster. I lost it then until the end of the project which works out as a reference as to how I started.
- Composition: 4 grams merino, 4 grams unwashed alpaca, 3 grams stainless steel fibers (variocut).
- Spinning technique: two ply short draw forward
- Blending technique: carded with coarse hand carders
- Composition: 2 grams stainless steel fibers (variocut), 27 grams alpaca
- Spinning technique: two ply short draw forward
- Blending technique: carded with coarse hand carders
- Composition: 55 grams B quality alpaca, 2 grams stainless steel fibers (variocut)
- Spinning technique: two ply very short draw forward
- Blending technique: carded with coarse hand carders
- Composition: grey alpaca, 7,5 grams stainless steel fibers (variocut)
- Spinning technique: two ply short draw forward
- Blending technique: carded with fine hand carders
- Composition: 33 grams grey alpaca, 3 grams stainless steel fibers (variocut)
- Spinning technique: two ply short draw forward
- Blending technique: carded with fine hand carders
This yarn was made during a visit to spinning mill Wad’n Wolletje in Oosternijkerk, so I didn’t weigh my fibers.
- Composition: Friesian Milksheep, stainless steel (combed)
- Spinning technique: two ply short draw forward
- Blending technique: bought carded fleece; added bits of conductive fibers along the way (in one of the singles only)
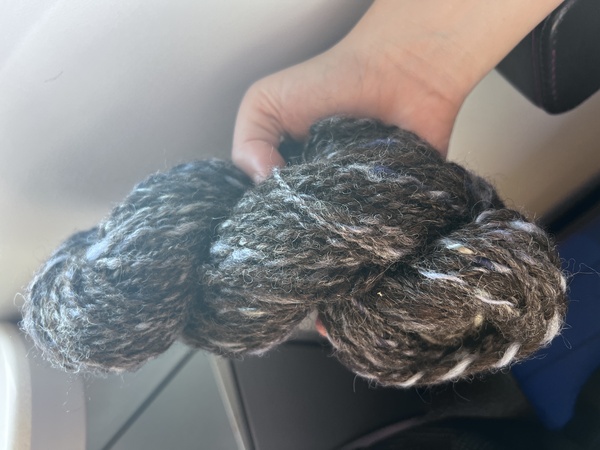
Using the leftover single from the visit to Wad’n Wolletje and combining it with a new single with a bit more stainless steel; this one plied more tightly than the previous one. After this I visited the weavers market in Hoorn, where I bought a lot of carded and combed fibers. This meant that I had less work in preparing the fibers and more time for blending.
- Composition: Friesian Milksheep, stainless steel (combed)
- Spinning technique: two ply short draw forward
- Blending technique: bought carded fleece; added bits of conductive fibers along the way
This one was blended on a blending board. I put too much and I forgot to pull the fibers apart with sticks when taking it off the board, which made the fleece very dense and hard to spin from. It was hard to evenly distribute the conductive fibers, which you can see in the yarn: there are conductive chunks. I did not blend it multiple times, which could have helped. I later learned that blending boards aren’t really for actually blending the fibers, they are more for combining fibers, and the fibers stay more distinctly together.
- Composition: 40 grams Zwartbles carding fleece, 2 grams yellow merino combed top and 2 grams magenta merino combed top, 5 grams stainless steel (combed)
- Spinning technique: two ply short draw forward (very uneven)
- Blending technique: mixed on blending board
After this yarn, I followed two workshops by Gregor Falkenhagen, learning more about different spinning techniques and fibers. I spun with a lot of different materials, learned more about carding and combing techniques, tried long draw backward spinning for the first time and plied from an Andean bracelet for the first time.
- Composition: Zwartbles carding fleece, sari silk, stainless steel (combed)
- Spinning technique: corkscrew around a Zwartbles single
- Blending technique: mixed on blending board
- Composition: Zwartbles carding fleece, yellow merino combed top and magenta merino combed top, stainless steel (combed)
- Spinning technique: corkscrew around a Zwartbles single
- Blending technique: mixed on blending board
- Composition: Zwartbles carding fleece, white alpaca, aqua merino combed top, stainless steel (combed)
- Spinning technique: very uneven two ply
- Blending technique: mixed on blending board
- Composition: light pink ‘milkshake’ merino combed top, stainless steel (combed)
- Spinning technique: two ply short draw forward, spinning both singles separately and plying together
- Blending technique: none
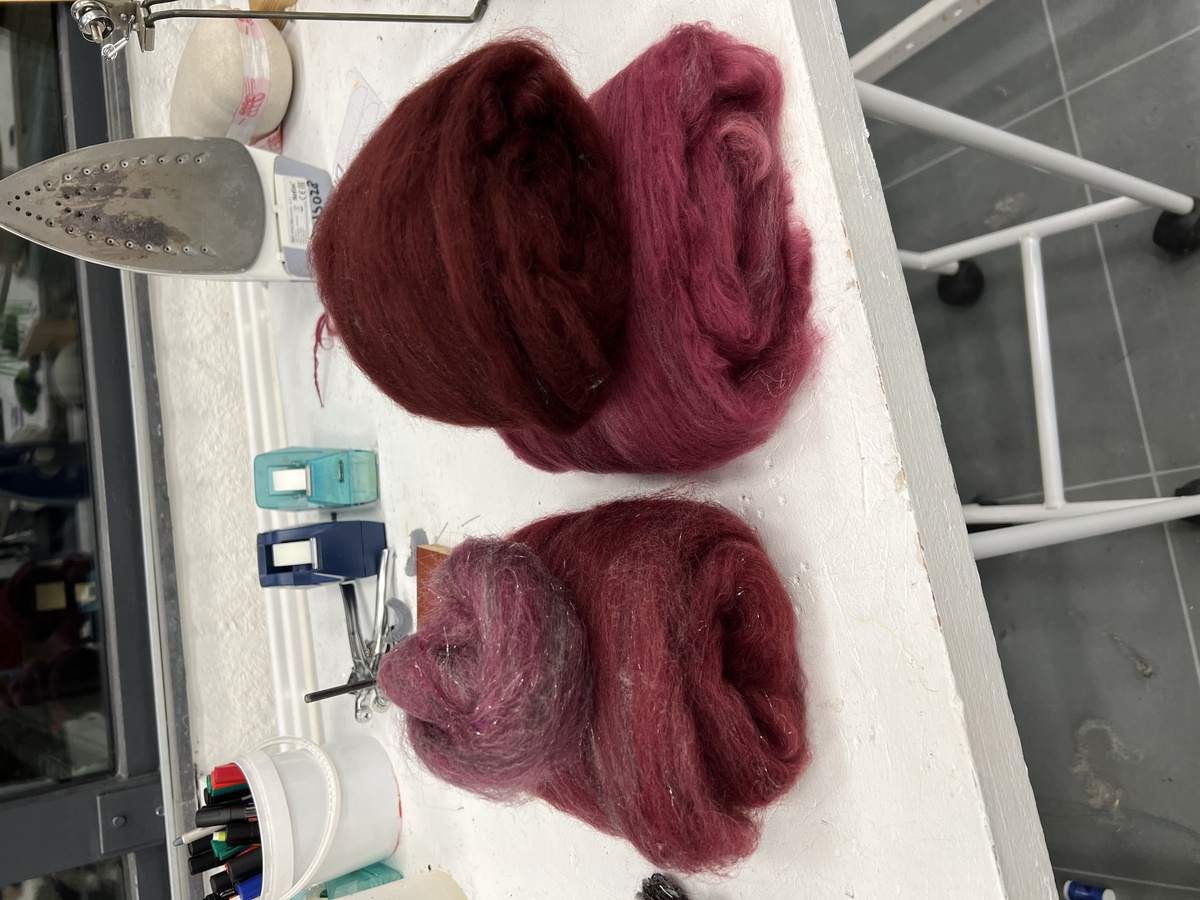
- Composition: dark red merino combed top, dark pink merino combed top, stainless steel (combed)
- Spinning technique: two ply short draw backward (true worsted)
- Blending technique: combing (at least 5 times) with DIY wool combs
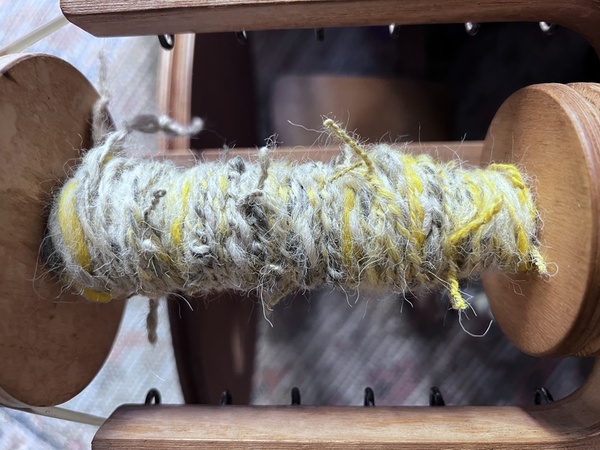
- Composition: herdwick single, metal beads (2mm with 1mm diameter hole), sewing machine thread
- Spinning technique: beaded thread plied with herdwick single
- Blending technique: metal beads stringed on sewing machine thread
- Composition: 30 grams white alpaca, 9 grams yellow merino combed top, 5 grams stainless steel (combed)
- Spinning technique: two ply long draw backward
- Blending technique: carded 2 times in drum carder then rolled into rolags
- Composition: 30 grams white alpaca, 9 grams yellow merino combed top, 5 grams stainless steel (combed)
- Spinning technique: pigtail yarn, two ply short draw forward
- Blending technique: carded 2 times in drum carder then rolled into rolags
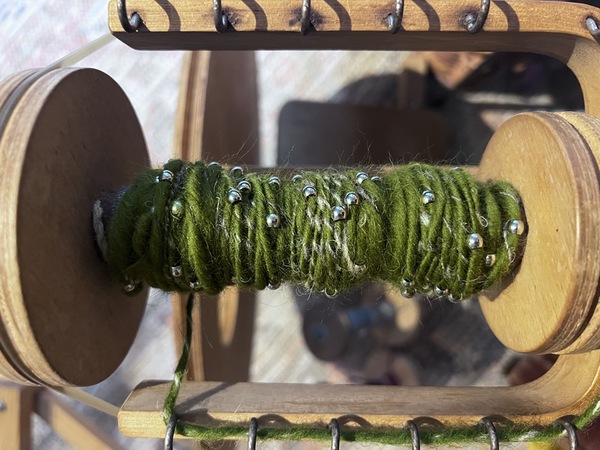
- Composition: 12 grams green merino combed top, metal beads (5mm with 3mm diameter hole), herdwick single
- Spinning technique: beaded merino plied with herdwick single
- Blending technique: beaded merino top before spinning (didn’t work very well because the beads start moving when twisting the top)
- Composition: herdwick single, uncoated 0,1mm copper wire
- Spinning technique: plied the herdwick single with the copper wire
- Blending technique: none
- Composition: blue and green merino combed top, uncoated 0,1mm copper wire
- Spinning technique: plied the merino single with the copper wire
- Blending technique: none
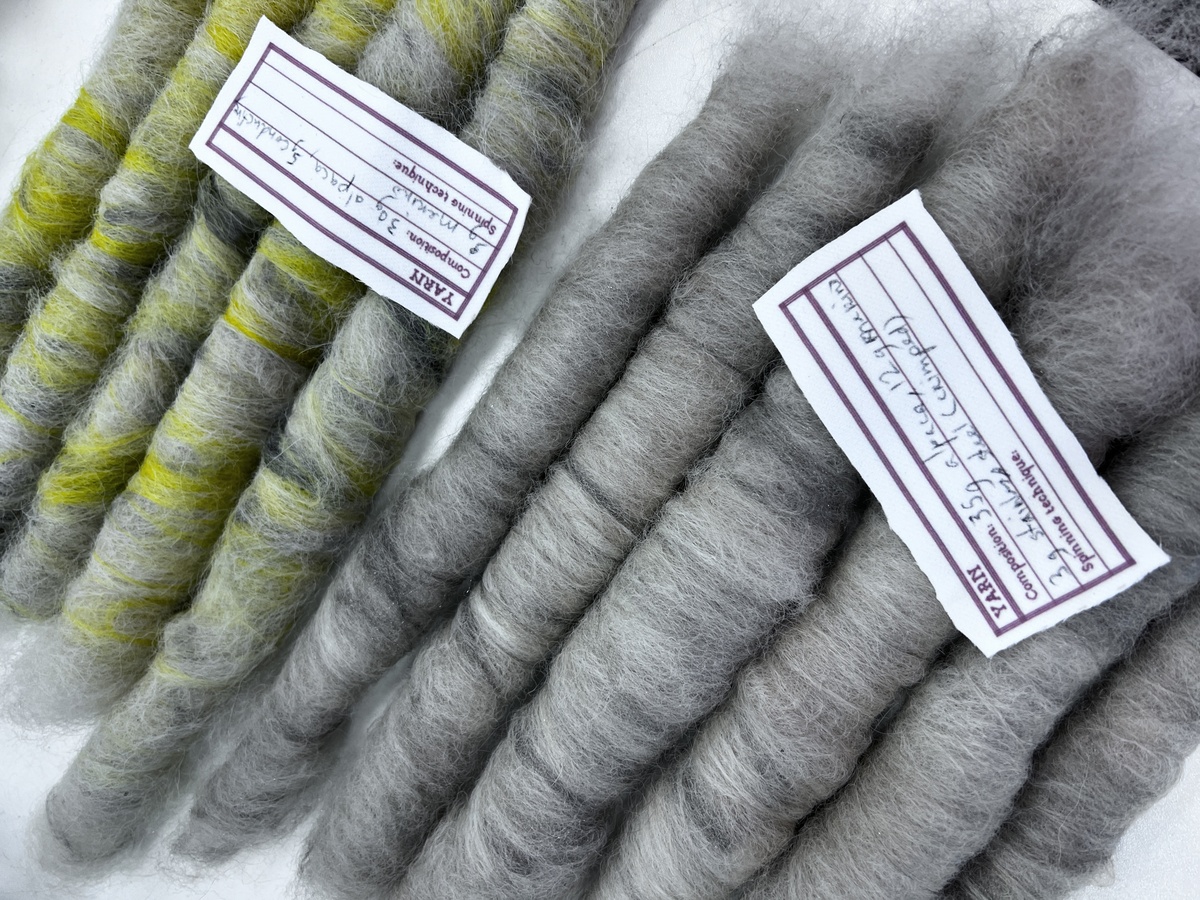
- Composition: purple merino combed top single; 35 grams grey alpaca, 12 grams white merino, and 3 grams stainless steel crimped fibers (totaling 12 grams for this yarn), combined with 10 grams blue merino combed top
- Spinning technique: crêpe (s to z)
- Blending technique: none
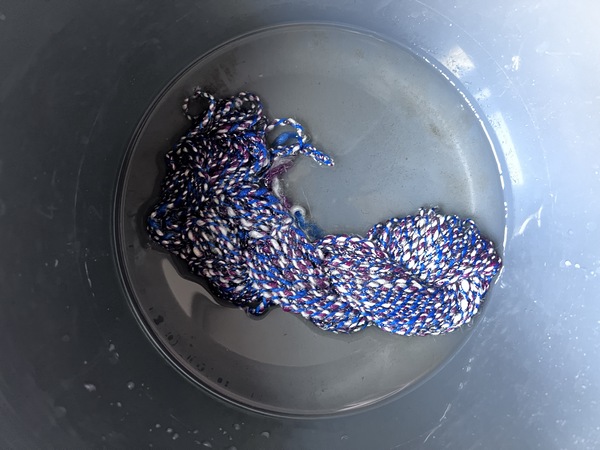
- Composition: light pink merino combed top, uncoated 0,1mm copper wire
- Spinning technique: flame yarn, two ply short draw forward, copper as core
- Blending technique: none
- Composition: light pink merino combed top, uncoated 0,1mm copper wire
- Spinning technique: flame yarn, two ply short draw forward, merino as core
- Blending technique: none
- Composition: 7 grams seaweed merino combed top, combined with 35 grams grey alpaca, 12 grams white merino, and 3 grams stainless steel crimped fibers (totaling ? grams for this yarn)
- Spinning technique: two ply long draw backward
- Blending technique: drum carder, merino top bought
- Composition: blue merino combed top, combined with 35 grams grey alpaca, 12 grams white merino, and 3 grams stainless steel crimped fibers (totaling ? grams for this yarn)
- Spinning technique: two ply, short draw forward
- Blending technique: drum carder, merino top bought
Previous yarn, plied again (S to Z) with Friesian Milksheep yarn.
- Composition: Friesian Milksheep core, stainless steel crimped fibers
- Spinning technique: core yarn (wrapped steel fibers loosely around milk sheep core); single yarn
- Blending technique: wrapping (bought carded)
- Composition: 39 grams brown alpaca, 1 gram stainless crimped steel fibers
- Spinning technique: two ply short draw forward
- Blending technique: carded 3 times in drum carder
- Composition: brown alpaca, orange merino, stainless steel variocut (43:17:6); wine red merino combed top
- Spinning technique: cable yarn (not enough twist)
- Blending technique: carded 3 times in drum carder, merino top bought combed
- Composition: brown alpaca, orange merino, stainless steel variocut (43:17:6); sewing machine yarn; thin Friesian Milksheep
- Spinning technique: bouclé, orange/brown (Z spun) around sewing machine yarn (S), then with Friesian Milksheep (Z spun) as binder back to S plied
- Blending technique: carded 3 times in drum carder, Friesian Milksheep bought carded
- Composition: 50 grams white/’blonde’ alpaca, 1 gram stainless steel crimped fibers
- Spinning technique: thin two ply, short draw forward (plied from andean bracelet)
- Blending technique: drum carder
- Composition: 30 grams white alpaca, 6 grams blue and pink merino combed top, 2 gram stainless steel combed fibers
- Spinning technique: single
- Blending technique: carded 4 times in drum carder
- Composition: 30 grams white alpaca, 6 grams blue and pink merino combed top, 2 gram stainless steel combed fibers
- Spinning technique: two ply, short draw forward, less twist in singles and more twist in plying, so that there is more air in the yarn (more woolen style)
- Blending technique: carded 4 times in drum carder
This was the first yarn made with an art batt at a workshop by Bregje Konings.
- Composition: 90 grams of silk combed top, mohair, merino, wensleydale (curls) and more; 2 grams of crimped stainless steel fibers
- Spinning technique: core yarn wrapped around wool yarn
- Blending technique: carded multiple times on a drum carder; by layering in white combed mohair, the batt and resulting yarn becomes very cloudy
To make a supercoil, you need an art yarn flight which has a larger orifice for the yarn to pass through.
- Composition: 90 grams of silk combed top, mohair, merino, wensleydale (curls) and more; 2 grams of crimped stainless steel fibers; commercial wool yarn
- Spinning technique: supercoil around wool yarn wrapped with core yarn above
- Blending technique: carded multiple times on a drum carder; by layering in white combed mohair, the batt and resulting yarn becomes very cloudy
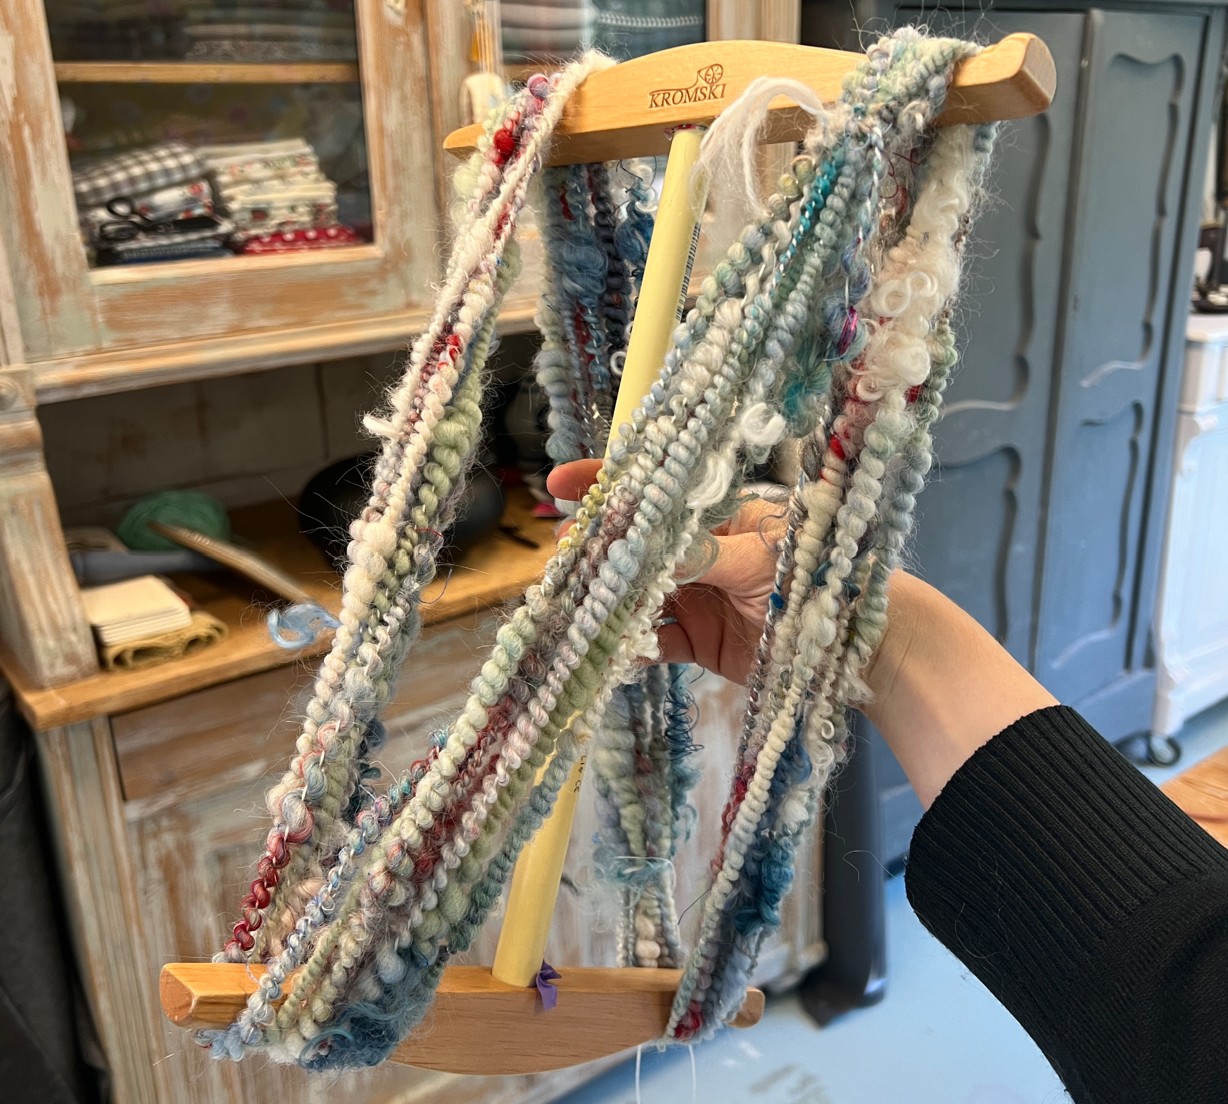
- Composition: 30 grams white alpaca, 6 grams blue and pink merino combed top, 2 gram stainless steel combed fibers; Friesian Milksheep
- Spinning technique: Friesian Milksheep as core yarn (Z spun), other fibers wrapped around, then plied S with Friesian Milksheep
- Blending technique: carded conductive fleece 4 times in drum carder
- Composition: 11 grams black merino combed top, 7 grams banana fibers, 11 grams herdwick, 2 grams combed stainless steel fibers, commercial coarse wool yarn
- Spinning technique: first spun fibers as coreless coreyarn with way too much twist, then made a supercoil around the wool yarn. It was way too twisted so after plying I let out some of the twist manually.
- Blending technique: carded once in drum carder
This one was horrible to spin, because the alpaca fibers are short and smooth, and because the variocut steel fibers are sticking together. I do really like how it turned out though.
- Composition: 17 grams merino combed top, 43 grams brown alpaca, 6 grams variocut stainless steel fibers
- Spinning technique: two ply very short draw forward
- Blending technique: carded 3 times in drum carder
This yarn was spun at the spinning circle in Amsterdam. I used a different spinning wheel with two pedals instead of one, and you can tell by the yarn that it went very smoothly. It felt much more balanced to spin with two pedals instead of one.
- Composition: 30 grams white alpaca (very short fibers), 6 grams blue and pink merino combed top, 2 gram stainless steel combed fibers
- Spinning technique: two ply short draw forward
- Blending technique: carded 4 times in drum carder
- Composition: 90 grams of silk combed top, mohair, merino, wensleydale (curls) and more; 2 grams of crimped stainless steel fibers
- Spinning technique: two ply short draw forward
- Blending technique: carded multiple times on a drum carder
This yarn is so, so soft! The sari silk pieces are a bit hard to keep fixed to the yarn but with a bit of help you can secure them into the singles.
- Composition: 18 grams of merino, silk and bamboo combed top, sari silk, 1 gram of crimped stainless steel fibers
- Spinning technique: two ply short draw forward
- Blending technique: carded multiple times on a drum carder
- Composition: 5 grams combed merino top, 0,5 grams combed stainless steel fibers, 0,5 grams sari silk
- Spinning technique: two ply short draw forward
- Blending technique: carded with fine hand carders
- Composition: 72 grams of gotland curls, cotton balls, shetland, merino, blue faced leicester, black and grey bamboo, pink sari silk, white polyester fire star and copper-colored christmas decoration; 5 grams combed stainless steel fibers
- Spinning technique: two ply short draw forward
- Blending technique: carded once on a drum carder
With the same batt I also tried a core yarn. You can see that the characteristics of the batt are more visible, like the cotton balls poking out.
- Composition: 72 grams of gotland curls, cotton balls, shetland, merino, blue faced leicester, black and grey bamboo, pink sari silk, white polyester fire star and copper-colored christmas decoration; 5 grams combed stainless steel fibers
- Spinning technique: core yarn with sewing machine thread core
- Blending technique: carded once on a drum carder
- Composition: 10 grams blue and green combed merino top, 1,5 grams combed stainless steel fibers
- Spinning technique: two ply short draw forward
- Blending technique: carded with fine hand carders
- Composition: 10 grams blue and green combed merino top, 1,5 grams combed stainless steel fibers
- Spinning technique: two ply short draw forward
- Blending technique: carded with fine hand carders
- Composition: 10 grams of red and purple mystery fibers (some kind of wool), glitter fibers, 2 grams combed stainless steel fibers
- Spinning technique: two ply short draw forward
- Blending technique: carded twice on a drum carder, pulled narrow batt through diz
- Composition: 10 grams of red and purple mystery fibers (some kind of wool), glitter fibers, 2 grams combed stainless steel fibers
- Spinning technique: single ply leftover
- Blending technique: carded twice on a drum carder, pulled narrow batt through diz
- Composition: 18 grams of solognote, 5 grams green merino, 3 grams lightblue merino, 4 grams pink perino, 1 gram crimped stainless steel fibers
- Spinning technique: intermittent coil, two ply short draw forward
- Blending technique: carded once on a drum carder
Better spun soft core yarn (still hard to do, especially without an art yarn flight).
- Composition: 18 grams of merino, silk and bamboo combed top, sari silk, 1 gram of crimped stainless steel fibers; commercial alpaca yarn
- Spinning technique: soft core yarn, alpaca core
- Blending technique: carded multiple times on a drum carder
- Composition: ? grams of carded herdwick, ? grams sari silk, ? gram crimped stainless steel fibers, commercial alpaca yarn
- Spinning technique: soft core yarn, alpaca core
- Blending technique: carded into rolags
- Composition: 38 grams white ultra fine merino combed top, 10 grams night blue merino, 5 grams combed stainless steel fibers; commercial alpaca yarn
- Spinning technique: soft core yarn, alpaca core
- Blending technique: carded four times on a drum carder
- Composition: ? grams of carded herdwick, ? grams sari silk, ? gram crimped stainless steel fibers, commercial alpaca yarn
- Spinning technique: two ply long draw backward
- Blending technique: carded into rolags
- Composition: 38 grams white ultra fine merino combed top, 10 grams night blue merino, 5 grams combed stainless steel fibers
- Spinning technique: chain ply three ply, short draw forward
- Blending technique: carded four times on a drum carder
This batt was with fine steel wool that you can buy at the hardware store. It was very messy to spin and did not feel pleasant to the touch. My lap was covered in tiny steel fibers. Note that this is not stainless steel (more on that later).
- Composition: 50 grams carded gotland, 7 grams green merino, 8 grams steel fibers
- Spinning technique: coreless core yarn, short draw forward
- Blending technique: carded once on a drum carder, into rolags
- Composition: 50 grams carded gotland, 7 grams green merino, 8 grams steel fibers
- Spinning technique: chain ply three ply, short draw forward
- Blending technique: carded once on a drum carder, into rolags
- Composition: mystery mix of wool and glitter fibers; uncoated 0,1mm copper wire
- Spinning technique: wrapped single with copper wire
- Blending technique: none
This was a very bad attempt at beehive yarn with red merino and combed stainless steel spinning waste on light green merino combed top. Turns out that doesn’t really work.
Making cocoon yarn with the very smooth stainless steel fibers didn’t really work, since the cocoons kept sliding and getting stuck on the hooks on the flight, pulling them open again. This would work better with an art yarn flight, which I do not have.
- Composition: mystery mix of wool and glitter fibers; combed stainless steel fibers
- Spinning technique: cocoon yarn, forming cocoons with stainless steel fibers
- Blending technique: none
- Composition: 38 grams carded solognote, 4 grams green merino combed top, 5 grams combed stainless steel fibers
- Spinning technique: chain ply three ply
- Blending technique: carded once on a drum carder
- Composition: 45 grams ultra fine merino combed top, 1 gram pink merino combed top, 2 grams crimped stainless steel fibers
- Spinning technique: two ply short draw forward
- Blending technique: carded four times on a drum carder
- Composition: 45 grams ultra fine merino combed top, 1 gram pink merino combed top, 2 grams crimped stainless steel fibers; colored part is national spinning day combed top (62% white merino, 25% black baby alpaca, 13% orange bamboo)
- Spinning technique: two ply short draw forward
- Blending technique: both batts carded on a drum carder
- Composition: 32 grams national spinning day combed top (62% white merino, 25% black baby alpaca, 13% orange bamboo), 4 grams combed stainless steel fibers
- Spinning technique: single
- Blending technique: carded once on a drum carder
- Composition: 38 grams white ultra fine merino combed top, 10 grams night blue merino, 5 grams combed stainless steel fibers
- Spinning technique: bullion yarn, short draw forward
- Blending technique: carded four times on a drum carder
- Composition: 38 grams white ultra fine merino combed top, 10 grams night blue merino, 5 grams combed stainless steel fibers; Friesian Milksheep carded batt
- Spinning technique: regular three ply; two singles with merino mix, one with leftover Friesian Milksheep single
- Blending technique: carded on a drum carder
- Composition: 21 grams pale blue merino combed top, 3 grams lilac merino combed top, 1 gram black and red sari silk, 2 grams combed stainless steel fibers
- Spinning technique: single
- Blending technique: carded once on a drum carder
- Composition: 21 grams pale blue merino combed top, 3 grams lilac merino combed top, 1 gram black and red sari silk, 2 grams combed stainless steel fibers
- Spinning technique: two ply, short draw backward
- Blending technique: carded once on a drum carder
Notes
Singles are the easiest and fastest to spin, since they only require one spinning step. If they’re going to be used as singles, they should not be overly twisted. The resulting yarn is pretty fuzzy and soft, and less strong than when a plying step is added. Sensors knitted or woven with single ply yarn tend to wear faster (pilling, fuzz) so I think they are less suitable for repeated interaction.
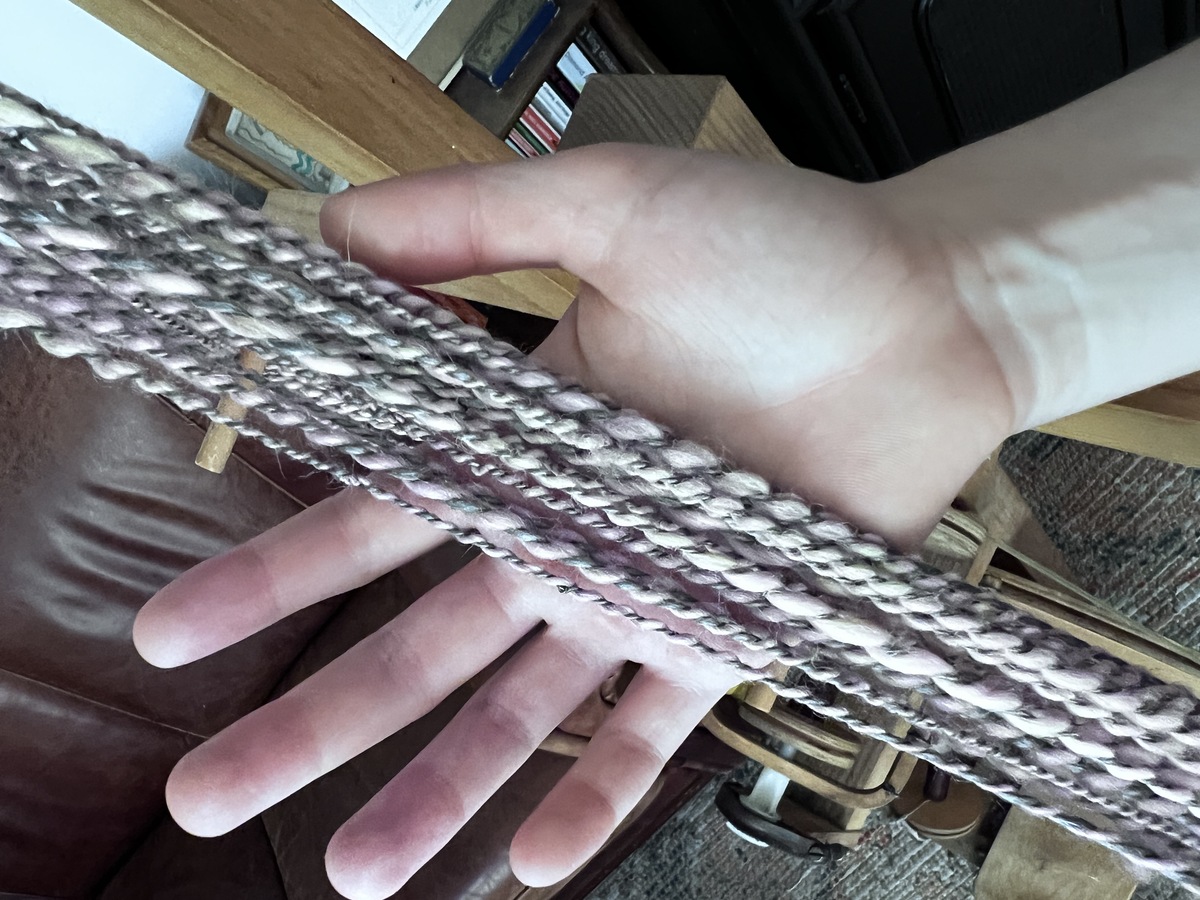
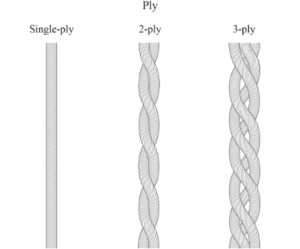
I’ve spun a lot of classic 2 ply yarn from the same yarn as a sort of baseline. This image demonstrates the difference in yarn dimension in singles versus 2 ply versus 3 ply yarn. Singles are pretty smooth, 3 ply yarn gives a more rounded, soft look whereas 2 ply has a bit of difference in dimension.
Here I used the same batt to compare 3 ply chain plied yarn with 2 ply bullion yarn. The nice thing about chain plying is that you can spin it from one single with a finger crochet style of plying, instead of having to prepare three separate singles. Chain plying forms little bumps where the loops are formed, but that’s not very noticeable usually.
The bullion yarn forms beautiful details on the knitted sensor - however, it’s on the back of the knit.
Beaded yarn takes a long time to spin, and while the result is nice, it doesn’t really work for variable resistance since the conductive path needs to be created by having the beads touch. For a touch sensor it can work though, if you want to use each single bead as a touch input, you could. As a bigger electrode it doesn’t really work, but that could be done by stringing the beads on or plying with conductive yarn.
From yarn to fabric
Knitting and weaving the handspun yarn into swatches and textile artefacts
From yarn to fabric
Knitting and weaving the handspun yarn into swatches and textile artefacts
The physical results of this project that are exploring the applied textile design requirements, are
- the Sensor Spinster swatch archive with resistance and capacitance tester
- the woven work consisting of multiple handspun sensors
- and the knitted work
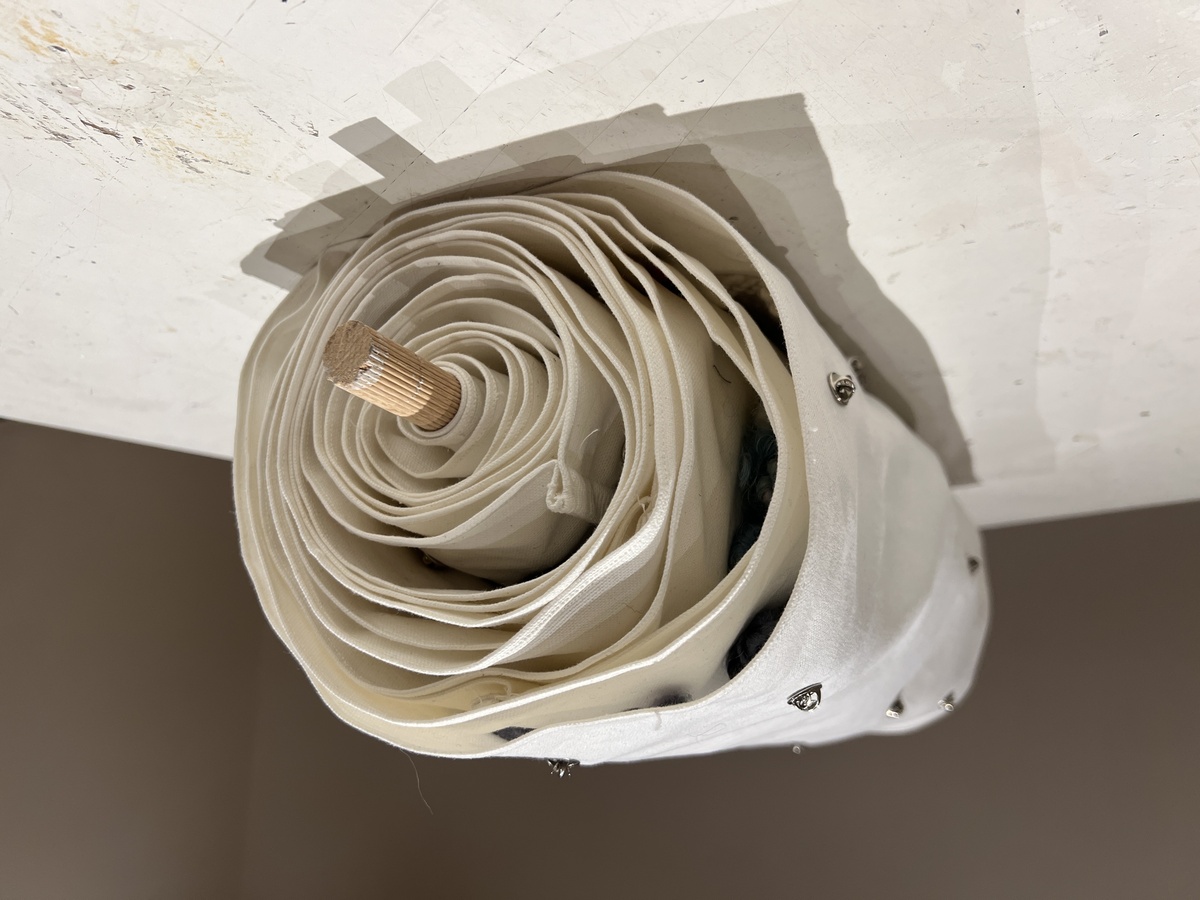
All three take the shape of a ‘pronkrol’ (roughly translated as roll to show off): a scroll on a big spool that historically was used by young women to demonstrate their mastery of various textile crafts, their ‘resumé’ of household skills. As described on the Amsterdam Museum website:
Unrolled, it was visible to everyone what kind of handicraft skills the girl had. A show scroll served as proof of her proficiency.
With the gesture of unrolling the scroll I’m revealing my artisanal and technical research. I’m linking to artisanal skill and (historical, but still perceived) domesticity of textile crafts; taking textile crafts seriously and showing off (pronken) with what I’ve made, and in the case of the archive, how I’ve improved.
Archive
An archive of yarn & knitted and woven swatches with a swatch tester to visualize textile touch
Archive
An archive of yarn & knitted and woven swatches with a swatch tester to visualize textile touch
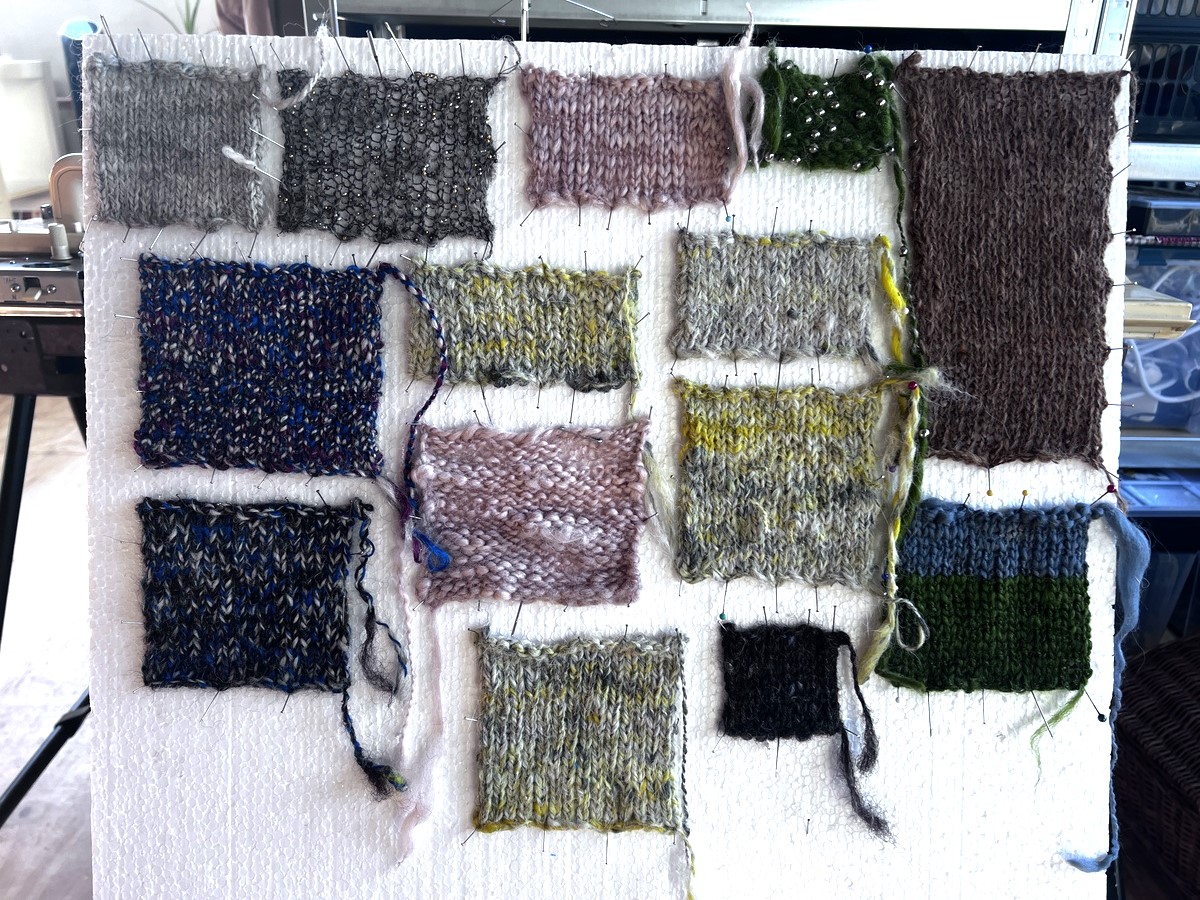
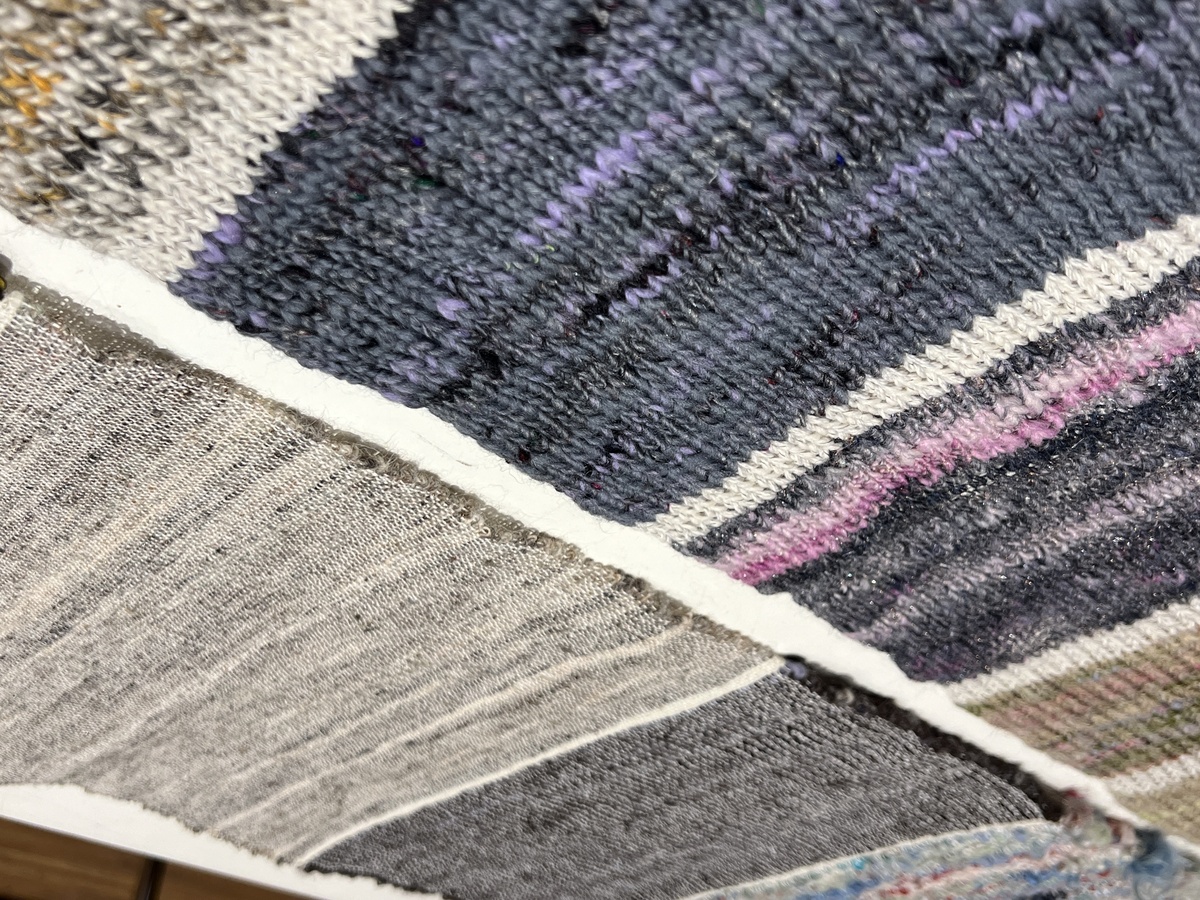
To convert the spun yarn into touch sensors, I knitted and wove most spun yarn into swatches. Most of the sensors are knitted instead of woven, since knit gives more opportunity for interaction because it’s stretchy by nature. This means that the knitted swatches can be used for touch, stretch, pressure, squeeze or other interactions, whereas woven sensors are more suited for just touch and pressure.
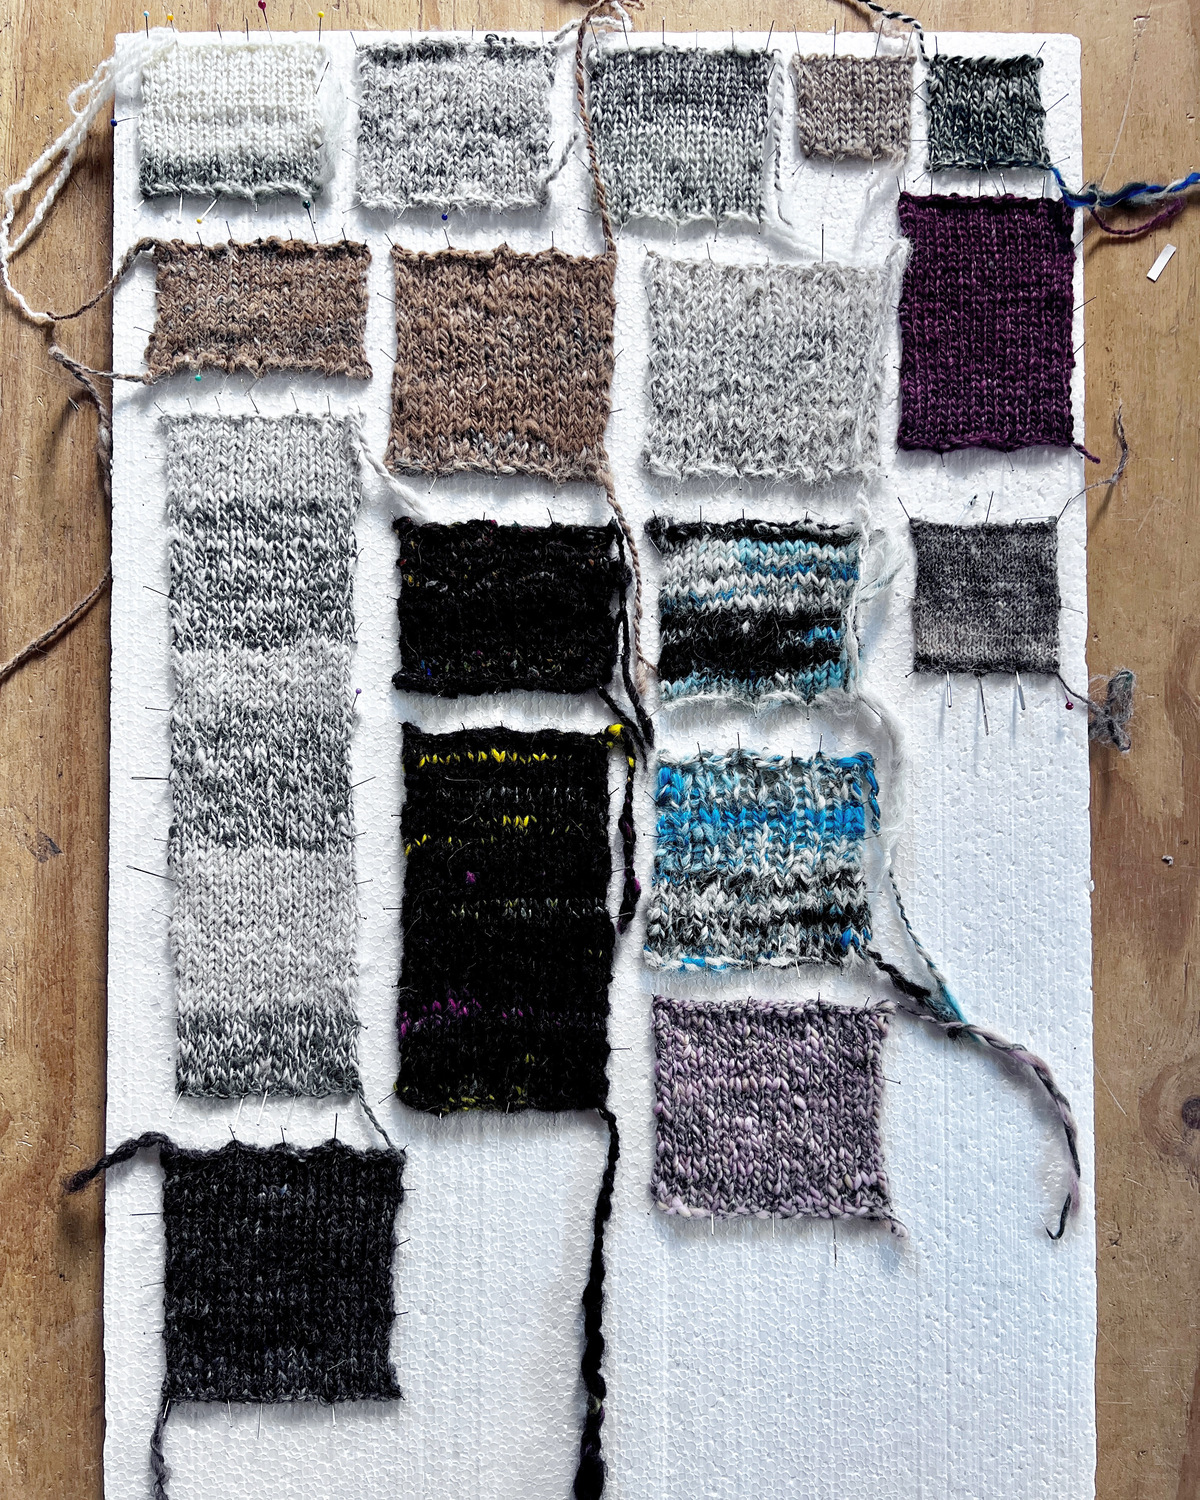
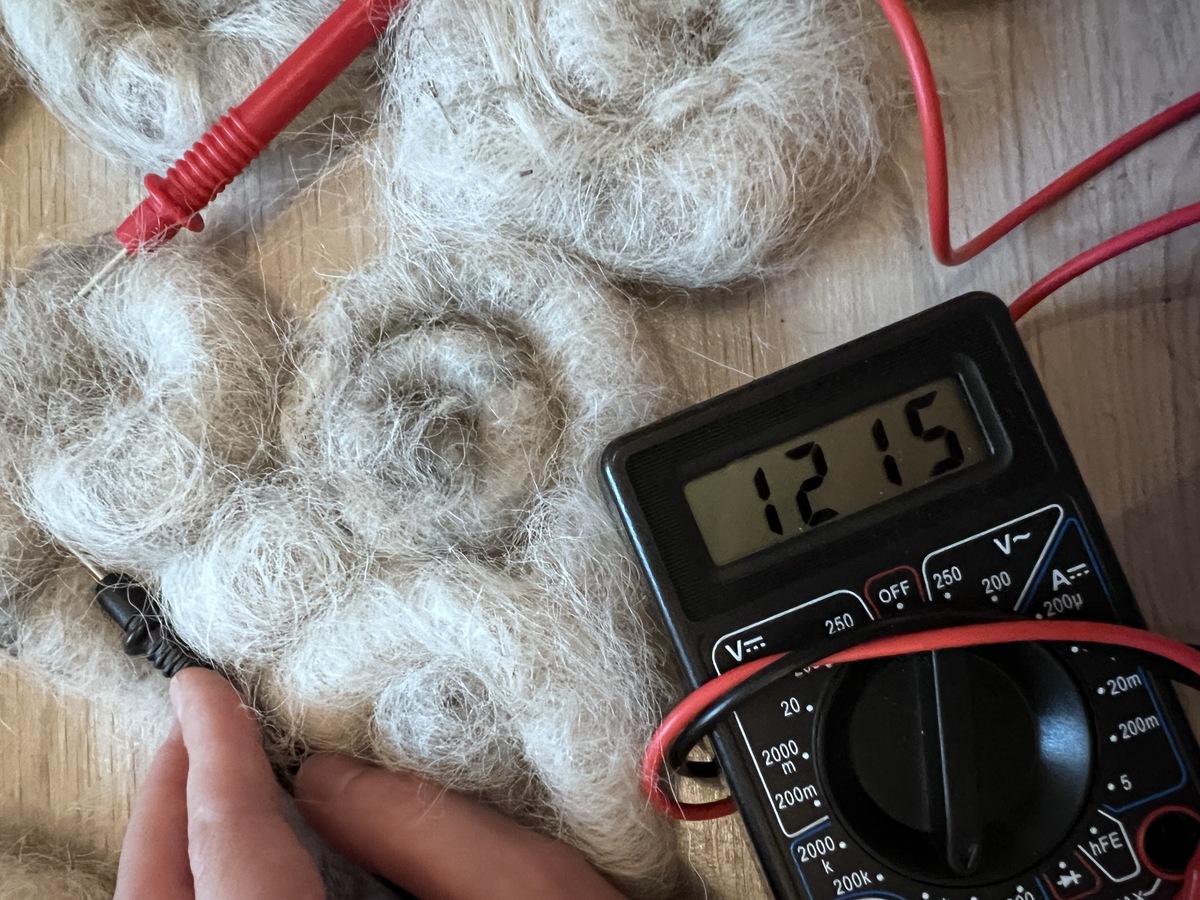
To document and compare all of these different sensors, I made an archive documenting their composition, spinning technique and processing technique, as well as technological properties that are relevant for me as an interactive textile designer: resistance and capacitance.

I wanted to be able to take off the swatches easily, since I like to repurpose e-textile swatches from time to time. To me, an archive is most valuable when it’s in active use and ever evolving, although I also like archives for their visual appeal and educational purposes. The idea with this archive is that I can keep adding more yarn and swatches to it by making the scroll longer.
This is the current collection of sensors in the archive:
From fabric to sensor
Bringing the textiles to life through light and sound
From fabric to sensor
Bringing the textiles to life through light and sound
Scrolls
The scrolls double as musical interfaces - when you explore them, they make sound.
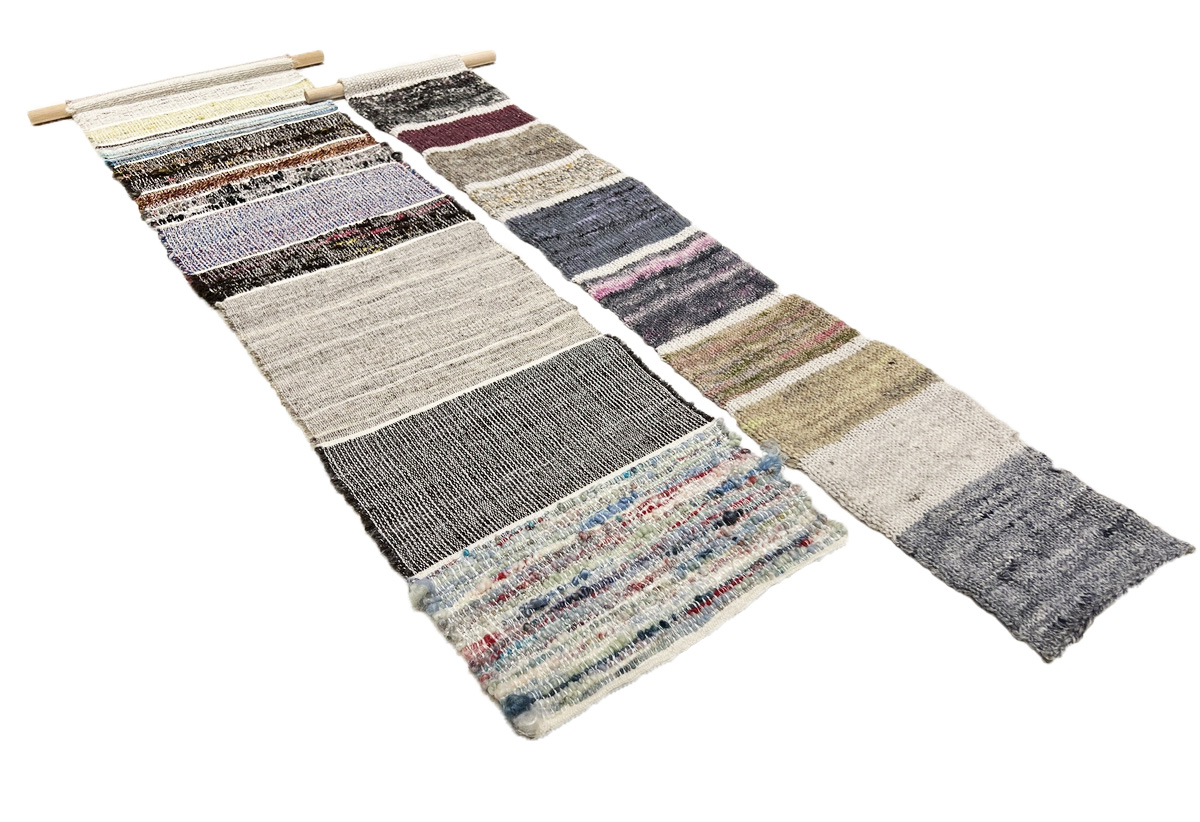
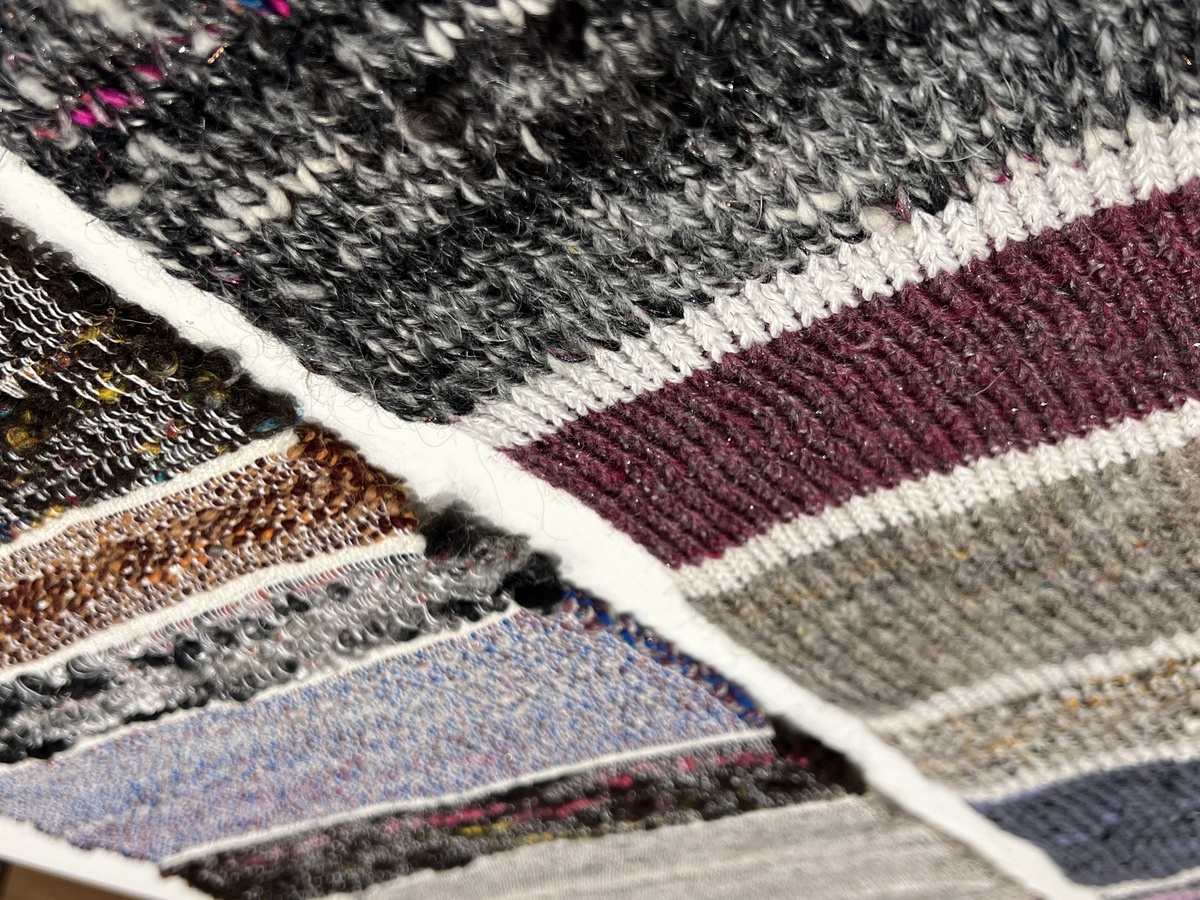
The knitted interface can be stretched; as you stretch harder, other sensors are activated too.
Requirements
In my view, an artisanal sensor has to serve a function (hence, applied): it shouldn’t be purely decorative or nice to look at, it should be made with tactile interaction in mind. This means that the tactile experience and interaction should be designed. The archive of sensor swatches is just as much an exploration of the technological properties as it is of the tactile properties of handspun yarn and various spinning techniques: a long draw backward spun alpaca sensor has a very different feel than a very controlled, short draw forward spun crêpe yarn. It’s material-driven design exploration, which resulted in two tactile musical interfaces.
What are then requirements for an artisanal sensor?
Technical requirements
- Should be able to handle repeated touch, i.e. handle frictions and stress. Generally, worsted spun yarns are stronger and can handle more repeated use whereas woolen spun yarns tend to pill a little after repeated stress.
- Conductive fibers/materials should be distributed as evenly as possible throughout the batt
Technological requirements
Variable resistance sensors:
- Should not be too dense - when the yarn is very dense, it’s harder to get a good contrast in conductivity, which makes it less useful for a variable resistance based sensor
Capacitance based sensors:
- Should be conductive enough throughout the yarn and resulting knitted or woven sensor, so it’s touch can be detected as far away from the measure point as possible (or as wanted)
Machine processing constraints
Knitting on a domestic knitting machine:
- If the yarn is to be processed on a domestic knitting machine, it should not be too thick. If it’s thicker than about 5mm, it’s very hard to knit it even on a coarse knitting machine, especially when it’s dense. When using beaded yarn, the beads have to be less than 4mm thick, otherwise they do not fit through the orifice of the knitting machine carriage. I used 5mm thick beads, and they did not fit.
- Fine gauge knitting machine is really not suitable for thicker yarns - this is something that I should’ve thought about beforehand since it’s pretty logical. I only have a fine gauge knitting machine, and although I looked into getting a coarse knitter on Marktplaats, they tend to be way more expensive than fine gauge machines. Luckily I could make use of a coarse knitting machine at my previous workplace.
- I used mainly stitch size 7-10 on the coarse knitter using all needles. When knitting with handspun yarn, making swatches is essential to figure out the correct stitch size to make the yarn shine. I only made one swatch for each yarn and decided on the stitch size based on my intuition (i.e. my experience with knitting). This worked out okay-ish, but resulted in some swatches being too stiff and others beingt too open. When a swatch is too stiff, sometimes the special features of the yarn is completely hidden within the stitches, which is a shame.
Weaving on a floor loom:
-
When weaving with conductive yarns in the weft, you can basically use any thickness. However, if the warp is too dense, you may end up covering up a lot of the yarn, so the warp should leave enough room for the yarn to shine. You can see that the warp in this weave is allowing the thick contrasting yarn to pop through, although the warp could have been less dominant:
Swatch tester
I made a swatch tester to accompany the sensor archive: a variable resistance and capacitance visualizer with a small piece of an addressable LED strip that changes color based on the change in resistance or capacitance (depending on which side it’s clipped to). There is also a knob to change the sensitivity of the variable resistance side (the voltage division), since some sensors have a larger or smaller resistance range than others (i.e. some range from 100k-500k, other from 20k-50k etc.). This doesn’t show the actual resistance or capacitance, but for this you can simply use a multimeter. You can clip it wherever you want, and the resistance range will be different: if you pick two points closer to each other, the resistance range will be lower and smaller. Usually, I clip them a bit below the top left and a bit above the bottom right. For the capacitance visualization, you just need to clip the single alligator clip somewhere to the swatch. You can interact with the swatch by:
- pressing
- stretching
- squeezing
Here is the first iteration tested on a woven sensor:
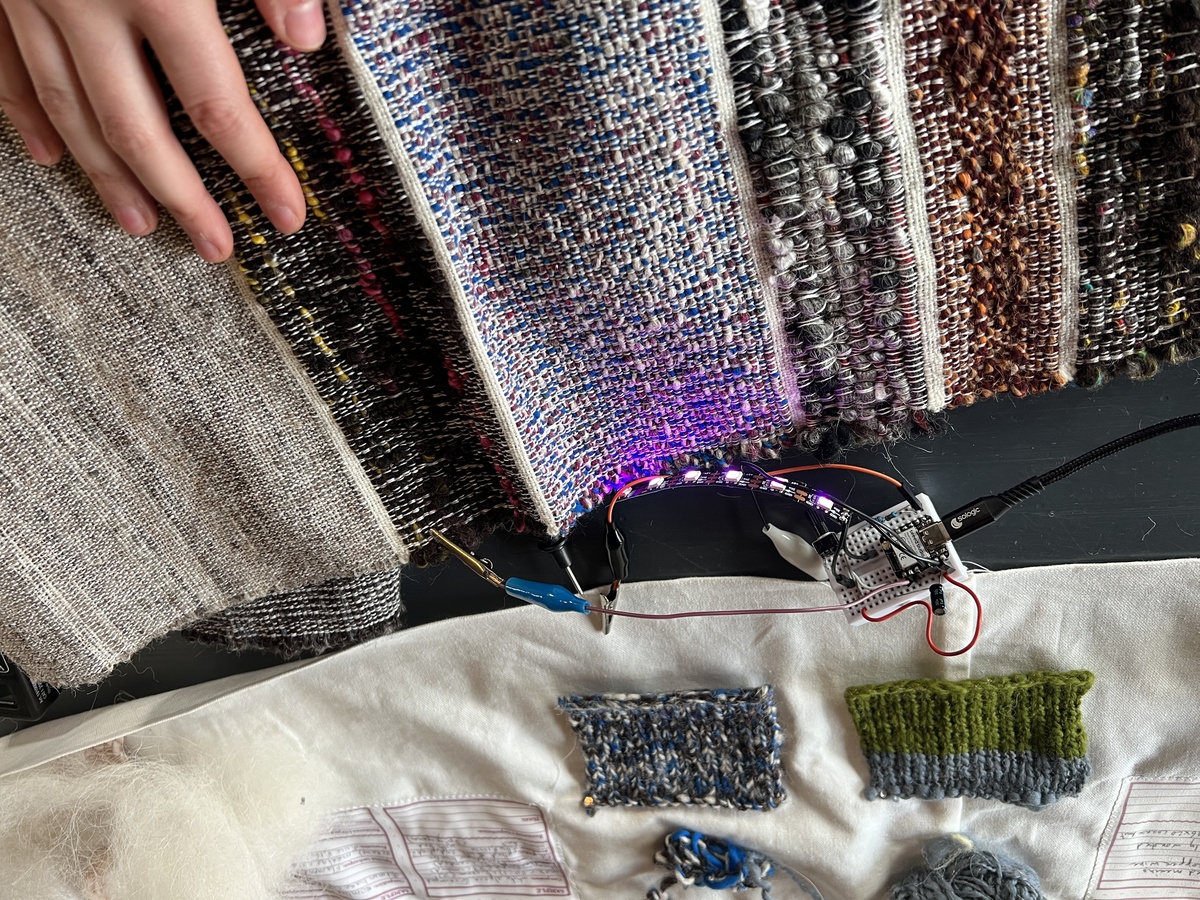
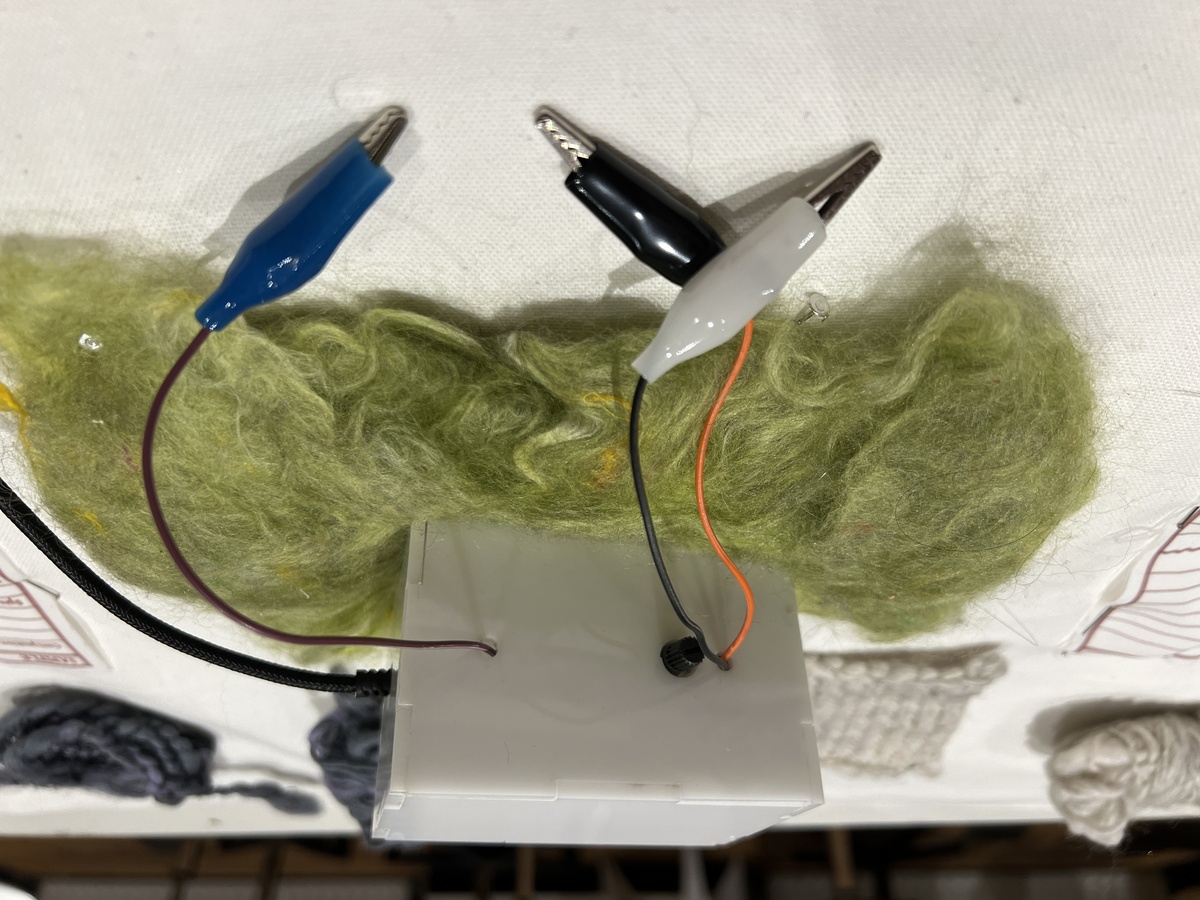
Comparing the variable resistance and capacitance from the various sensors, I learned that:
- There are not really big differences between a yarn like a 2 ply and a 2 ply variation in resistance
- Not necessarily something new, but the bigger the distance between the measuring points (the distance between the two analog alligator clips, or the distance from the touch to the capacitance alligator clip), the lower the resistance or capacitance. To me, clear, linear ranges between 1k and
- The more evenly carded the fibers are, the clearer the resistance range
- The more conductive fibers there are, the less clear the the capacitance range. If the sensor is very conductive, it’s better to just use it as a touch detection sensor instead
I can’t really say much about the ideal ratio of conductive fibers to insulating fibers, because I changed too many parameters between yarns: I tested various types of fibers, types of spinning techniques and fiber preparation methods. Another variable is me: as the project progressed, I got better at fiber preparation and spinning itself.
Conductive carded batts as sensors
An interesting outcome of this experiment is that a well carded batt already works beautifully as a soft and fluffy pressure sensor. I experimented with this in a project called bromwol - a collaboration between Dianne Verdonk, Roald van Dillewijn and me, where we explore textiles as musical interfaces. We presented bromwol as an interactive exhibition and performance with the soft digital instruments during U? festival on November 9 2024. In this video, you can see carded wool from Sensor Spinster being used as musical instruments.
Some of the carded batts and rolags that are used as sensors by themselves here have been spun into yarn and then knitted into a stretch sensor after the performance and exhibition. I like that parts of the Sensor Spinster process were able to take on different shapes along the way, providing different ways of interacting with the different stages of conductive wool processing. This recontextualization shows the potential of not just spinning but carding as well in an interactive and performative context. This wouldn’t have been possible without the following of the different steps from fiber to sensor.
While trying out different soft sensor shapes during bromwol, I also found out that the spun yarn by itself can already function as a touch, squeeze or pressure sensor in the shape of a hank, so before processing into a woven or knitted sensor.
What this demonstrates is that the embodied experience of the all of the steps in the spinning craft process can inform and influence a design process beautifully. To me, bromwol is a proof of my hypothesis that as textile designer and artisan simultaneously, the craft and design practice enrich each other.
Background
A brief (historical) background of spinning, the electronic textiles field, and an exploration of what defines a contemporary (e-textile) artisan.
Background
A brief (historical) background of spinning, the electronic textiles field, and an exploration of what defines a contemporary (e-textile) artisan.
Background of spinning
Background of spinning
Hand spinning yarn has been a necessity to make cloth for thousands of years - first by hand, then with simple tools like (drop) spindles, then with a variety of spinning wheels. All three processes have the constant involvement of the hands in the process. In the Netherlands there was a lot of spinning being done on spinning wheels, mainly for the commercial sector, and this work was done almost exclusively by women. Until about 1800, hand spinning was a vital part of urban linen and cloth (mainly woolen blankets) industry in the Netherlands.1 The wool industry in Leiden is shown in the painting below by Isaac Claesz. van Swanenburg from between 1594 and 1596.
Then the industrial revolution came with the invention of spinning machines like the spinning jenny, which signaled the end of hand spinning as a viable profession, also in the Netherlands. This is demonstrated by what J.A.P.G. Boot writes in Textielhistorische Bijdragen 26 about hand spinning in the eastern Netherlands at the beginning of the 19th century: ‘As more spinning mills came into operation, hand spinning on spinning wheels had to decline, until eventually only very old spinsters managed to make a living from it for an extremely meager wage. With them, hand spinning died out.’2
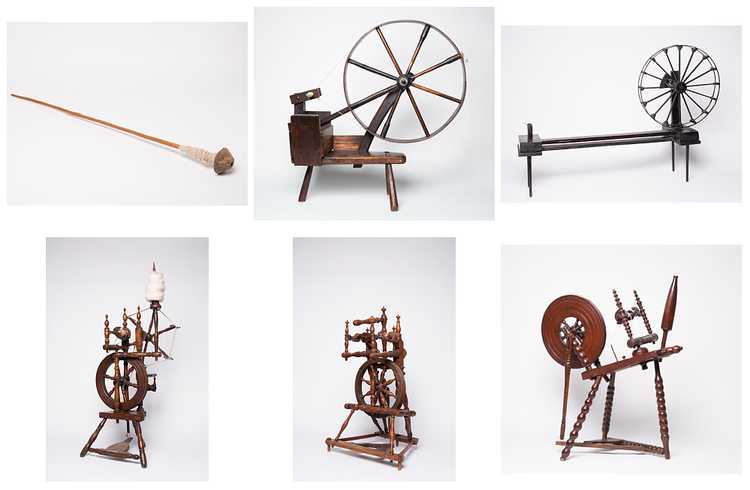
Interestingly, with the arrival of the spinning machines, spinning metamorphosed from a woman’s job done at home (or on a ship, which is where the spinning wheel ‘het schippertje’ gets it’s name from) into a man’s job done in a factory hall.3 I can’t help but think about the first computer programmers who were also women, until men found out that programming was important work for which you need a good head on your shoulders. I found Jackie M. Blount’s perspective on the shift in the public’s perception of spinsters interesting:
Jackie M. Blount calls spinsters “gender transgressors,” women who managed to find lives of independence and autonomy in their work as educators. Hired because of their singleness, not despite it, spinsters were at first considered “high-minded, upstanding pillars of the community” and eventually became cultural icons. But when social hygiene and the study of sexuality came into vogue at the turn of the twentieth century, spinsters came under fire. Suspected of lesbianism and accused of suppressing frustrated sexuality, Blount writes, spinsters were increasingly viewed as “standing outside their conventional gender roles as procreating women.” Admiration turned into villainization as women were forced to defend their single status in a workplace that once welcomed them.4

The negative connotation to the word spinster lingers to this day, as it’s still colloquially used to describe an unmarried woman who is too old to marry; a woman who no one wanted (or who herself wanted no one?) so she kept spinning to make a living.
Since then, hand spinning has seen some revivals throughout the years. I’ve been told by spinners at spinning circles that in the seventies, spinning had a huge rise in popularity as a hobby. When I was at the LSD (the Landelijke Spin Dag obviously) in october, I observed that the general audience was almost exclusively women, and that many seem to be over sixty. I joined the Landelijke Spingroep to learn how spinning is spread throughout the Netherlands nowadays, so I could visit the LSD and to find spinning circles to join. I visited the spinning circle in Amsterdam and in Oosternijkerk. I met people who were spinning since the seventies and spinners who just started, in a wide range of ages (although generally I was on the younger side).
References
References
- On https://www.brabantserfgoed.nl/page/7909/handspinnen
- J.A.P.G. Boot, ‘Handspinnen van katoen en handkatoenspinnerijen (deel 2)’, in: Textielhistorische Bijdragen 26 (1986), 42-43
- On https://www.dbnl.org/tekst/lint011gesc03_01/lint011gesc03_01_0002.php
- On https://daily.jstor.org/original-spin-history-spinster/
Electronic textiles
Electronic textiles
E-textiles, or electronic textiles, are textiles integrated with electronic components such as sensors and LEDs. They can also become a component themselves by integrating conductive threads using various textile techniques. With an e-textile sensor, you can measure interactions with the fabric itself, such as touch and pressure, and convert them into data. This can be used to control motors or LEDs or manipulate sound and visuals, for example.
Electronic textile projects can be rougly divided into three categories:
- industrial projects, where e-textiles are machine-made with industrial equipment: technologically advanced and focused on functionality over design. Examples of this are garments with sensors embedded in them to measure various health factors, (car) interiors with embedded electronics, shielding fabrics etc.
- educational and research projects, where focus is on exploration and seeing what’s possible technologically with textile techniques; samples and prototypes are often the outcome. These can be subcategorized in:
- DIY/’crafty’: here e-textiles are made by hand or with domestic machines: <Kobakant.at/DIY> is a great example of an archive of samples and research for educational purposes
- academic: e-textiles can be made manually, with industrial or domestic machines on small scale; there is a lot of research in academic institutes, like at the Wearable Senses lab at the technical university in Eindhoven.
- artistic projects, where e-textiles can be made in any way; the focus is on the story through visual and/or tactile appeals and interactions. Examples are Audrey Briot with Stymphalian Birds and Irene Posch with the Embroidered Computer, both beautifully executed projects.
To summarize these categories, it’s e-textiles made by an engineer, an educator or an artist. In the last category, the examples also have a very strong artisanal quality, which is the approach I’m most interested in.
E-textile artisan
E-textile artisan
What defines a contemporary artisan?
Craft projects in the Dutch design sector are usually about the collaboration between designers and craftspeople, and less often about the artistic and craft development of someone who is both. There is nothing inherently wrong with this approach, but it is precisely when someone has the technical & embodied knowledge of how a material works that this knowledge can be used in an enriched and informed design practice.
The definition of an artisan is something I’ve been thinking about a lot over the past months. From a language point of view, it’s interesting to note that the word artisan does not have a dutch translation: we have the word ‘artisanaal’ to describe artisanal products, but other than that it’s translated to ‘ambachtsman’ or ‘kunstenaar’. From a legal point of view, the word artisan (or artisanal) doesn’t mean anything in the Netherlands, since it’s not a protected term. I looked in this database and there is not one creative/craft occupation that is regulated, protected or requires a diploma of any kind. So if you want to call yourself a craftsperson or an artisan, you can; no one can legally stop you.
Throughout this project, I’ve engaged with many spinners at spinning circles, workshops, and markets. Most spin as a hobby, though a few do so professionally, often combining spinning with related activities like teaching workshops or running wool-related businesses. Many craftspeople in textiles are hybrid: apart from practicing their craft they educate, run a business around crafts and facilitate, or do research in academic environments. I’ve had conversations with Gregor Falkenhagen, who is a professional spinner based in Houten and runs a company called Men at Wool, about his thoughts on craft in the Netherlands.
According to Gregor, a craftsperson is a professional. You don’t have to commit to a craft fulltime but you should take yourself seriously in your craft. When you craft just as a hobby, the ability (‘het kunnen’) is less important as there is no one that you have to do it for but yourself; it’s more about the enjoyment of the act of the craft. When you use your craft daily and you use it to make (part of) a living, you approach your craft from a different perspective than when there is nothing really at stake. This urgency of the craft is essential. Still, amateur craftspeople can be just as skillful and creative as professional artisans. There are many people (especially many women) who have done (textile) crafts their entire lives and who are extremely skillful at it.
What is then the difference between an artisan and a craftsperson? I would describe it as two people taking themselves seriously in their craft and developing themselves to enhance their craft, but whereas the artisan uses their craft as a creative expression - to design - a craftsperson does not necessarily do so. In my conversation with Gregor, he expressed the difference as craftspeople take traditional knowledge and bring it to life, not so much moving boundaries but making the most beautiful things based on tradition, whereas an artisan creates their own processes (and may take more freedom in the craft), but still base their work on traditional craft knowledge.
The Wikipedia definition of an artisan as someone who ‘practices a craft and may through experience and aptitude reach the expressive levels of an artist’ feels outdated to me. To me, artisans and artists are on the same level, where artisans often work in decorative arts, while artists lean toward fine arts. Unlike artisans, artists don’t always need technical skill and may focus more on the message than craft, sometimes relying on craftspeople to execute their vision.
To summarize, some definitions and distinctions:
- Craftsperson - someone who skillfully practices a craft
- Artisan - a craftsperson who uses their medium to create art and design, inspired by the (traditional) craft itself in a contemporary way
- Artist - someone with a drive to convey a message or tell stories with what they make
- Designer - someone who designs functional objects/applied arts, a blend of commercial intent and creative expression
- Hobbyist/amateur - someone who practices a craft for fun at any level of skill
Can you approach e-textiles in the same way to become an e-textile artisan?
A contemporary artisan then is someone who is technically skilled at a craft, takes themselves seriously in its practice by trying to improve continuously, and explores the medium creatively. A contemporary artisan uses their craft expressively but also professionally: there needs to be a certain urgency, it’s both part of their life and their livelihood. An artisan is in a constant dance with the material, trying to balance what they want and what the material wants; being in control but also understanding constraints.
With this definition of what it means to be an artisan, I would say you can approach e-textiles in the same way to become an e-textile artisan - you can apply these same parameters to someone who makes electronic textiles. When the electronic textiles are skillfully crafted by someone with technical, expressive and technological skills, I think you can move from a textile artisan to an e-textile artisan. In that case, I’m an aspiring e-textile artisan - working on developing my craft to use it in creative expressions.
